
Open the GarageBand app from the homescreen, and wait for it to load. If GarageBand opens to a song, select My Songs from the top left corner to enter a menu with all of your saved recordings.
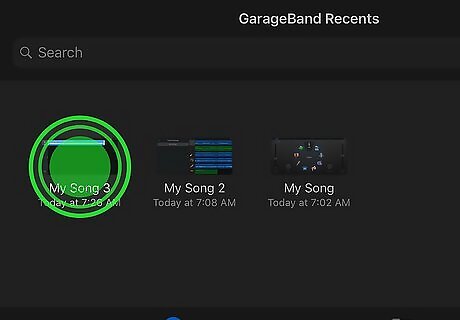
Tap and hold the song you used to create your ringtone until it is outlined in blue. If you deleted it, that's OK, just tap and hold a different song.
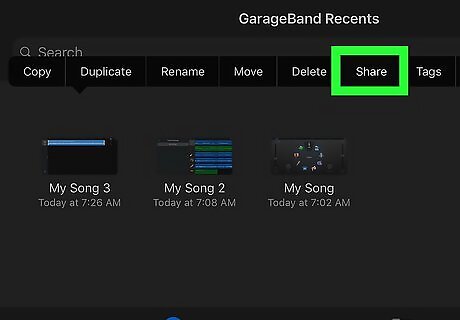
On the top left corner, select the upload symbol. It looks like a square with an arrow pointing upwards from it. From the pop up menu that appears, select Ringtone from the bottom. (If it warns 'Your ringtone length needs to be adjusted,' select Continue.) From the window that appears, select Your Ringtones from the bottom. On the top right of this window, select Edit. The ringtones you created with GarageBand will have a red minus sign in front of them.
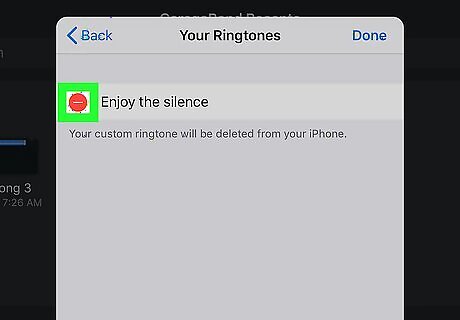
Tap the minus sign on the ringtone that slides out. Then tap the Delete that slides out. Once you are finished, tap Done from the top right corner.
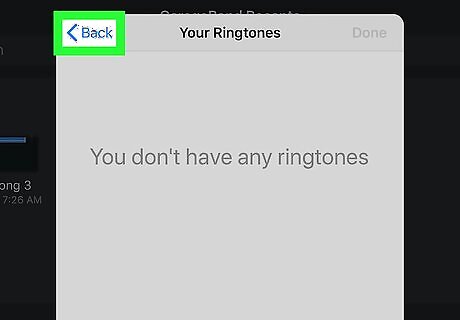
Tap < Export Ringtone from the top left corner of the window. Then Cancel from the top right corner. You can now go to Settings > Sounds > Ringtone, and your ringtone will be gone.


Comments
0 comment