
- Navigate to your Gmail Settings and open the Filters and Blocked Addresses tab.
- Click "delete" next to any filters you no longer want.
- Click "OK" in the confirmation message to confirm your decision to delete each filter.
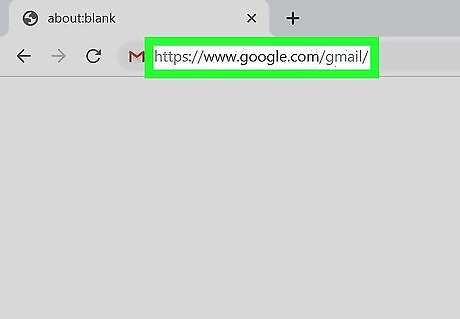
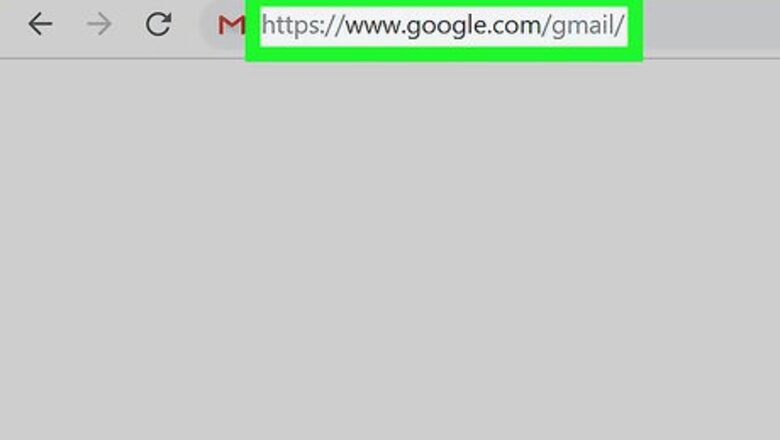
Open your Gmail. Go to https://www.google.com/gmail/ on your computer and log in if you haven't already.

Click on ⚙. It's the Settings icon located at the top right-hand corner of the page.
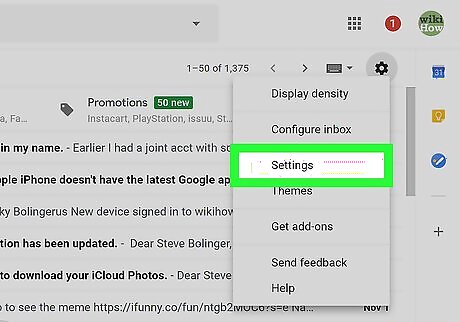
Click Settings. This will open your Gmail's quick settings. Click See all settings atop this new sidebar to find the section we need.
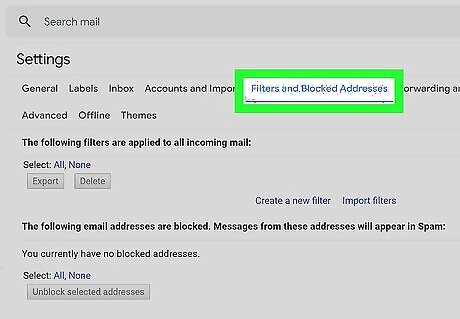
Click the Filters and Blocked Addresses tab. You will see a list of all the email filters you've created below.
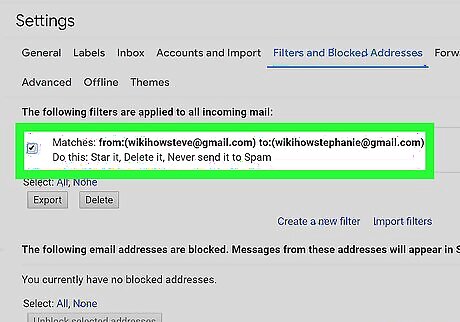
Click "delete" next to any filters you no longer need. Google will present you with a confirmation message. Click OK to confirm your decision to delete. Your incoming mail will no longer be sent through this Gmail filter. If you still need this filter and just want to make changes, you may also select "edit" next to the filter.


Comments
0 comment