
Doing Styles for Medium or Long Hair

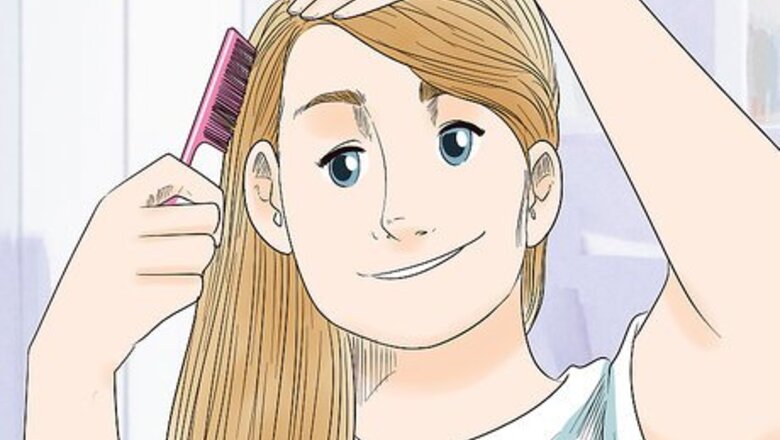
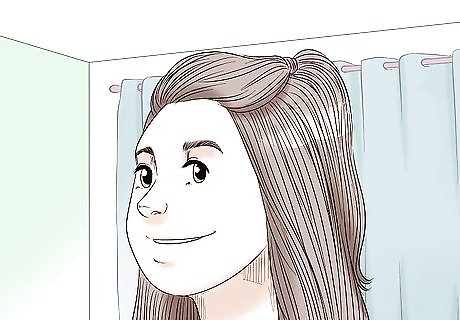
Change your part for something quick and easy. Slide the handle of a rat-tail comb through your hair. Start at 1 of your eyebrows, and finish at the back-center of your crown. Sweep the thicker side of the part off to the side, then comb your hair away from the part. Tuck back the hair on the thinner side of your part for a chic look. If you part your hair down the center, try parting it to the left or right. If you normally part your hair to the left, part it to the right. If you normally have a side part, try a center part! It’s up to you how high you put your part and how deep you make it—try different things and see what works for you.

Give a plain braid a boho touch by mussing it up. Split your hair into 3 sections, then braid it by crossing the left and right sections over the middle one. Secure the end of your braid with a hair tie that matches your hair color. Gently pull on the outer strands of your braid to loosen it up. Loosening your braid will make it appear thicker and fuller. For a romantic touch, pull a few wisps of hair from around your face. For a chic look, part your hair to the side before you start your braid.

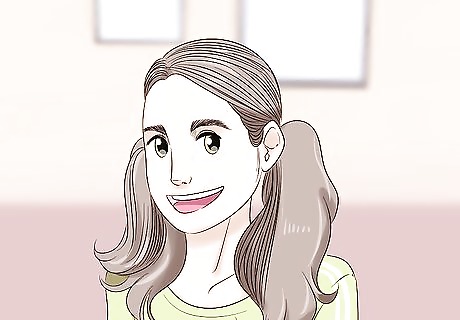
Update a simple ponytail by wrapping a strand around the hair tie. Brush out your hair, then gather it into a high, mid-high, or low ponytail. Wrap a hair tie around the ponytail to secure it. Gather a thin strand of hair from the bottom of the ponytail, then wrap it around the base to hide the elastic. Secure the end of the wrapped hair strand to the ponytail with a bobby pin. The strand of hair should be about the same thickness as a pencil. The color of the hair tie doesn't matter since you'll be covering it up. You should use a bobby pin that matches your hair color, however. You can add a little bit of product to make a really nice slicked back ponytail, straightening the ends and creating a kind of an Ariana Grande vibe.

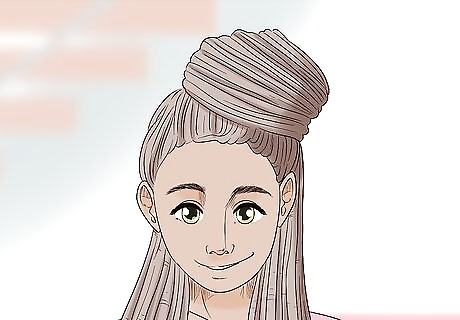
Keep it easy with a messy bun. Gather your hair into a high ponytail and secure it with a hair tie. Divide your ponytail into 2 sections, then wrap and twist the sections together like creating a rope braid. Coil the rope around the base of the ponytail into a bun. Secure the bottom of the rope to the rest of your hair with a bobby pin. Position the ponytail at the back of your crown or on the top off your head. For extra volume, tease each section before you began to wrap them. Don't mess up the bun. It will become messy on its own as the day goes on. If you want to make it firmer, you can use bobby pins to secure the bun and the ponytail.
Upgrade any hairstyle with a cute accessory. Ponytails, braids, and side parts are quick and easy to do. If the style looks too boring for you, however, you can easily upgrade it by adding a cute accessory, such as a headband or a hair clip. Here are some ideas: Create a side part as described above, then tuck a flower behind your ear. Tie a cute scrunchie around a ponytail. Add a fancy hair clip to the end of a braid to give it a new look. Brush your hair back, then put on a cute headband.
Doing Styles for Short Hair
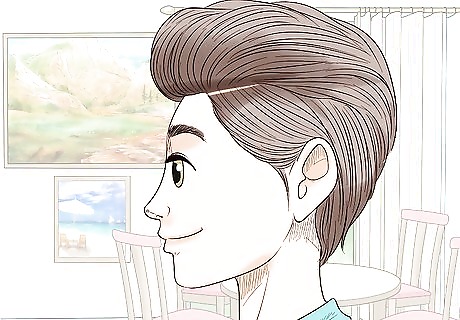
Change the way you part your hair. Although simple, this is a great way to change up your daily look. Slide the handle of a rat-tail comb back through your hair to create a deep side part. Tuck the thinner side of the part behind your ear. If your hair is too short to stay tucked behind your ear, use a hair clip instead.
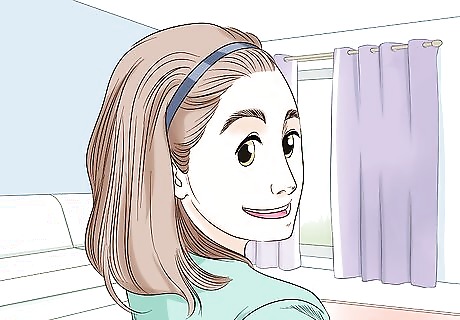
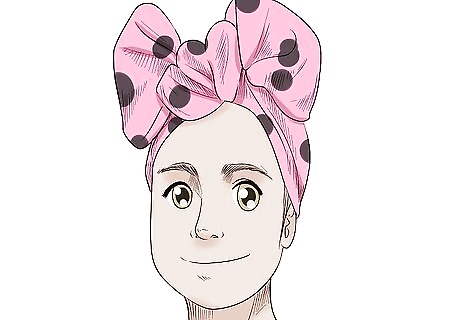
Pull your hair back with a headband. Brush your hair back to make your part go away. Next, slip a headband over your head, then pull it back behind your hairline until it is perpendicular to your ears. This works well with plastic, metal, or fabric/elastic headbands.

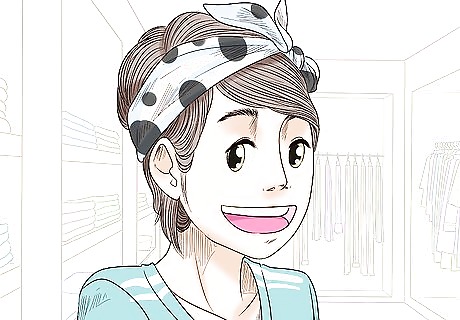
Wrap a chic scarf around your head like a headband. Find a long, skinny, silk or chiffon scarf. Tuck it under your hair and place it on the back of your nape. Pull the ends of the scarf over the top of your head, then tie them into a tight knot. Upgrade your look by doing 1 of the following: Finish off with a double-knot if you only have a few inches/centimeters of scarf left. Tie the ends of the scarf into a bow if the scarf is long enough. Pull the knot towards the left or right side of your head, just above 1 eyebrow, for a chic look. Pull the knot towards the back of your head so that it rests under your nape. Leave the ends long.

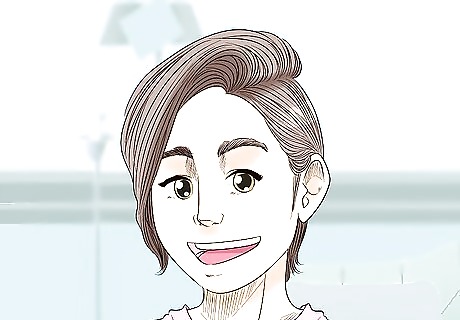
Style pixie-length hair with hair gel or mousse. Squirt some hair gel, pomade, or mousse into your palm, then massage it between your hands for a few seconds. Use your hands and a comb (if needed) to manipulate your hair into all sorts of shapes and styles. Try any of the following: Comb your hair back or to the side for a sleek and chic look. Spike your hair up for an edgy look. Brush it back slightly to get a quiff. Gather the top section of your hair between your palms to create a dorsal fin.
Try a pair of pigtails for bob-length hair. Use the handle of a rat-tail comb to create a center or deep-side part. Gather the left side of your hair into a pigtail at the left side of your hair and secure it with a small hair tie. Repeat the process for the right side.
Try a half-up ponytail if you can't do a full ponytail. If your hair is not long enough to do a full ponytail, you could try a half-up ponytail instead. Gather all your hair at ear-level and up into a ponytail at the back of your hair and secure it with a hair tie. Upgrade your style by doing any of the following: Add a cute hair clip or barrette to cover the hair tie. Part your hair to the side before you start for a chic look. Leave loose strands as they are, or take a moment to curl or straighten them. If your hair is still too short, try using bobby pins to hold it back instead of a hair tie.
Doing Styles for Natural Hair
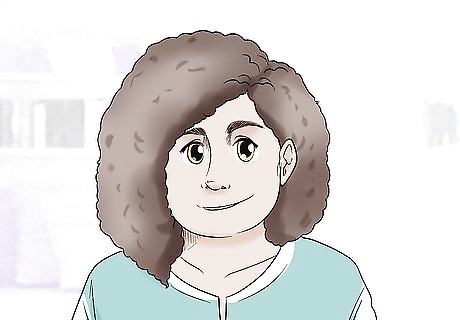
Brush medium-length hair into a curly afro with a hair pick. Start with medium-length natural hair. Use a hair pick to comb out your hair. Manipulate the hair so that it sticks out in all directions, like a halo. When you get to the back, comb the hair upwards rather than straight out to help reduce volume. If you don't have a hair pick, use a wide-toothed comb or your fingers instead. If your hair is fairly short, keep it brushed back from your forehead so that you can see your hairline. However, if it’s long enough in front to reach your eyebrow level, you can let some of it hang down in front of your forehead.

Tie a large elastic around a curly afro to create a large puff. Use the previous step to create a medium-length, curly afro. Next, wrap a large hair elastic around your head like a headband to pull your hair back into a thick ponytail. Keep the elastic a hand's with from your hairline on all sides. You can use a skinny elastic headband instead. For a chic look, wrap a skinny silk or chiffon scarf around your head like a headband, then tie the ends into a double-knot or a bow.
Wrap a silk scarf around your puff or bun for a chic look. Pull your hair up into a puff or twist it into a bun. Drape a large, silk scarf over the top of your head. Make sure that it is centered, then pull the ends towards your forehead. Twist them together to create a rope braid, then wrap the braid around the back of your head. When you reach the front again, tuck the end under the rest of the scarf. To protect your hair further, wrap a thinner silk scarf around your head like a headband first. Tie the scarf tight enough so that it stays snug around your head, but not so tight that it squashes your puff.
Try a fro-hawk for an edgy look. Comb the left and right sides of your hair up towards the top of your head and secure them with a generous number of bobby pins. Start at the front of your head and work your way towards the back. As you reach the back of your head, you should be brushing and bobby pinning the strands back, not up. Keep your look sleek and under control by applying some hair gel or edge control along your hairline, focusing on the hair that you will be brushing and pinning up. Don't let the left and right sides of your hair touch in the middle. Leave a gap about the width of your hand. The sections that you are working with should be no wider than a bobby pin. Mix up your look by making bantu knots or twist out curls in the middle section of your hair instead of a fro.
Pull Senegalese twists up into a half-up ponytail. Gather your twists back into a half-up ponytail at about ear level. Take 2 twists, and wrap them 2 times around your ponytail to secure it (instead of using a hair tie). Secure the wrapped twists to the rest of your hair with a large bobby pin. This style works the best on Senegalese twists, but it can also work with other styles, such as box braids or locs. Don't use a regular bobby pin; it's not strong enough.


Comments
0 comment