views
Choose your paint.
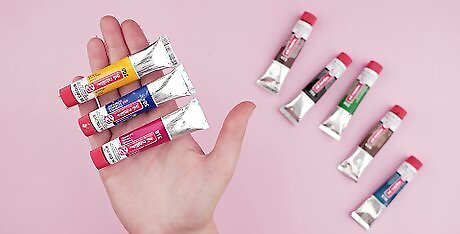
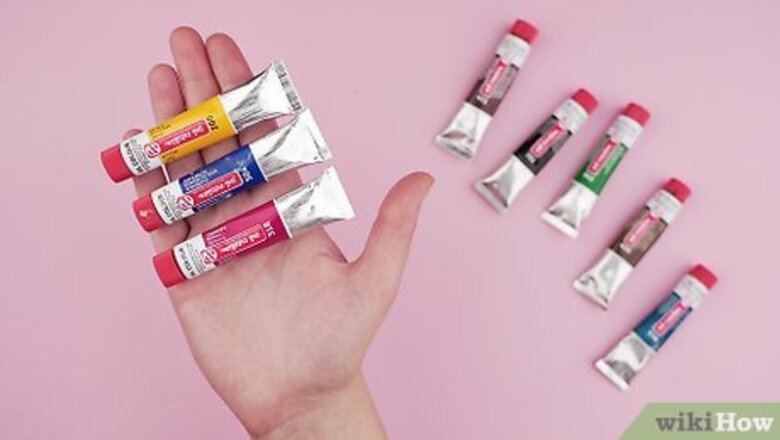
Buy oil, acrylic, or specialty glass paint. The type of paint to pick depends on how opaque you’d like your design to be, as well as how easily you’d like to apply the paint. Choose oil paint for an opaque option that allows some room for error. Since oil paint takes anywhere from 24 hours to several days to dry, you'll have a chance to fix any mistakes. Select acrylic paint if you’d like a non-toxic, opaque paint that’s easy to clean up and apply. Acrylic paint dries in around 20 minutes. Pick thick water-based glass paint if you’d like to be able to peel your art off the glass and end up with a transparent painting. Water-based paint takes 20 minutes to set, and 2-3 days to fully dry. Use solvent-based paint to give your image a more transparent look. Solvent-based paint takes 2 hours to set and 8 hours to fully dry.
Get your glass from a photo frame, panel, or drinkware.
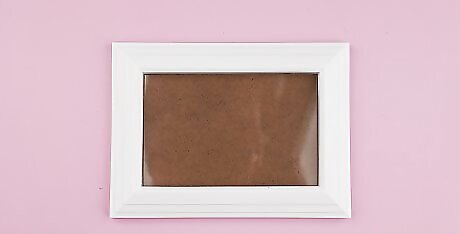
The most common way to get glass is to use a cheap photo frame. Open the back of the frame as if you were going to put in a photo. Then, just gently lift the glass panel out to remove it. Alternatively, find a small glass panel from a craft or hardware store, but avoid traditional window glass as it’s often too large to easily paint. For a three-dimensional piece of art, choose any drinking glass or glass statue.
Clean the glass with alcohol and a soft cloth.
Scrub any dirt or residue off the glass to prepare it for painting. Dampen a cloth with isopropyl alcohol and gently rub the cloth over the glass. Alternatively, if you have acetone-based nail polish remover on hand, dampen a cotton ball with the remover, and rub the cotton ball over the glass. Switch out cotton balls if you see the ball getting dirty. EXPERT TIP Douglass Brown Douglass Brown Glassblowing Expert Douglass Brown is a Glassblowing Expert based in Half Moon Bay, California. He has over 25 years of experience as a glass artist, and is the owner and operator of 2 glass blowing studios in the San Francisco Bay Area, Half Moon Bay Art Glass and Mare Island Art Glass. Douglass believes in sharing hot glass experiences with anyone who wants to learn about the processes of blowing and sculpting glass. When not teaching, Douglass creates glass art that is a mix of his takes on nature and functional glassware. He has also created the Glass Troubadours, which is a mobile glass blowing studio that hosts parties, events, and visits craft shows. Douglass Brown Douglass Brown Glassblowing Expert Cleaning the glass is a crucial step to take before painting. You want to avoid any films, oils, or anything that could affect the adhesion of your paint.
Print out a reference image.
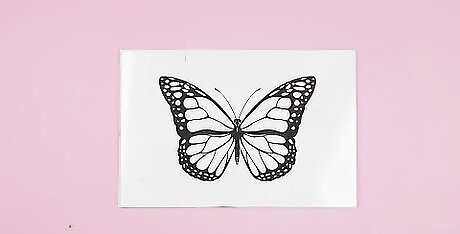
Choose an image you want to copy onto the glass. An image with clear, bold lines (line a cartoon or anime image) works best for tracing. Scale the image to the size of your piece of glass, and print it out on standard paper. If you’d prefer to draw your own image, create a drawing in a digital design software and print it out, or draw your image on a regular sheet of paper.
Tape the image to the glass to prevent shifting as you trace.
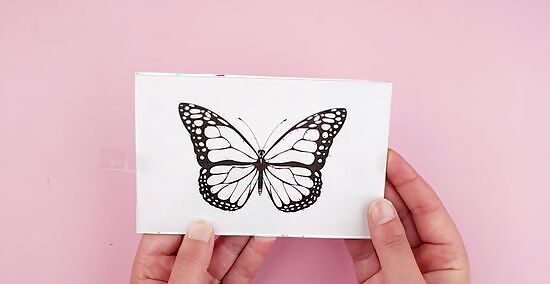
Slide the image under the glass, then tape the glass to the image. Use regular tape (or painter’s tape) to secure the glass to the edges of your printout. Be sure to place the tape in a spot on your image where you don’t have to worry about tracing lines. For extra security, you can also tape the glass down to the table.
Outline the image with oil-based paint pens.
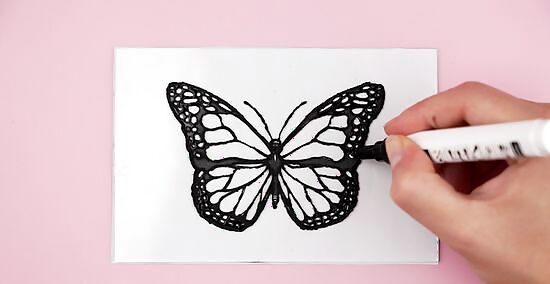
Use black paint pens to draw in the major lines of the image. Choose oil-based pens instead of regular markers since they’ll be more resistant to smudging. Outlining your artwork makes it easier to fill in distinct areas with color, and it’ll make your artwork pop. You don’t need to wait for the lines to dry before starting to paint in colors. If you smudge the outline, dip a cotton swab in either isopropyl alcohol or nail polish remover and gently clean up the smudge.
Clean up the outlines with a sharp tool.
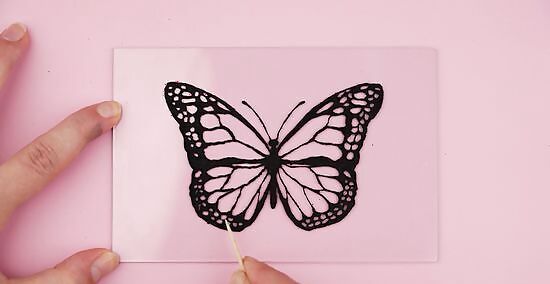
Scrape off excess paint if the lines look uneven. In some places where you stopped tracing and started again, you might end up with bulges or bends in the lines. Use a craft knife, toothpick, safety pin, or blackhead extractor to neaten up the lines by gently scratching off the excess black paint.
Paint the colors from darkest to lightest.
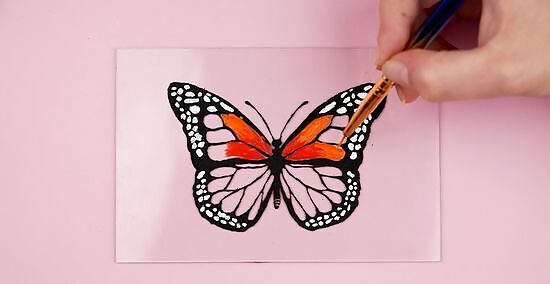
Start with the shadows and work your way to the highlights. That way, if you accidentally paint colors over each other, the lighter colors won’t end up showing over the darker colors. Use controlled, short strokes with a small brush to keep your paint within the outlines. Paint multiple layers (while the paint is wet) to build up more intense color. You don’t have to wait for the colors to dry before you move onto the next one.
Hold your painting up to the light before the paint dries.
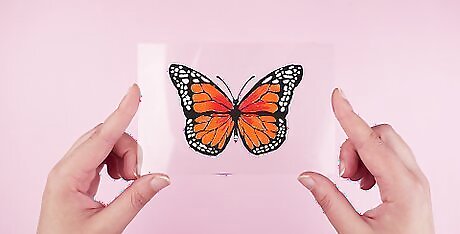
Check for any unpainted spots and fill them in. Since most people do glass paintings over photos or reference images, it’s easy to miss a spot or two while you’re painting. Look for places in your artwork where the light shines through, and touch them up by brushing on a little more of the correct color paint.
Frame your painting once it’s dry.
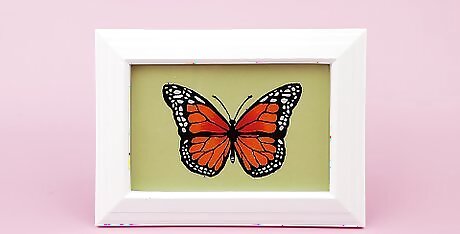
Flip your painting over and put the painted side against a piece of paper. Then, retrieve the original photo frame from which you took the glass. Put your new painted piece of glass back into the frame. Use textured or sparkly paper to set your image off against a unique background.


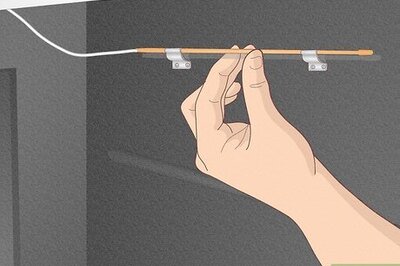


Comments
0 comment