
views
Set up for Blood Draw

Observe any patient precautions. Take note of signs behind the patient's bed or on the patient's chart. Observe isolation restrictions, and make sure that, if the blood test requires fasting, that the patient fasted for the appropriate amount of time.

Introduce yourself to your patient. Explain what you are about to do as you draw blood.
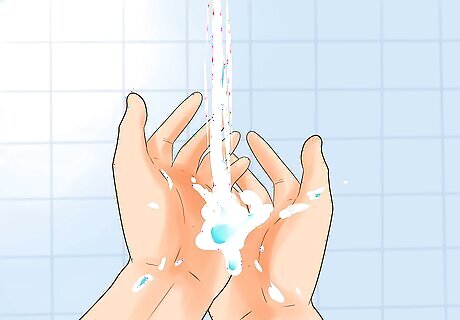
Wash and sanitize your hands. Put on sanitary gloves.
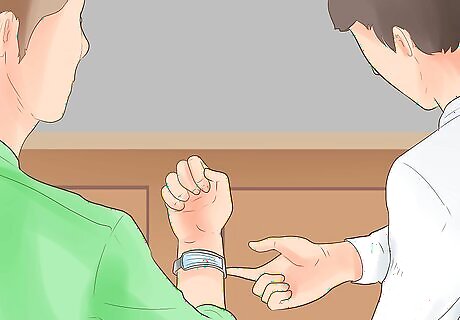
Review the patient's order. Verify the requisition is stamped with the patient's first name, medical record number and birthday. No birth year required. Make sure that the requisition and labels match exactly with the patient's identification. Confirm the patient's identity from the wristband or by asking the patient for a name and date of birth. Only month and day of birth is required.
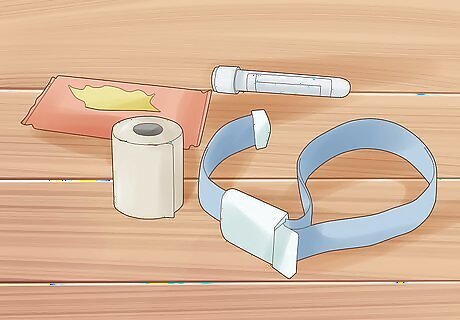
Assemble your supplies. You should have in front of you: blood collection tubes, a tourniquet, cotton balls, bandage or medical adhesive tape, and alcoholic wipes. Make sure that your blood tubes and blood culture bottles have not expired.

Select the appropriate needle. The type of needle that you choose will depend on the patient's age, physical characteristics and the amount of blood that you plan to draw.
Find a Vein

Seat the patient in a chair. The chair should have an armrest to support the patient's arm but should not have wheels. Make sure that the patient's arm is not bent at the elbow. If the patient is lying down, place a pillow under the patient's arm for additional support.
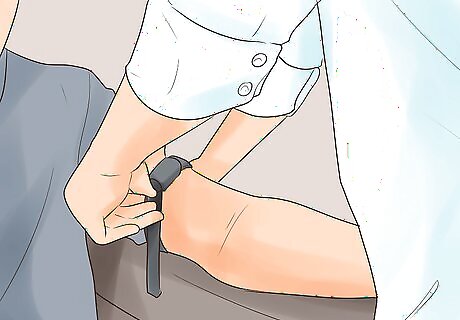
Decide which arm you will be drawing from or let your patient decide. Tie a tourniquet around the patient's arm about 3" to 4" (7.5cm to 10 cm) above the venipuncture site.
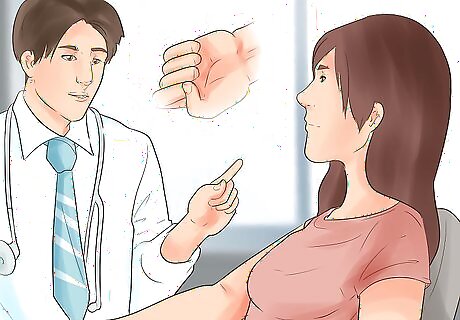
Ask the patient to make a fist. Avoid asking the patient to pump his or her fist.
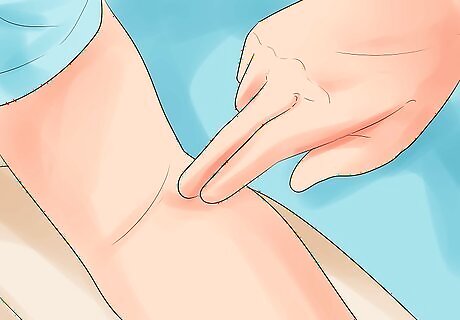
Trace the patient's veins with your index finger. Tap the vein with your index finger to encourage dilation.
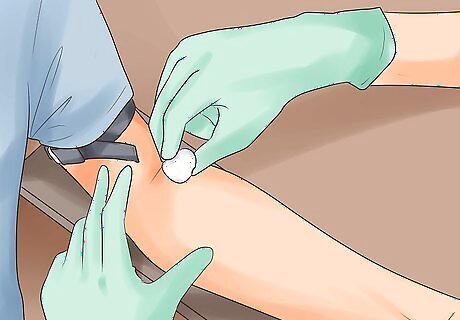
Disinfect the area that you plan to puncture with an alcohol wipe. Use a circular motion, and avoid dragging the wipe over the same piece of skin twice.
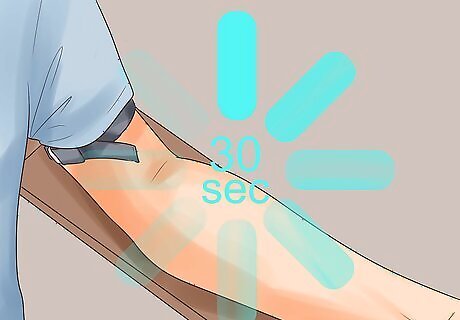
Allow the disinfected area to dry for 30 seconds so that the patient doesn't feel a sting when the needle is inserted.
Perform the Blood Draw
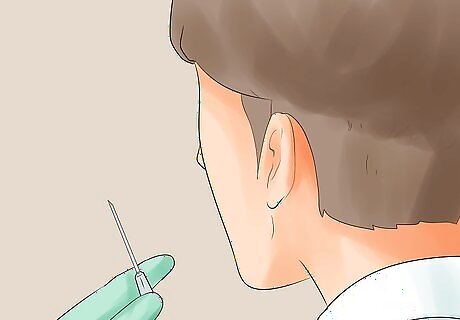
Inspect your needle for defects. The end should have no obstructions or hooks that will restrict the flow of blood.
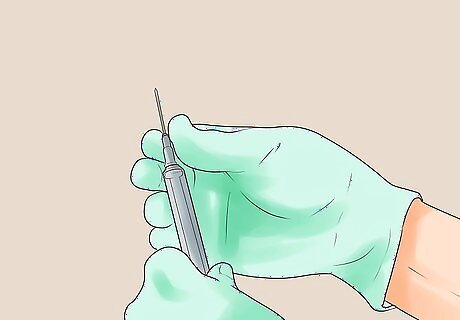
Thread the needle into the holder. Use the needle sheath to secure the needle in the holder.
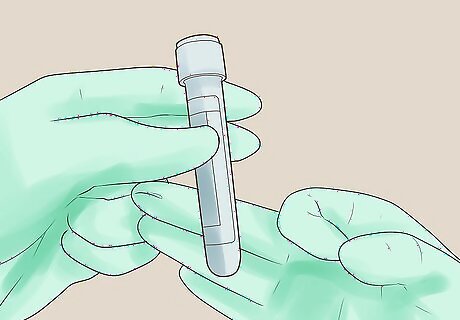
Tap any tubes that contain additives to dislodge the additives from the walls of the tube.
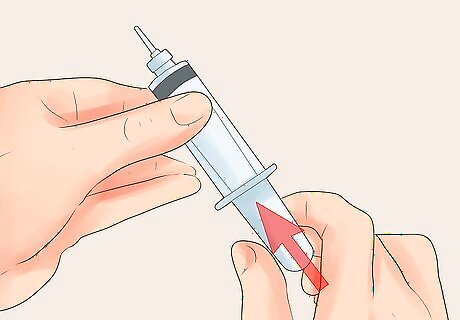
Insert the blood collection tube onto the holder. Avoid pushing the tube past the recessed line on the needle holder or you may release the vacuum.
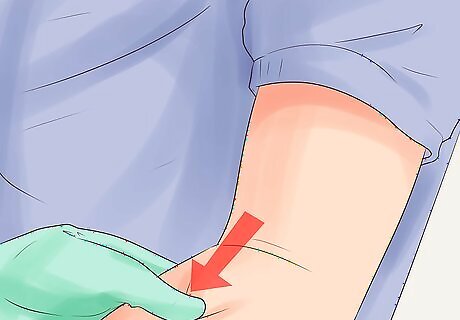
Grasp your patient's arm. Your thumb should pull the skin taut about 1" to 2" (2.5cm to 5cm) below the puncture site. Make sure the patient's arm points slightly down to avoid reflux.
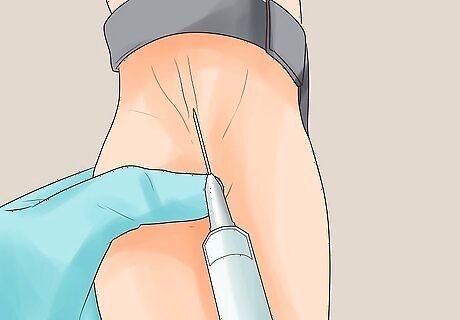
Line up the needle with the vein. Make sure the bevel is up.
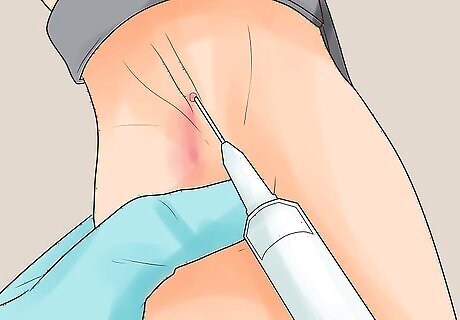
Insert the needle into the vein. Push the collection tube toward the holder until the butt end of the needle pierces the stopper on the tube. Make sure that the tube is below the puncture site.
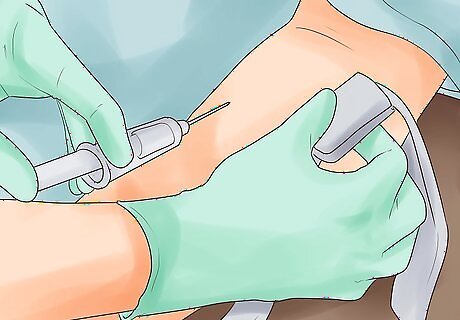
Allow the tube to fill. Remove and discard the tourniquet as soon as blood flow into the tube is adequate.
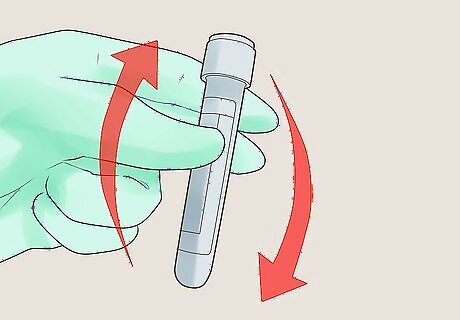
Remove the tube from the holder when the blood flow ceases. Mix the contents if the tube contains additives by inverting the tube 5 to 8 times. Do not vigorously shake the tube.
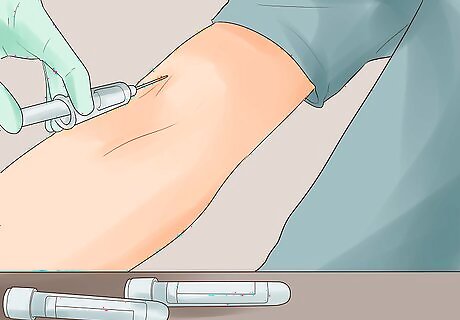
Fill the remaining tubes until you've completed the requisition.

Ask the patient to open his or her hand. Place a piece of gauze over the puncture site.
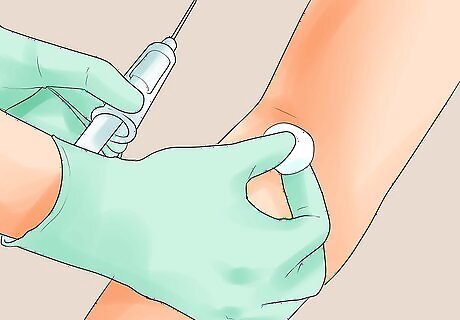
Remove the needle. Place the gauze on top of the venipuncture site and apply gentle pressure to stop the bleeding.
Stop the Blood Flow and Clean the Site
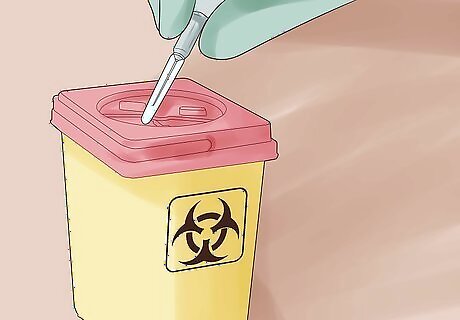
Activate the needle's safety feature and discard the needle in a sharps container.
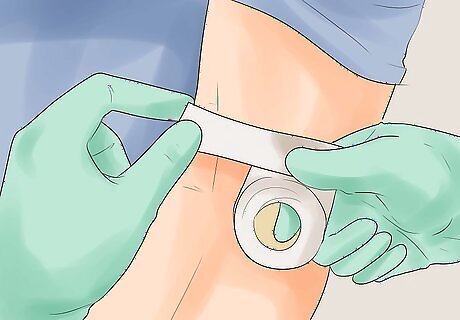
Tape the gauze to the puncture site after the bleeding has stopped. Instruct the patient to keep the gauze on for at least 15 minutes.
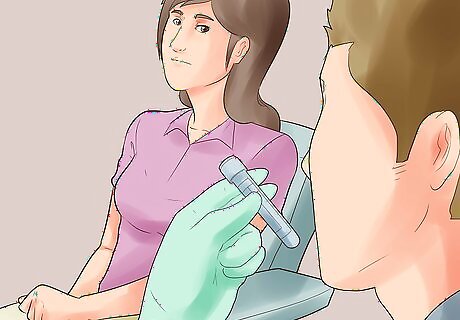
Label the tubes in view of the patient. Chill the specimens if needed.
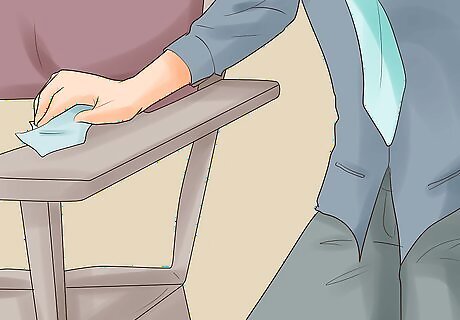
Discard all waste and put your materials away. Wipe the armrest of the chair with germicidal wipes.


Comments
0 comment