views
Bleaching Your Hair
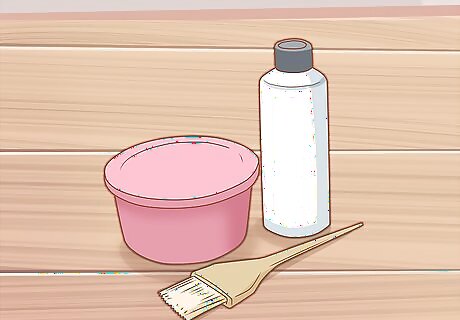
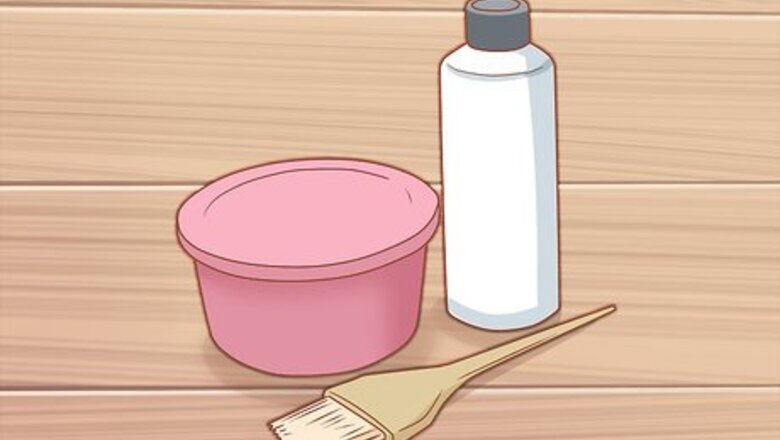
Purchase the proper supplies. If you have dark hair, you will need to lift the color before applying any rose hues. While your hair doesn’t need to be platinum for this to work, the rose color will not show up on brown hair. You will need to reach a golden color before you can do anything else. You can purchase a bleaching kit at your local beauty supply store. Depending on the kit you use, your exact instructions may differ. If you are going from a dark brown to blonde, it is highly recommended that you go to a professional. Bleaching your hair at home may take several applications, and you will most likely achieve an orange color before getting close to blonde. Multiple applications of bleach can be damaging to your hair, and if you can shell out a little bit of extra money to visit a salon, it may be worth it.
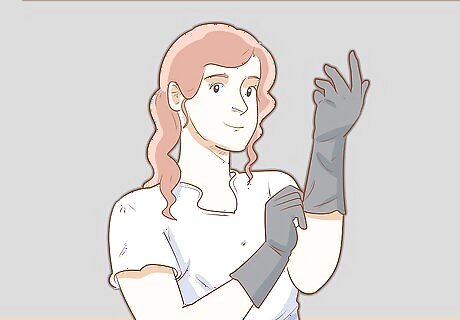
Wear gloves and an old t-shirt. Bleach is a powerful chemical that can stain and ruin clothes and sting or irritate your hands. It’s best to wear clothes you don’t care about while you’re doing this, and protect your hands with plastic gloves. On that note, take extra care to keep your workstation as clean as possible. Bleach can easily ruin your bathroom rug or your nice hand towels!
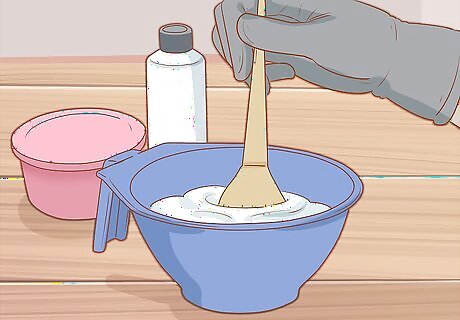
Mix your developer and your bleach. Both of these will come in the bleaching kit that you purchase, as well as a mixing tub or a bottle to mix them in. Use a brush to mix the developer and bleach in the mixing tub, or shake the bottle vigorously to thoroughly mix the 2 products. Once it’s mixed, it’s ready to apply.
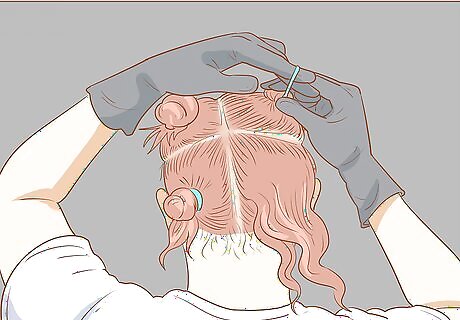
Clip your hair into sections. To ensure that you coat all of your hair with the bleach, it’s best to work in small sections. Use claw clips or duck bill clips to section your hair into 4 sections. Part your hair down the middle, and then part it again from ear to ear, like a plus sign. Make sure each section is thoroughly brushed out before you begin applying the bleach. It’s much easier to work with tangle-free hair.
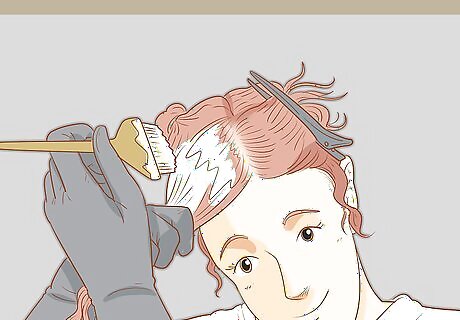
Begin applying the bleach. Begin with the back sections. It’s important to work efficiently as you do this. It may seem strange, but rather than applying the bleach to your roots and working down the hair, you will be doing the opposite. Start applying the bleach to the ends of your hair and work your way upwards. Your roots will bleach faster than the rest of your hair because of your body heat. By applying the bleach to your roots last, the dye has more time to sit on the rest of your hair. Make sure you are completely saturating each strand of hair. As soon as the bleach hits your hair, it will start processing, so it’s important to have a game plan before starting.
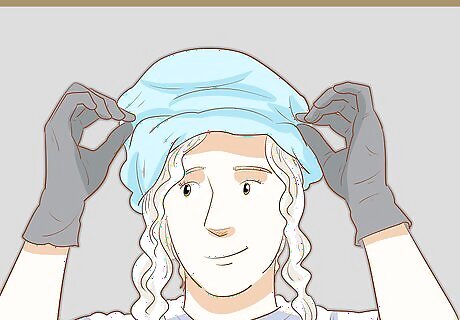
Let the bleach sit on your hair according to instructions. It’s important to read the instructions that came with your particular bleach kit. You can also keep an eye on your hair as the bleach processes, and rinse it when you believe your natural color has lifted enough. Then, wash your hair like usual until the bleach is completely rinsed out.
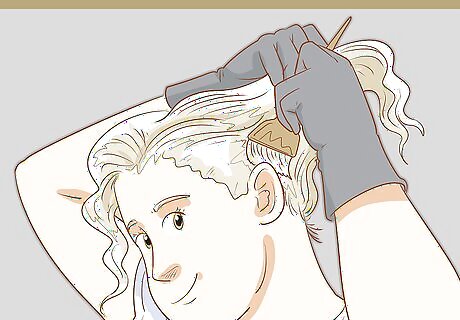
Repeat this process, if necessary. Remember, after 1 application your hair may be a bit yellow or orange if you were beginning on dark hair. A bleach kit can only lift your hair a few shades at a time, so you may need to repeat this process in a few days once your hair has had a little time to breathe. If you’ve never colored your hair before and it’s really healthy, you may be able to bleach it twice in 1 day as long as you don’t use a high-strength developer both times. Because you aren’t leaving your hair this color, it’s okay if you haven’t achieved a flawless white blonde color. Once you’ve achieved a golden color, you’ll be applying on your rosy dye! Bleach is damaging, so it’s important to hydrate and repair your hair with a deep conditioner in between bleaching sessions. The less bleach you use on your hair, the better!
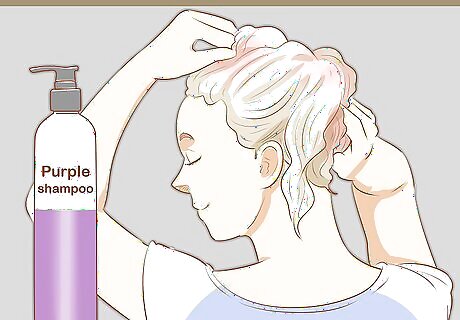
Use purple shampoo to tone your hair. If you are happy with the color you’ve achieved after the bleach, you can skip this step. If your hair was dark to begin with, however, you’ve likely ended up with an orange or yellow color after the bleaching. Wash your hair with purple shampoo to help to remove some of this brassiness. Let it sit on your hair for 5-10 minutes before rinsing it out and applying conditioner. If you’re getting your hair done by a professional, they may apply a toner instead.
Creating the Rose Gold Color
Purchase your dye of choice. There are a variety of dyes that can achieve this look, so shop around at your local beauty supply store or online. You can find many dyes that will actually be called “rose” or even “rose gold,” but layering any pink dye over your golden hair should do the trick. Depending on the intensity of the color dye you choose, you may need to pick up a diluter as well. A diluter will dilute the hair dye, giving you a lighter, more pastel result. Or, you can purchase a pastel pink dye, like from the Pravana Chromasilk Pastel collection or the L'Oreal Paris Féria Smokey Pastels collection.
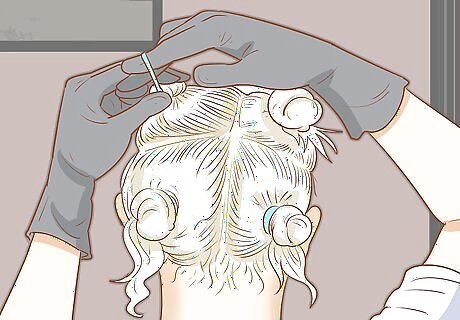
Section your hair. By splitting your hair into sections, you can ensure that you coat every piece with your rose dye. Sectioning your hair into a bottom, middle, and top layer may be sufficient. Hold sections out of the way with claw or duckbill hair clips. If you have thick hair, you may need to create more sections.
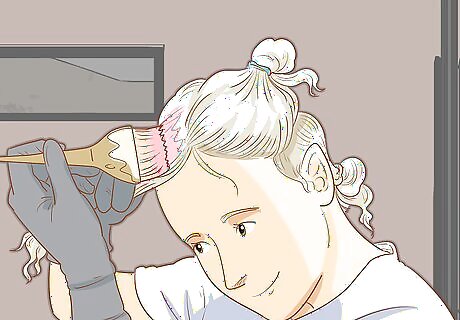
Apply your rose dye. Because there is no bleach involved in this step, time is a bit less critical. It’s more important that you thoroughly coat every single strand of hair that you want to be rose gold. You can use a dye brush to apply the product, but you can also simply rub the product into your hair with gloved hands. After you’ve applied it to each section, brush the section out to help distribute the dye even more and ensure you’ve gotten every piece.
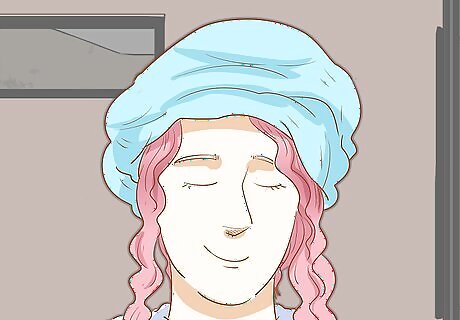
Let the dye sit on your hair. Typically, the longer you let your dye sit, the more intense the final color. Check the instructions on the dye you’ve purchased, and keep an eye on your hair as it processes. Once time is up, rinse the dye out of your hair. If your hair was very light, you may not need to leave your rose dye on for very long.
Maintaining Your Rose Gold Hair
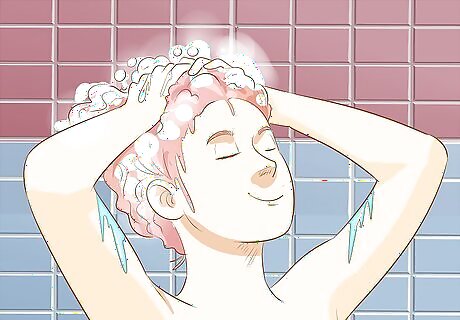
Limit your hair washes. Every single time you wash your hair, your rose color will soften a bit. If you love the color and want it to last as long as possible, try to skip as many washes as you can. Don’t worry – that doesn’t mean you need to completely neglect your hair hygiene. Purchase a bit of dry shampoo to minimize oil and keep your hair looking fresh.
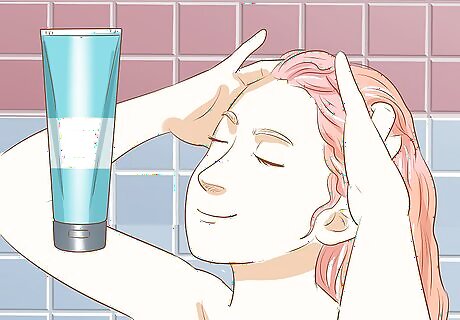
Add your rose dye to your hair conditioner. Semi-permanent hair dyes in unnatural colors wash out a bit every time you wash your hair. If you’re a fan of your rose gold hair and want to keep that color intense, add another tube of the dye to your favorite hair conditioner. When you shower, let your conditioner soak into your hair for a couple of minutes. This will intensify the rose gold color every time you shower.
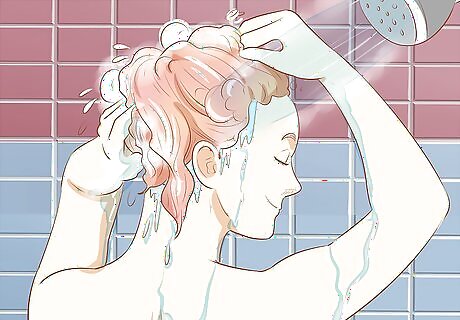
Wash your hair in cold water. When you rinse your hair with hot water, the cuticle opens. When the cuticle opens, the dye you put in your hair washes out. By limiting your washes to cold water, you’ll help keep that cuticle sealed and help keep that dye locked in. While every wash will dilute your rose gold a bit, using cold water will minimize that.


Comments
0 comment