
Filling Tiny Holes with Super Glue and Baking Soda
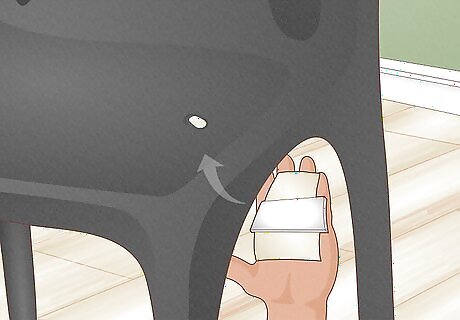
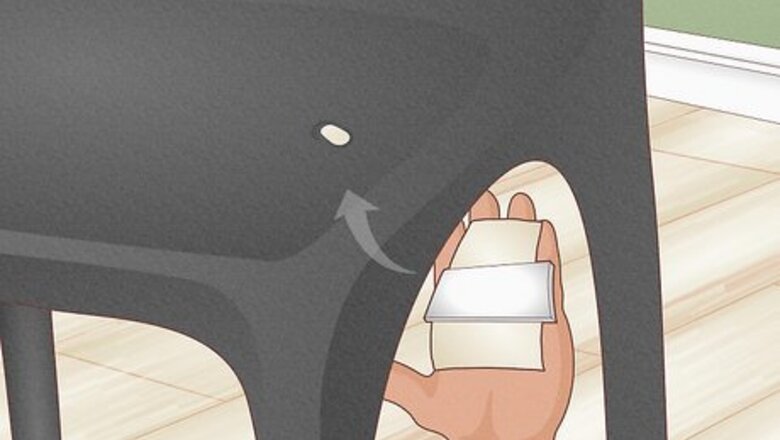
Attach cardboard on the backside of the hole. Use a sturdy piece of scrap cardboard that be easily removed later and attach it with tape or a hand clamp. Placing a back piece behind the hole prevents any material from running through the hole. If you cannot fit cardboard between the plastic, like if the hole is in a gas can, this can still work, but it may not have as solid of a hold.

Squeeze three or four drops of super glue into the hole. Make a small pool at the bottom of the hole with a few drops of super glue. The backing will give the glue a flush edge at the bottom of the hole. Super glue dries quickly, so you will have to work fast before it sets. Wear plastic gloves to avoid getting super glue stuck on your hands.
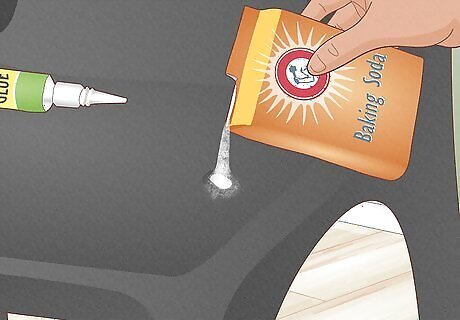
Sprinkle a pinch of baking soda on top of the glue and press firmly. Press the baking soda into the super glue with your finger or a flat edge, so the two substances bond together. Super glue is thin, but when combined with a powder like baking soda, it thickens and makes more of a cement-like substance. Other powders like sawdust or chalk powder may also work.
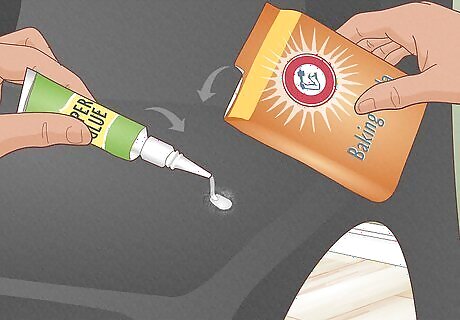
Layer super glue and baking soda until the hole is filled. Keep building layers until you’ve formed a plug that is flush with the top of the hole. Even if the hole is filled after the first time, add a second layer of super glue and baking soda to strengthen the bond.

Let the patch dry for 15 minutes. As it dries, the hardened substance will be a chalky white color. While it is not the most visually pleasing, it will be stiff and keep the hole closed. Once the patch is dry, you can remove the backing. You can try mixing colored powder or food dye with the baking soda to resemble the color of the plastic more closely.
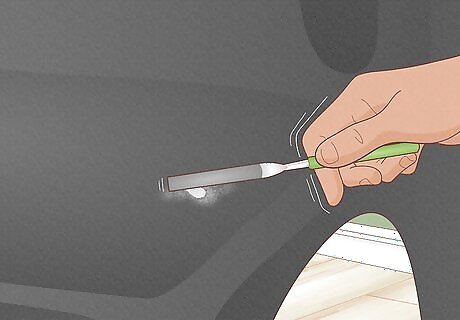
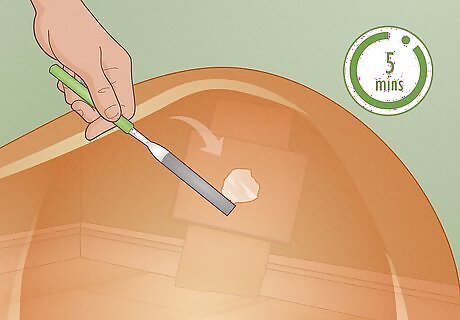
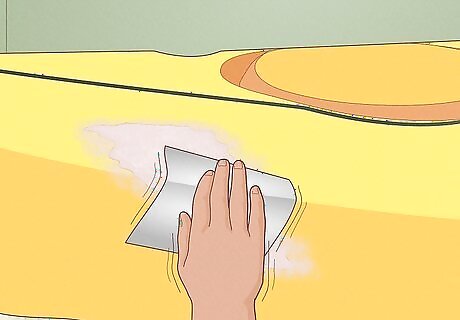
File the top of the patch, if there is any residue. Use short back-and-forth strokes to sand away any buildup. Keep a constant pressure as you file the cement mixture. Sandpaper or a fine-grit metal file will work fine. Wear a face mask so you don’t breathe in any plastic particles as you work. Kurt Lammon, Plastic Repair Expert Repairing holes in plastic requires first identifying the specific type of plastic and selecting an appropriate filler material. Small holes can be effectively mended with a mixture of super glue and baking soda for a quick, sturdy fix. More extensive damage may necessitate a two-component epoxy or a plastic welding method. The repair process calls for thoroughly cleaning the region, applying the filler, or thermally welding the plastic, then sanding and refinishing the area to integrate smoothly with the surrounding surface.
Melting Plastic Rods for Small Holes
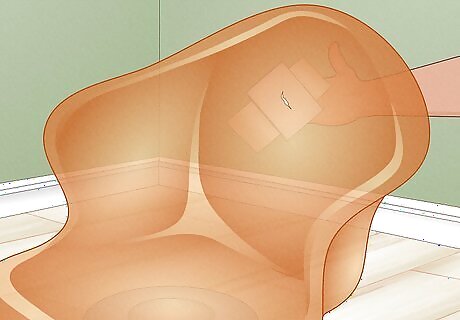
Attach a cardboard backing to the hole. Adhere the backing with pieces of tape or with a hand clamp to prevent any run-off. Make sure it is pressed tight against the bottom of the hole. Scrap cardboard works best since it can easily be removed when you’re finished.

Melt a plastic welding rod with a welder into smaller holes. Hold the plastic rod ⁄2 inch (13 mm) above the hole. Use the welder on the end of the plastic rod to melt the plastic into the hole. Once the hole is filled, turn off the welder and let the plastic solidify. Keep your hands away from the heating end of the plastic welder to avoid burns. Find a rod that closely resembles the color of the plastic you’re fixing.
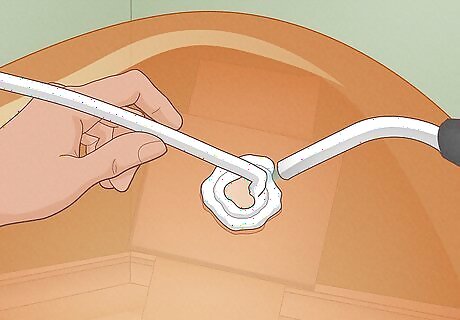
Wrap a heated plastic rod into a spiral inside a larger hole. Heat the end of the plastic rod with a plastic welder. Start spiralling the rod along the bottom of the hole so it is pressed against the backing. Layer the plastic until it lays flush with the top edge of the hole. Hold the plastic welder ⁄2 inch (13 mm) away from the rod. You want it to be malleable, but not for it to melt completely.
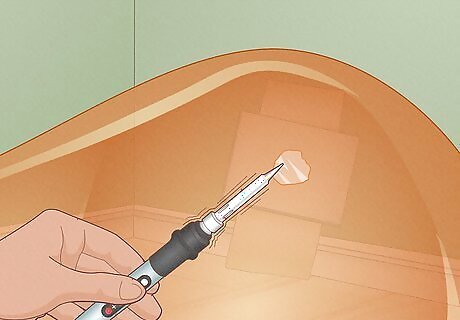
Use a soldering iron to trim the rod and smooth the hole. Once the hole is filled with the plastic, use a hot soldering iron to cut the end. Rub the edge of the iron across the top of the filled hole to smooth it out and to fuse the top of the plug. Do not leave a depression in the plug, since this could compromise its strength and integrity.
Let the plastic cool for five minutes before filing it. It only takes a few minutes for the plastic to solidify. Once it is cool to the touch, use a file or sandpaper to smooth out plastic and make it flush. If you want to get rid of any file markings, hold the plastic welder just above the area to smooth it out. Cut away any large pieces that are too big to file with a small razor blade.
Using Epoxy to Patch Larger Holes

Cut two fiberglass patches 6 inches (15 cm) larger than the hole. Leave a little extra room on the fiberglass gives you a little wiggle room and helps ensure the hole is fully covered. These mesh patches provide an area to place epoxy across the hole of the plastic. Fiberglass patches can be purchased at hardware stores or online.
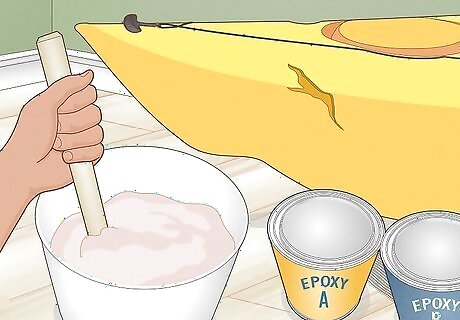
Mix even amounts of each part of the epoxy in a bucket. Use a stirring stick to mix the even parts of the epoxy in a bucket or large mixing bowl. A two-part epoxy has a resin and an activator that need to be mixed together to cure. Once it is mixed, it should be very thick and tacky. Wear disposable gloves when working with epoxy, since it may cause skin irritation. Lay cardboard or another disposable liner underneath the plastic, in case it drips through the mesh.

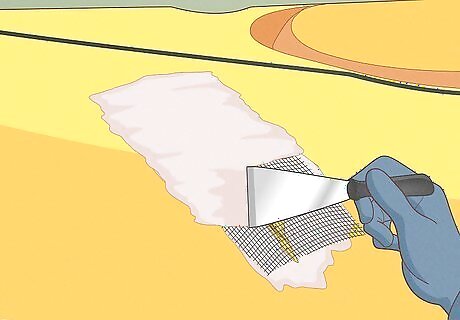
Spread a thin layer of epoxy on one side of the hole with a putty knife. Cover the entire area surrounding the hole with a layer of epoxy. Make sure the layers are even so that it dries evenly. It should be thick enough that the fiberglass can stick to it, but not overly thick. There should be enough epoxy so that the entire fiberglass patch sticks to the plastic.
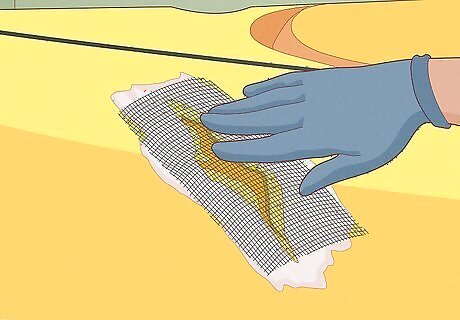
Press one of the fiberglass patches onto the epoxy, so that the hole is in the center. Use your hands to push the fiberglass the hole is in the middle of the patch. The excess fiberglass on each side ensures there is enough to cover the hole and will add a smooth transition between the plastic and epoxy. Fiberglass patches are flexible and should conform to the shape of the plastic you are mending.
Paint another layer of the epoxy over the fiberglass. This time as you apply the epoxy, spread it over the part of the mesh that covers the hole. Use just enough epoxy to hide the mesh underneath, but not so much that it is clumpy. You want it to be as close to flush with the plastic as you can.

Let the epoxy dry for 24 hours. Let the epoxy set on one side of the plastic before transporting the plastic or moving on. As it dries, it will harden and form a solid layer. It takes at least 24 hours for the epoxy to initially cure, though it may take longer in humid climates.

Repeat the process on the other side of the hole. Once one side of epoxy and fiberglass has set, apply epoxy to the other side of the plastic and adhere the fiberglass to it. Paint another layer of the epoxy over the fiberglass and let it cure for another 24 hours. This entire process can be done once more with more fiberglass pieces if you need to add more integrity to the plastic.
Sand the epoxy until it is smooth. Once both sides of the epoxy are set and dry, you can use sandpaper to smooth any dry epoxy, so it is level with the plastic. Wear a face mask as you sand the epoxy down so you don’t breath any dust particles. Epoxy can be painted afterward to match the color of the plastic.


Comments
0 comment