views
Finding Pictures in Windows Photo Gallery
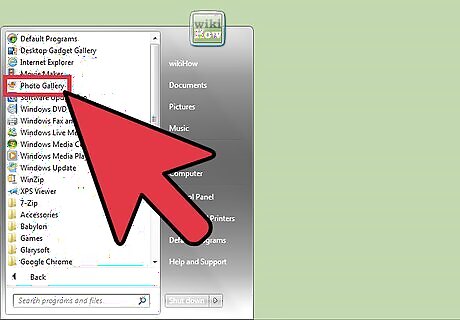
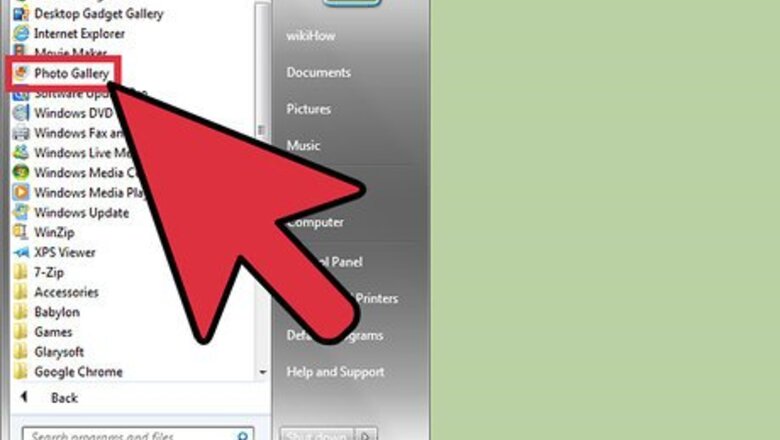
Open the photo gallery. Choose Start>All Programs>Windows Photo Gallery. This will open the photo gallery window on your computer so you can access photos and videos. To view just the photographs, click “Pictures.” This will give you a thumbnail view of your photographs.
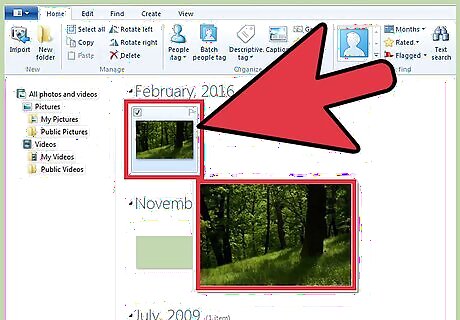
Enlarge your thumbnails for a better view of the photograph. You can see a larger version of the photo by hovering your mouse over the thumbnail. If you would like to open the thumbnail for a complete view, double click the thumbnail to open the picture. If this is not the picture you are looking for, click “Back to gallery” to return to the thumbnail views and continue the search.
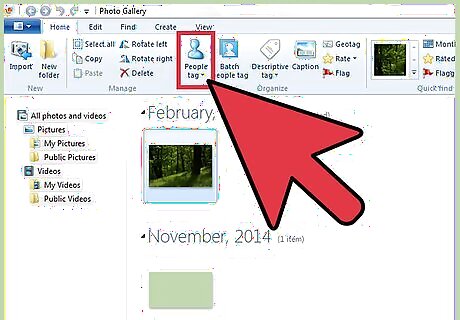
Search via tags. If you have tagged your picture, select “Tags” in the navigation panel. This will give you a search bar. Type your tag into the search bar to find the picture or pictures you are looking for. Tags are key words you have attached to the saved image. To tag photos, open the photo file. Find "Tags" on the bottom right of the details pane and select "add a tag" to type a keyword. Tags can refer to the people in the photo, the place where it was taken, or a general theme such as "animals."
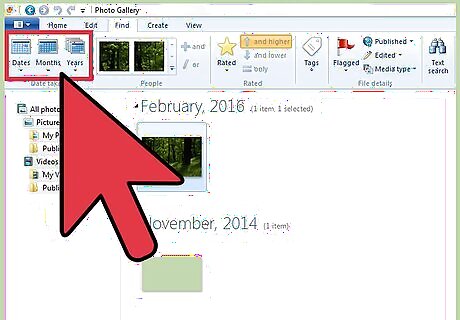
Find a picture according to the date it was taken. In the navigation pane, click “Date Taken.” From here you will be able to select a month, date or year to search the timeline of your photos.
Using the Search Tool in Windows
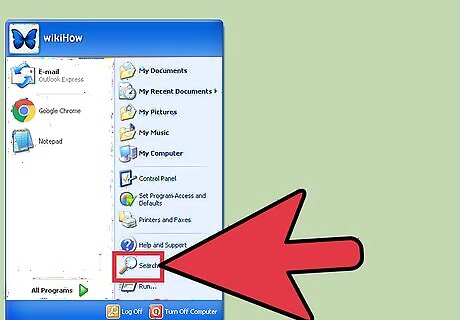
Start the Search Utility. Start>Search>For Files or Folders. If you have named your folders with enough detail, you should be able to locate them very quickly using the search capability that Windows includes by default. You don’t need any special program to install or learn, you use only what comes with Windows on your PC.

Click All Files and Folders on the Search Utility screen. You may wonder: Why not use the Pictures, Music or Video? This option will find specific files and not folders. We usually want to find the folders containing the pictures we want, so we need to search for folders. A folder is an organization tool which allows you to store specific files together in one place. There are many more files than folders in your computer. This will narrow your search.
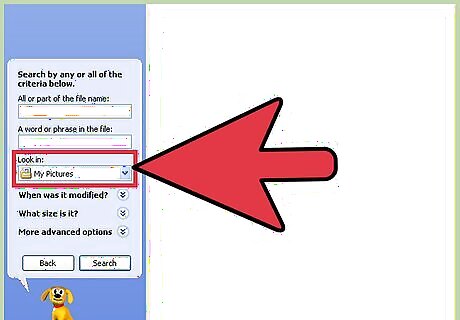
Enter parameters for searching. Make sure you select My Pictures (or your pictures folder) in the “Look in” field. Otherwise it will search your entire computer. In the “all or part of the file name” field enter the event or place you’re looking for. If you have named your picture folders properly you should be able to find them quickly. Enter something like: birthday, grandma, Yosemite, or other events or places of interest. You can also enter part of a word (i.e. grand, yose, birth, and day) and the search utility will find what you’re looking for.
Finding Pictures on a Mac Using a Smart Folder

Click on the Finder icon in your dock. This is the blue and white square with a smiley face in it, which is the far left icon on the default dock. This will open the finder window.
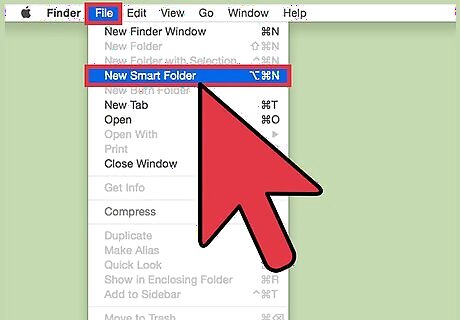
Open a new smart folder. Choose “File” from the toolbar at the top of your screen. Click on “New Smart Folder.” This will open another screen which looks very similar to a search screen. This process again, is File>New Smart Folder.
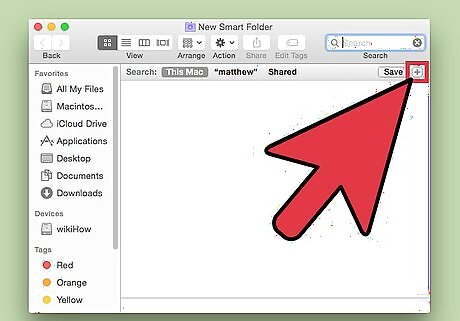
Increase your search options. Choose the “+” icon on the far right of the top of this folder. This will open another toolbar below the current toolbar in your smart folder window.
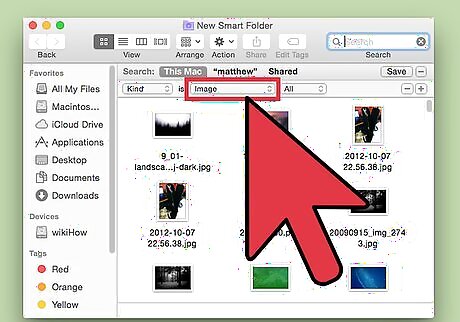
Find all of the photos on your computer using the second drop down menu. The first menu will read “Kind.” The second menu will read “Any.” Click the arrows next to “Any” to reveal a drop down menu. From there, select “Image.” Your smart folder will be filled with thumbnails of all of the images which are downloaded to your computer. This step again is Any>Image.
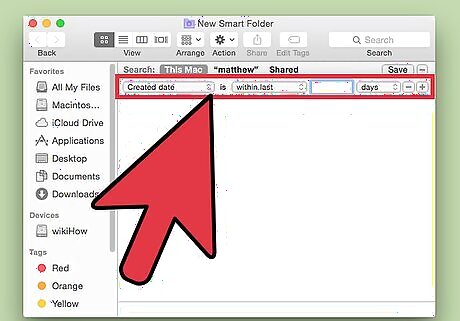
Specify your search by a timeline. If you have a lot of images on your computer, you can narrow the search by setting up timelines within the window. Near the center of the very top of your toolbar in the smart folder window, is an icon with a solid line. Under that line is 3 square, another solid line, and another 3 squares. Click the arrows on the side of this icon to reveal the drop down menu. Choose “Date Created.” This will separate your images and order them according to the time they were created on your computer. Search a more specific timeline using the “Kind” drop down menu. This process is File>New Smart Folder> + >Kind>Created Date>Within Last. From this point, the drop down menu will give you options to choose a specific date, or a range of dates including before and after certain dates, as well as within the week, month or year. To search around a specific date, select either “exactly,” “before,” or “After” and fill in the date in the box to the right. This option will give you thumbnails of all of the files created on your computer within the timeline, not just images. You will need to sift through the other files to find the images.
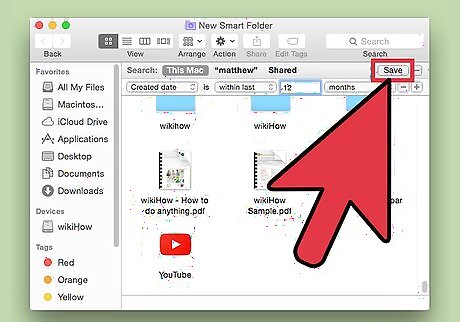
Save this smart folder for future reference. Once you have found what you are looking for, you can click the “Save” button at the top right of the window near the “+” button. This will open a window where you can title the smart folder as well as choose where to store it. Now you can return to this folder in one click next time you want to find these images.


Comments
0 comment