
views
Windows

Press .Ctrl+⇧ Shift+Esc to open the Task Manager. This is a utility that monitors and reports on all of the processes and programs currently running on your computer.
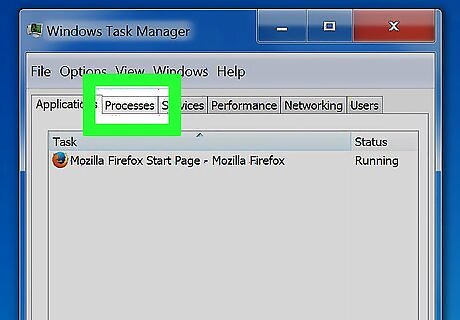
Click the .Processes tab. This will display all of the processes currently running on your computer.
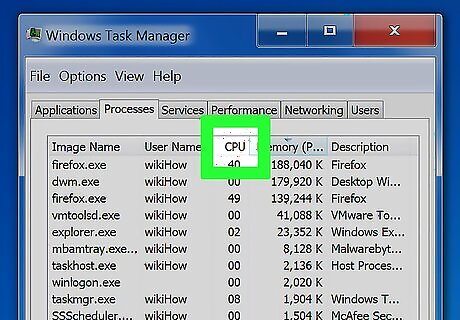
Click the "CPU" column. This will sort the processes based on their current CPU usage.
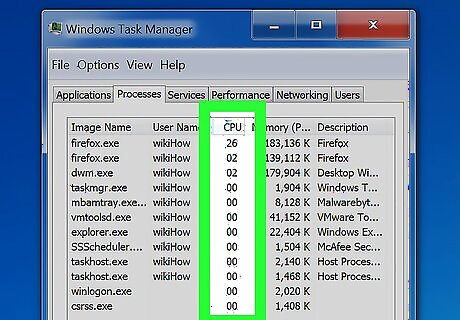
Find the processes that are accounting for the majority of your CPU usage. Usually there will be only one that is nearly maxed out at 99-100%, though you may have a couple of different programs taking up 50% each. Many games and media editing programs will take 100% of your CPU while running. This is normal behavior, as these programs are designed to be the only thing you're using while it's running.
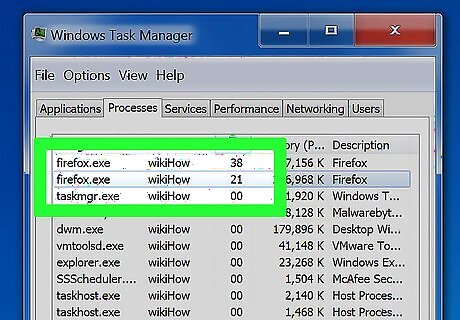
Note the "Image name" of the processes. This will allow you to look them up later to determine how to keep the high usage from happening. In Windows 8, you will be able to see the full program name instead of the process's system name. This will make determining what it is much easier.
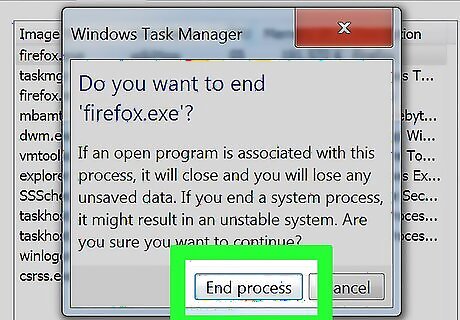
Select the offending program and click .End Process. You will be asked to confirm that you want to force the process to quit. In Windows 8, the button is End task. Force-quitting a program will cause any unsaved work in the program to be lost. Force quitting a system process may cause your computer to not work until it is rebooted. There is no need to force-quit "System Idle Process". If this is the process taking up your CPU, it is not actually using it. When System Idle Process is using a lot of CPU, it actually means that your computer has a lot of processing power available. If you are having difficulty force-quitting a program, click here for more advanced methods.
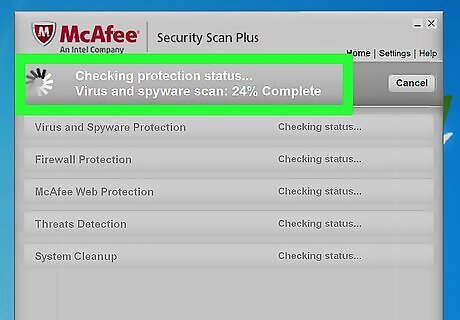
Determine how to proceed with troubleshooting the misbehaving program. Perform an internet search on the image name that you force-quit. This will help you figure out what the process is used for, as well as what steps to take to keep it from running at 100%. There are typically a few different ways that you might combat high CPU usage from a certain program: Uninstall - If the program isn't a necessary one, uninstalling it may be the easiest way to keep it from bogging down your system. Reinstall or update - Sometimes a bug in the program is causing it to take up all of your CPU. Reinstalling the program or applying an update from the developer may fix the problems you are experiencing. Remove the program from your startup sequence - If the program is causing your computer to boot slowly, but you need it installed, you can prevent it from starting when your computer does. Run virus and malware scans - If your research shows that the program is malicious, you may need to remove it using an antivirus or antimalware program. This can be a complicated process and you may not be able to remove the virus without reinstalling Windows. Click here for instructions on removing viruses, and click here for instructions on removing malware and adware.
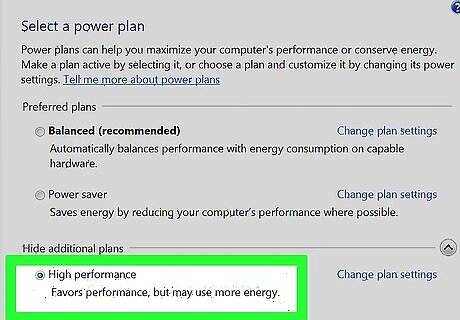
Check your Power settings (laptops only). If you're using a laptop and aren't plugged into a power source, your computer may be automatically running slower to save your battery. Adjusting your power settings can help increase your processor's capabilities, but will also lead to shorter times between charges. Open the Control Panel and select "Power Options". If you don't see this option, click "Hardware and Sound" and then select "Power Options". Click the "Show additional plans" option to expand the list. Select "High performance". Your processor's entire capability will be unlocked if it wasn't already.
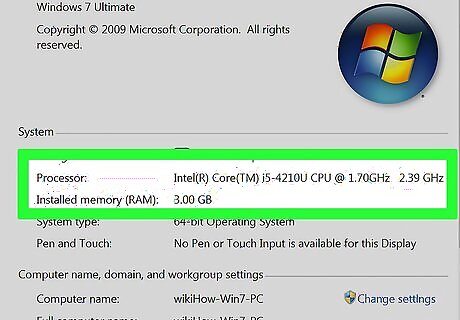
Upgrade your hardware if you are having trouble running most programs. If you are constantly running into 100% CPU usage, and none of your programs are to blame, you may need to consider upgrading your hardware. Click here for instructions on upgrading your RAM. Adding RAM can take some of the stress off of your processor. Click here for instructions on upgrading your processor.
Mac
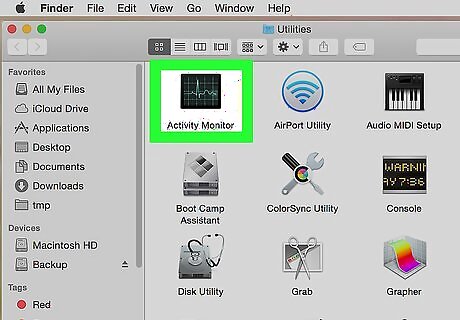
Open the Activity Monitor. You can find this in the Utilities folder in your Applications folder. You can go directly to the folder by clicking the "Go" menu and selecting "Utilities". The Activity Monitor displays all of the processes currently running on your Mac.
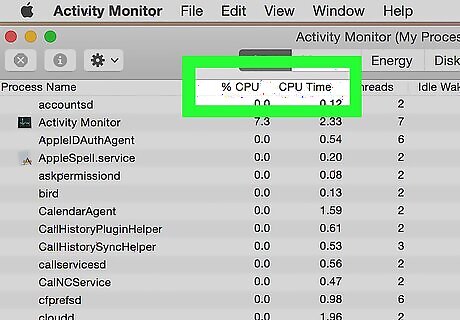
Click the "CPU" column. This will sort the processes based on their current CPU usage.
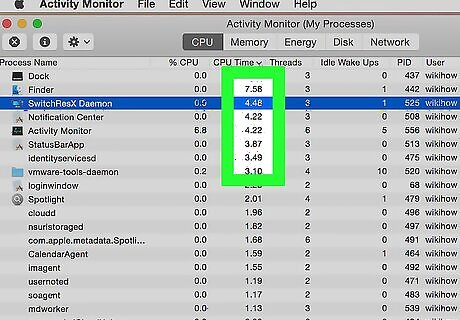
Find the processes that are accounting for the majority of your CPU usage. Usually there will be only one that is nearly maxed out at 99-100%, though you may have a couple of different programs taking up 50% each. A lot of media editing programs will take 100% of your CPU while they are running, especially if you are encoding, recording, or rendering. This is normal behavior, as these programs are designed to take full advantage of your processor.
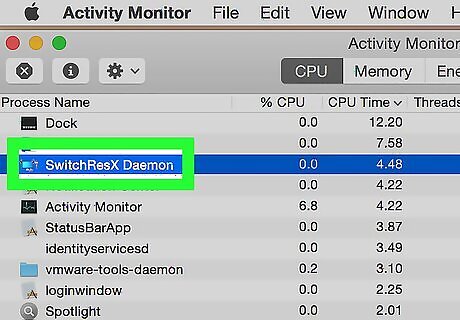
Note the "Process name" for the misbehaving process. This will allow you to look it up later to determine how to keep the high usage from happening.
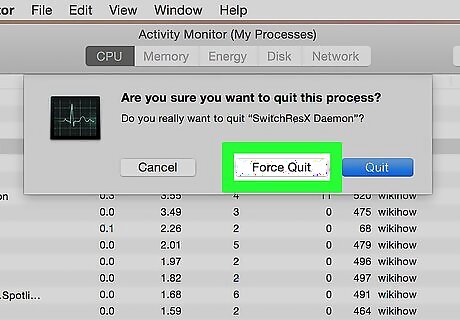
Select the offending program and click "Quit Process". You will be asked to confirm that you want to force the process to quit. Force-quitting a program will cause any unsaved work in the program to be lost. Force quitting a system process may cause your computer to not work until it is rebooted. If you are having difficulty ending the process, click here for more advanced methods.
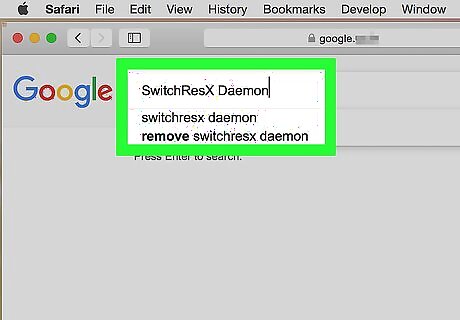
Determine how to proceed with troubleshooting the misbehaving program. Perform an internet search on the process name that you force-quit. This will help you figure out what the process is used for, as well as what steps to take to keep it from running at 100%. There are typically a few different ways that you might combat high CPU usage from a certain program: Uninstall - If the program isn't a necessary one, uninstalling it may be the easiest way to keep it from bogging down your system. Reinstall or update - Sometimes a bug in the program is causing it to take up all of your CPU. Reinstalling the program or applying an update from the developer may fix the problems you are experiencing. Remove the program from your startup sequence - If the program is causing your computer to boot slowly, but you need it installed, you can prevent it from starting when your computer does. Run virus and malware scans - If your research shows that the program is malicious, you may need to remove it using an antivirus or antimalware program. Viruses aren't very common for Macs, but they do exist. Adware is a much more common problem, and these programs can put a big strain on your processor. One of the best anti-adware tools is AdWare Medic, which you can get for free from adwaremedic.com.
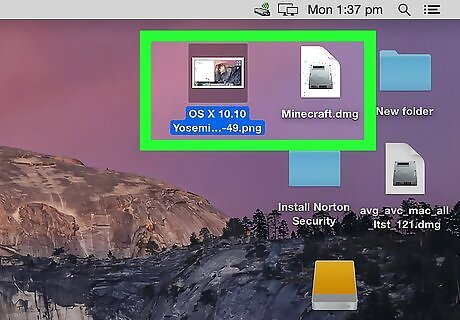
Remove files from your desktop. Your Mac will generate previews of all the files on your desktop, and if you have a lot of video files they can quickly overload your processor and cause Finder to take 100% of your CPU. Move the files out of your desktop and into a folder, and you will only experience the slowdown when you open the folder.
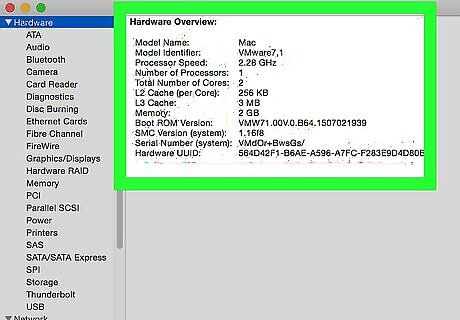
Upgrade your hardware if you are having trouble running most programs. If you are constantly running into 100% CPU usage, and none of your programs are to blame, you may need to consider upgrading your hardware. Your options are more limited on a Mac than on a PC, but upgrading the RAM may help improve performance. Click here for instructions on upgrading your RAM. Adding RAM can take some of the stress off of your processor.


Comments
0 comment