views
Assembling Your Stunt Kite
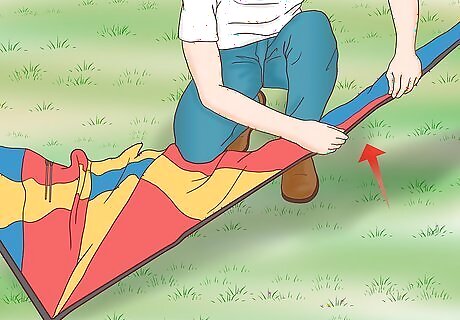
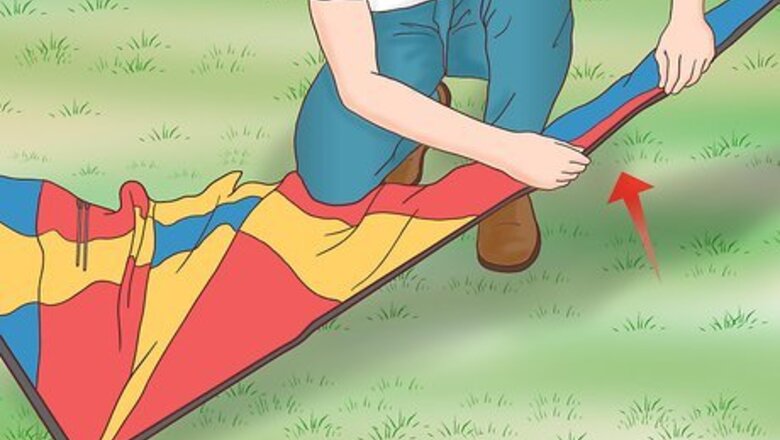
Assemble the stunt kite rods. Remove the kite from the packaging and find the three rods that come with the kite. There will be two identical shaped rods and one shorter rod. The shorter rod will be stuck horizontally across the kite into the two rod fittings at the top tip of the kite. This short rod is going to keep the kite spread open near the top. Be sure to keep the kite strings (bridle) out of the way. At the base of the kite, insert one of the longer rods through the rubber fitting near the center of the kite. Stick the other end of the rod into the rubber fitting on the corresponding side edge of the kite. To match the completed side, insert the other long rod into the center rubber fitting. Then stick the corresponding end of the rod into the other rubber fitting on the side of the kite.
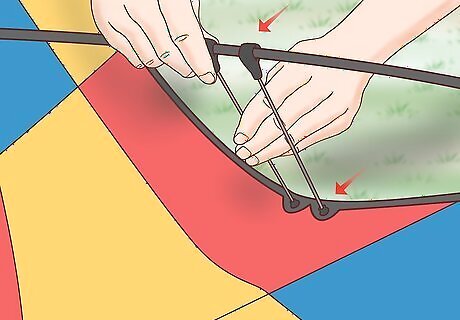
Attach the standoffs to the lower rods. The standoffs are the stick like items attached to the end edge of the kite. Insert the standoffs into the standoff fittings that are connected on the two lower rods. Adjust the standoff fittings on the spreader rods so they are even with the standoff attachments on the actual kite.
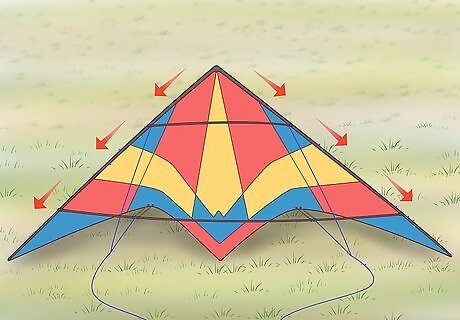
Check the symmetry on the kite. Your kite should look completely symmetrical on both sides. Look over your kite to make sure the rods and standoffs are secured and evenly spread out on both sides of the kite. Hold up the kite strings to check and see if they are equal in length and balanced as you hold them. If there are any areas of your kite that are lopsided and disproportionate, it will greatly hinder the way your kite flies.
Flying Your Stunt Kite

Select your launch site. Fly your kite on a day where there is strong, adequate wind. Select a launch site that is free from any power lines, trees, homes, roadways, and lots of people. You want to fly your kite in a clear, open area where it can’t get stuck and cause damage to surrounding people or property. A good place to fly a kite is in an open field, or on an open beach. Never fly a kite during a rain or thunderstorm; these are dangerous and unmanageable kite flying conditions.
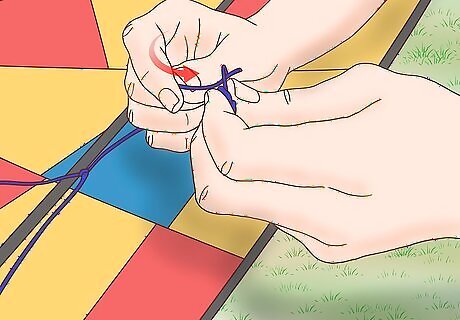
Connect your lines to the kite bridle. Unwind a bit of both of your kite lines so the loops can be attached to the knots on the two sides of the kite’s bridle. Be sure to connect your right side line to the right side bridle knot and the left side line to the left side bridle knot. Stick your thumb and pointer finger in the loop of one of your kite lines. Spread your fingers apart so the loop is taut around your fingers. Tilt your thumb and pointer finger downward, so they are on the outside of the loop. Touch your thumb and pointer finger together. The loop should now look like a very loopy and round capital ‘A’. With both fingers touching, slide the line off your pointer finger, so your thumb is now holding both loops. Insert one bridle knot through this loop and tighten the loop by tugging on the end. Do this same procedure with your other kite line and the other bridle knot.
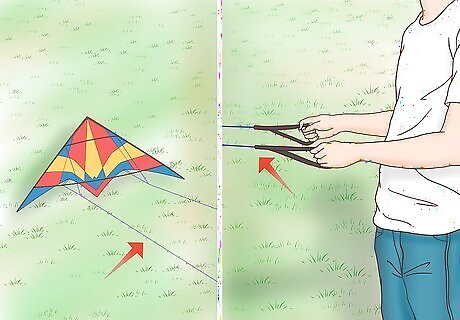
Unwind your kite lines. Keeping your kite on the ground, unwind your left and right kite lines to make sure they are exactly the same length. Your lines should be unwound about 75–100 feet (22.9–30.5 m) from your kite. Stand upwind from the kite and securely grasp onto both of your kite lines. Your lines should be running evenly back toward the kite from your standing position. If your lines come with looped handles, insert your wrists through the looped handles. The shorter your lines are, the less reaction time you have to make necessary adjustments to your kite. The longer your lines are, the more difficult it is to do tricks with your kite; especially for beginner kite flyers.
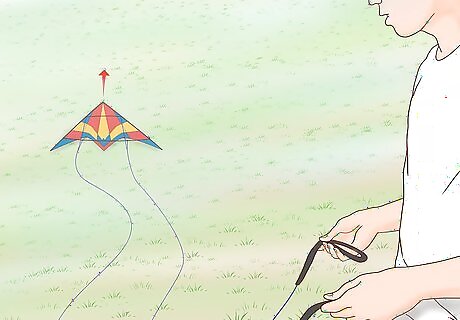
Position your kite for launch. Make sure you have a good hold on the kite lines with your arms out in front of your body. Slowly take a step or two backward away from the kite. This will tilt the kite with it’s nose pointing upward, so it is ready to launch into the air when you pull the lines down to your sides.
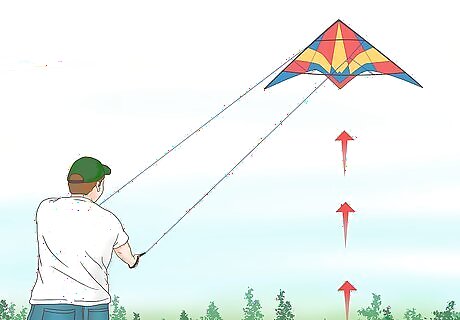
Launch the kite. Simultaneously, take a big step back and quickly pull both of your hands down to your sides. This will force air underneath the sail of the kite, launching it into the sky. Once your kite is launched, you can raise your hands back up and out in front of your body to balance out the kite. Do not make any sudden movements or try to steer the kite to spin.
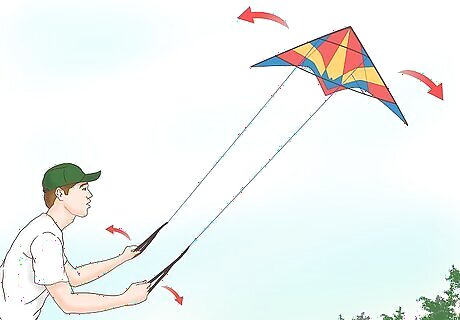
Steer the kite. Keep your hands symmetrical to allow the kite to find air balance for the first few minutes. To steer and spin the kite to the right, gently tug on the right string. To steer to the left, gently tug on the left string. When you finally get the hang of these movements, you can alternatively try giving slack to your left side string to steer the kite to the right, and vice versa. This “push turn” is a little bit more advanced handling than normal “pull turns”. Your kite will spin in a circle if you hold one of the lines down for too long, That can look cool, but it will also tangle your lines. To fix this, find balance once again, and steer your kite the other way to untwist the lines.


Comments
0 comment