views
X
Research source
Blanching the Bean Sprouts
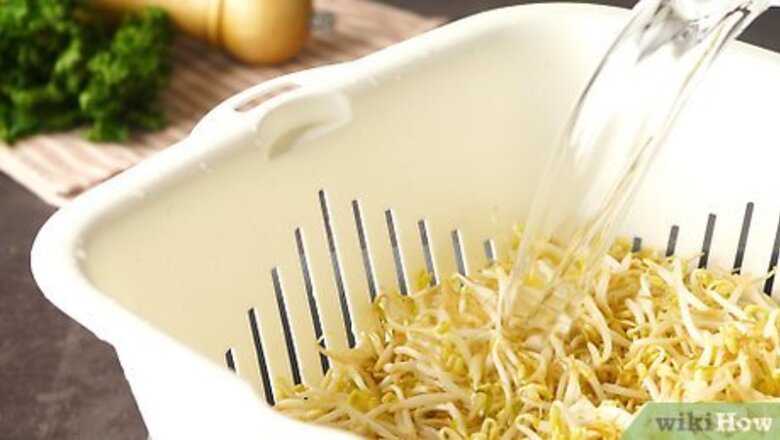
Wash the sprouts thoroughly under cool running water. As with any produce, you should make sure to rinse the bean sprouts well to remove any dirt or bacteria that might be on them. Run your fingers lightly over the delicate sprouts while they’re under the water to clean them without causing damage. If it’s going to be a few minutes before you add the bean sprouts to the boiling water, lightly pat them dry with paper towels so they don’t get soggy. Since bean sprouts are so small, you may want to place a colander in the sink while you're washing them so they don't fall down the drain if you drop a few.
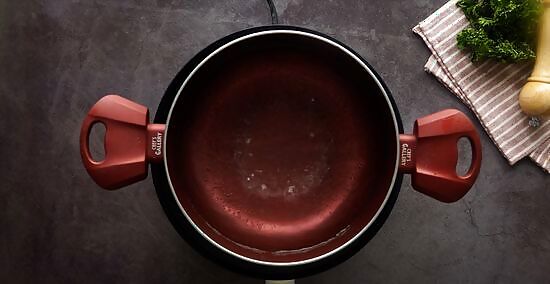
Bring a large pot of water to a boil. Since water may evaporate out of a shallow pan, a stock pot or other deep pot is ideal for blanching. Fill the pot about 2/3 of the way with water so it doesn’t boil over, then place the pot on the stove and bring the water to a rolling boil over high heat. A rolling boil means the entire surface of the water is bubbling, and the boiling doesn’t stop if you stir the water.

Prepare a large bowl of ice water. Getting the ice bath ready ahead of time will help prevent your bean sprouts from overcooking. If you don’t have any ice available, very cold water will work, but ice water is the most effective at immediately stopping the cooking process. The ice water will help preserve the crispness of your bean sprouts after they’ve been frozen. If you're working with a large number of bean sprouts, you may need to add more ice after a few batches, since the heat from the bean sprouts will gradually melt the ice.
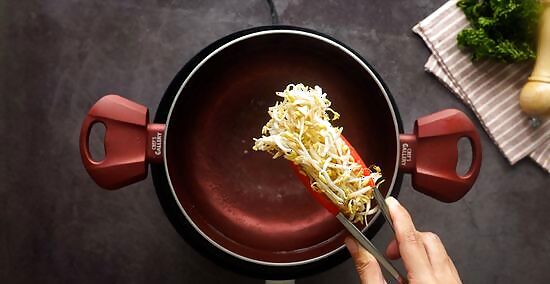
Drop a handful of sprouts into the boiling water for 3 minutes. Even though you’re working with a large pot, it’s better to blanch a handful of bean sprouts at a time. Adding too many sprouts at one time will cause them to cook unevenly, and the finished product will be harder to control. If you have a lot of bean sprouts, it may take several batches to blanch them all. However, since each batch only takes a few minutes to prepare, it’s worth the extra time.

Remove the bean sprouts with a slotted spoon. After the sprouts have boiled for 3 minutes, carefully fish them out of the hot water with a slotted spoon. This will keep you from transferring the hot water to your ice bath. Do not leave the bean sprouts in the boiling water for more than 3 minutes, or they will become mushy after they’re frozen.

Transfer the sprouts to the ice bath immediately. Plunge the sprouts into the ice water, letting them sit for about 30 seconds or until they are completely cool. This method instantly stops the bean sprouts from cooking, leaving them tender yet crunchy. Take the bean sprouts out of the water once they have cooled. They may become soggy if you leave them in the water for too long. If you’re preparing more than one batch of bean sprouts, add another handful of sprouts to the boiling water while you’re chilling the first batch. This method is used to cook a wide variety of different vegetables, but it’s especially effective for delicate veggies like bean sprouts.
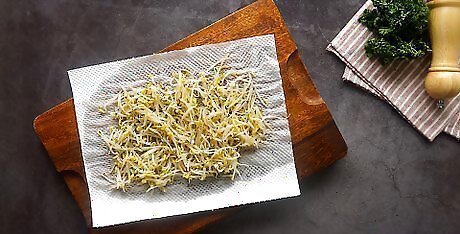
Lay the bean sprouts on paper towels to dry. Use the same slotted spoon you used earlier and take the sprouts out of the ice water. Lay them in a single layer on a stack of paper towels so they can dry. You want the sprouts to be completely dry before you freeze them to prevent freezer burn.
Placing the Sprouts in the Freezer
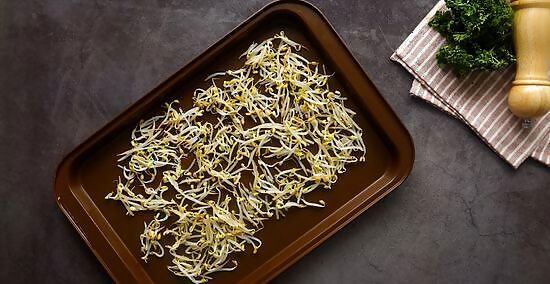
Lay the blanched bean sprouts in a single layer on a baking sheet. Once you’ve blanched and dried all of your bean sprouts, spread them out on a baking sheet or a flat tray. Try to avoid laying the bean sprouts on top of each other, or else they won’t freeze properly. If you'd like, you can lay a sheet of wax paper on top of the baking sheet before you add the bean sprouts. However, if the sprouts are completely dry, they shouldn’t stick to the baking sheet. Pre-freezing the bean sprouts on a tray will help ensure they freeze separately, rather than freezing in a solid clump.

Place the tray in the freezer for about 10 minutes. You don’t need to let the bean sprouts freeze completely while they’re on the sheet, just until they begin to harden. Check the sprouts after about 10 minutes to see if they’re ready. If the bean sprouts still feel soft to the touch, leave them in a little longer. Check the sprouts every 5 minutes until they reach the desired texture.
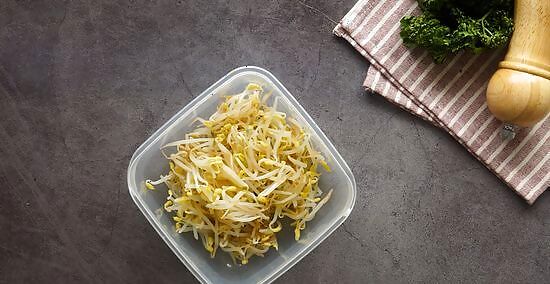
Remove the tray and package the sprouts in airtight containers. Try to estimate about how many bean sprouts you will use in a meal, then portion them according to your taste. You can either portion out the bean sprouts into plastic containers with a tight-fitting lid, or you can place them into freezer bags. If you’re using resealable plastic bags, press out any excess air from the bags before you seal them. Since the bean sprouts may expand slightly as they finish freezing, it's best to leave about ⁄2 in (1.3 cm) of headspace in the bag or container.
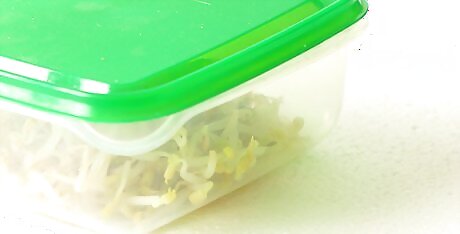
Place the containers into the freezer immediately. You don’t want the bean sprouts to begin to thaw, so it’s best to get them back into the freezer as quickly as possible. Since bean sprouts are still delicate even when they’re frozen, it’s best to place them in an area of your freezer where they aren’t likely to be disturbed or crushed. Label the container with the contents and the date to help you remember how long they've been in the freezer. Your frozen bean sprouts will stay good in the freezer for 10-12 months.
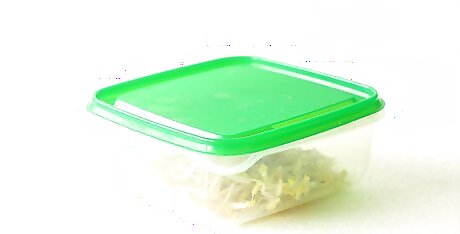
Thaw the bean sprouts in the refrigerator when you’re ready to use them. It’s best to let your bean sprouts defrost gently, so place the bag or the container into the refrigerator and let them gradually come up to temperature. Defrosting them in the microwave or by other methods may cause the sprouts to become soft and mushy. It will take a few hours to defrost the bean sprouts in the refrigerator, so plan ahead if you're planning to cook with them. If you'll be adding the bean sprouts to a hot dish like a soup or a stir-fry, there's no need to thaw them first.


Comments
0 comment