views
Planting in an Outdoor Garden
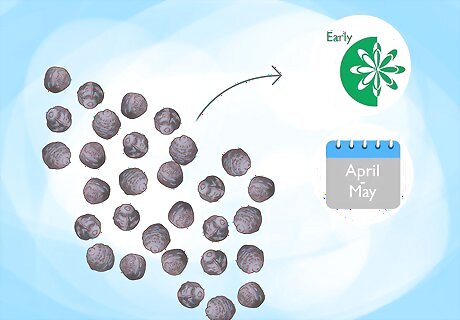
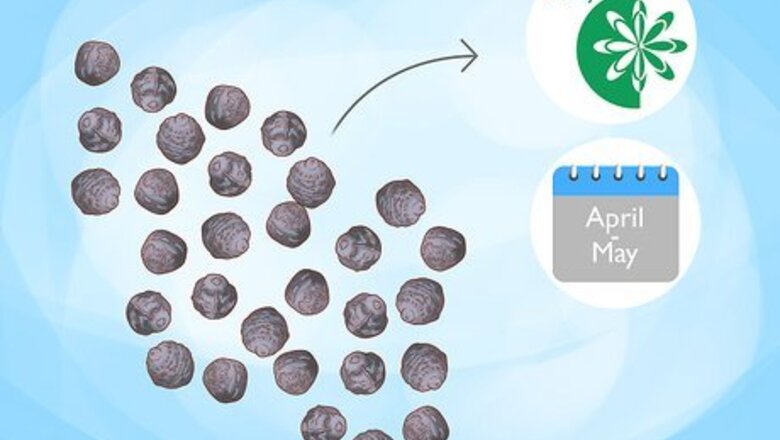
Wait until the weather warms up. Plan on planting the seeds during the early spring, after the danger of frost has passed for the season. Depending on where you live, this can be between early April and mid May. Since four o'clock flowers grow quickly, there is no need to start them early indoors. It is recommended that you wait until the weather warms up so that you can sow them directly outdoors.
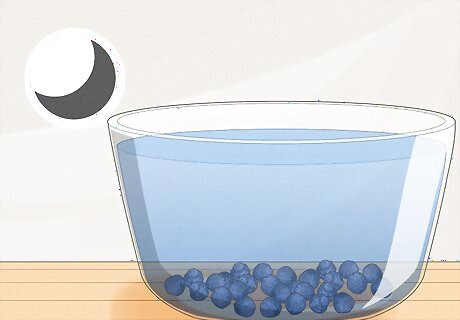
Soak the seeds. The evening before you plan to plant, place the seeds in a small saucer and cover them with water. Allow the seeds to soak in the water overnight. The shells of these seeds are very thick, so they might not germinate well if they are not thoroughly soaked. When ready, the seeds should be somewhat swollen but still firm. Note that if you are planting the seeds during a rainy season, when the soil is thoroughly drenched, you may omit this step and plant the dry seeds directly in the soil.
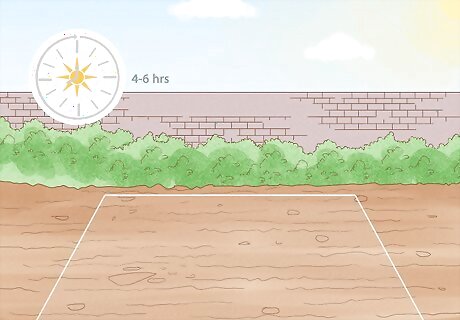
Choose a sunny location. Four o'clock flowers do best when planted in direct sunlight or in light/partial shade. For optimal growth, choose a spot that receives 4 to 6 hours of sunlight on a regular daily basis. Too much shade can cause the plants to grow lanky and may hinder flower production.

Loosen the soil. Use a small trowel or garden fork to dig up the soil in the planting area. Loosen the soil roughly 1 or 2 feet (0.3 or 0.6 m) deep. You should not need to amend the soil. Even though these flowers thrive in rich, well-draining soil, they generally do well in all soil conditions, even when the soil is of fairly poor quality.
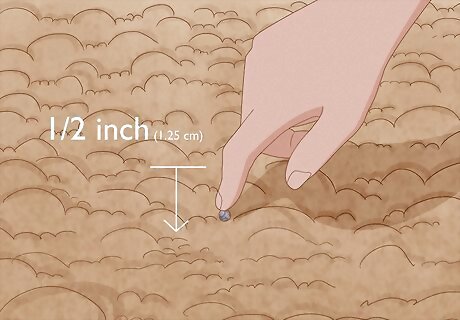
Gently press the seeds into the soil. Press each seed into the soil with your fingers, placing it no more than 1/2 inch (1.25 cm) deep. Make sure that a loose layer of soil covers the seed to protect it from weather and wildlife, especially birds. This soil should be no greater than 1/2 inch (1.25 cm) deep.

Space the seeds 1 to 2 feet (0.30 to 0.61 m) apart. Usually, you should only plant one seed per one foot (30 cm) of space. You will eventually need to thin out your seedlings so that the plants are 2 feet (0.61 m) apart. For that reason, you may also opt to sow the seeds 2 feet (0.61 m) apart, saving yourself the extra effort later on.
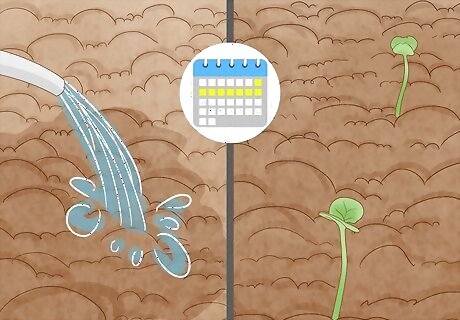
Water well. Gently water the seeds with a watering can or the mist setting of a garden hose. Make sure that the soil is thoroughly moist, but not soggy. Note that the seeds will usually sprout within 7 to 14 days, depending on how warm the temperatures are. Warmer temperatures tend to mean quicker germination. It is crucial that the soil remain moderately moist while the seeds germinate. Never flood the soil, however, since doing so can wash the seeds away.
Planting in Containers

Soak the seeds. Place the thick-shelled seeds in a saucer or cup. Fill this dish with just enough water to cover the seeds and let the seeds soak overnight. Since the shells of these seeds are so thick, they germinate much better when they are softened with plenty of water. The seeds should still be firm after you soak them, but they will feel a little softer and appear more swollen.
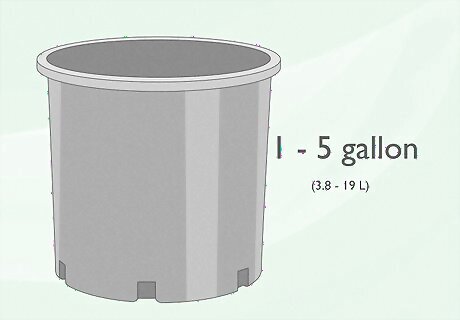
Find a large enough container. You should use a 1 to 5 gallon (3.8 to 19 L) pot or other planting container. Ideally, the container should have four or five drainage holes. If you are keeping the container indoors, set it on top of a saucer to prevent excess water from creating a mess as it drains.
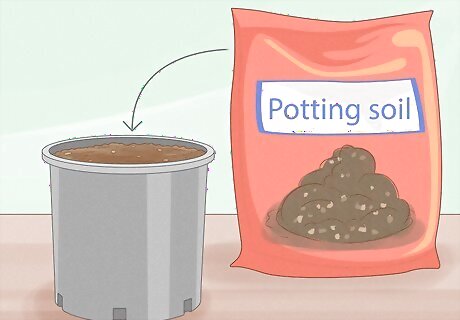
Fill the container with potting soil. Instead of using soil from your garden, fill the planting container with medium to high quality commercial potting mix. Any all-purpose, standard commercial potting mix should suffice. These flowers do not require special soil.
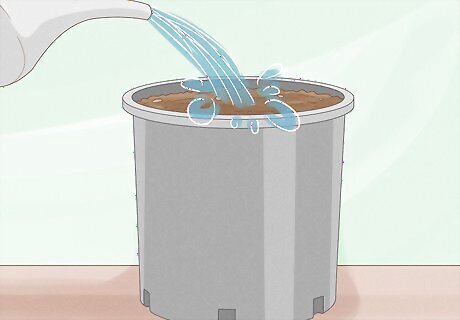
Water well. Soak the soil with water before you plant the seeds. The soil should be thoroughly moist, but not soggy. Allow any excess water to drain before you sow the seeds. You will need to make sure that the soil is moderately moist throughout the germination process. This stage will usually take one or two weeks.
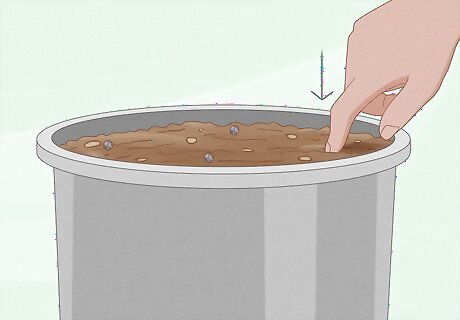
Place 4 to 7 seeds in the container. Gently press each seed 1/4 to 1/2 inch (0.6 to 1.25 cm) into the soil. Space them apart at even intervals. Four seeds should fit into a 1-gallon (4-L) container comfortably. If you are using a 5-gallon (20-L) container, you can sow a dozen or so seeds without crowding them out too much.
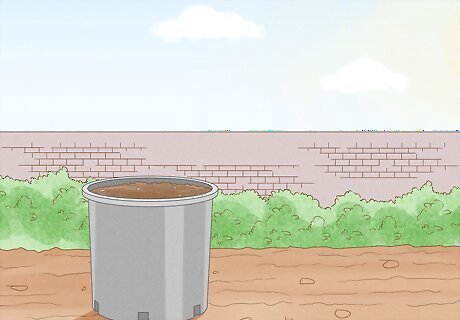
Keep in direct sunlight. Set the container in a sunny location where it can receive around 6 hours of sunlight daily. If the weather is warm enough, you can place the container outdoors on a porch, balcony, or patio. If the plants do not receive enough sunlight, they might look lengthy. Bloom production might also suffer.
Daily Care
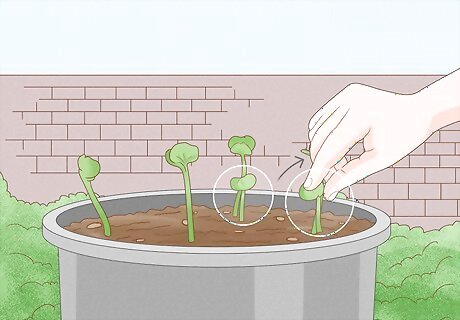
Thin out the seedlings. Once the seedlings have established themselves, then the plants out so that there are 2 feet (0.61 m) between them. If you are growing the plants in containers or otherwise want the plants to remain short and stunted, it is possible to leave only 8 to 12 inches (20 to 30 cm) between each seedling. Wait until the stems of the seedlings have already developed two sets of leaves before thinning them out. Keep the healthiest, strongest looking plants and remove the weakest.
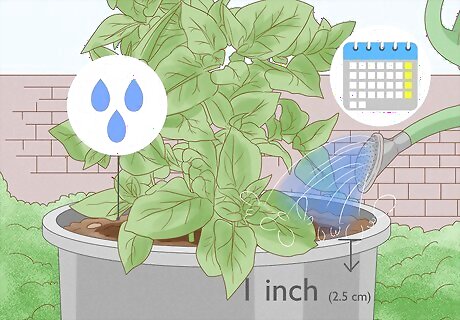
Keep the soil moist. Four o'clock flowers are somewhat drought-resistant, but the should not be allowed to remain dry for more than a day or two. Try to give the plants at least 1 inch (2.5 cm) of water weekly, either by rainfall or hand watering with a hose or watering can. Note that flowers grown in a container will require more regular waterings than those grown outdoors.
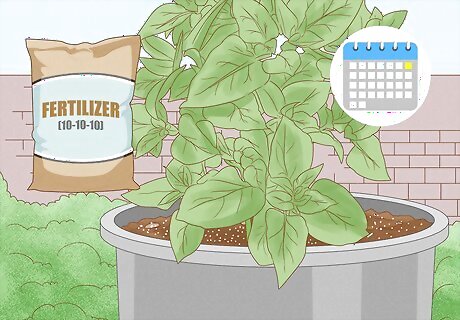
Apply a mild fertilizer monthly. Choose a water-soluble, all-purpose floral fertilizer and apply it before a rainfall or when you water the plants. Choose a balanced 10-10-10 fertilizer, which contains equal parts nitrogen, phosphorus, and potassium. This type of fertilizer will promote an overall even state of health for the plant.
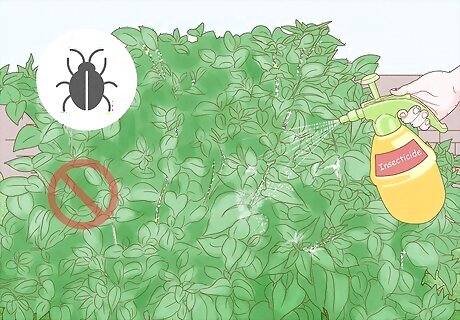
Treat for insects and diseases only as needed. Four o'clock flowers rarely have problems with insects and diseases, so pre-treatment for such conditions is highly discouraged. If problems do develop, treat the plants with an appropriate pesticide or fungicide. The product can either be organic or chemical.
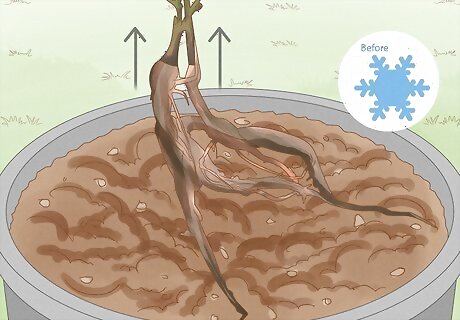
Consider digging up the tubers before winter. Each bush should grow a large tuber below ground. If you live in mild climates, you should be able to leave this tuber in the ground without causing damage to the plant. If you live in notably cold climates, however, you should dig it up in the late fall. Store the tubers in between layers of newspaper in cardboard boxes or wooden crates. You can also store the tubers in peat moss or sand. Do not use plastic containers or other closed boxes, since these can encourage the tubers to rot. Place the tubers in a garage, shed, or similar environment. They should remain dry and dark throughout the winter. Replant the tubers in the spring. Dig a hole large enough for the tuber in the same location it once grew. Place the tuber back in the ground, cover with soil, and care for the plant as before.
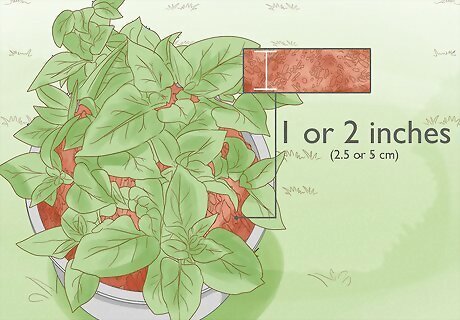
Consider covering the area with mulch. If you do not want to dig up the tuber, you can usually protect it over the winter by covering the planting area with 1 or 2 inches (2.5 or 5 cm) of organic mulch. Organic mulch can include leaves, grass clippings, wood chips, and newspaper. The mulch provides insulation and keeps the soil a little warmer. Note that in notably cold climates, mulch may not be enough to protect the tuber over the winter. If you are growing the plants in containers, it is also recommended that you spread mulch on top of the container during the spring or summer to help reduce the amount of water evaporation that takes place. This can help prevent the soil from drying out too severely.
Harvesting the Seeds
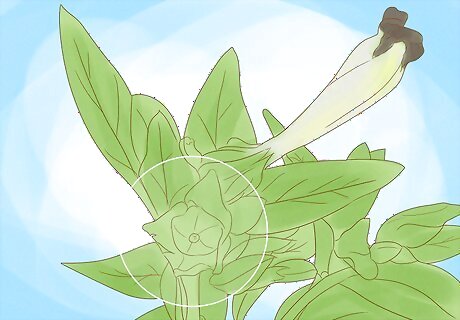
Wait for seeds to develop. Seeds form when a flower on the bush dries up and falls off the stem. After the flower drops, you should see black pea-sized seeds left in its place. Each four o'clock plant should produce a large quantity of seeds.
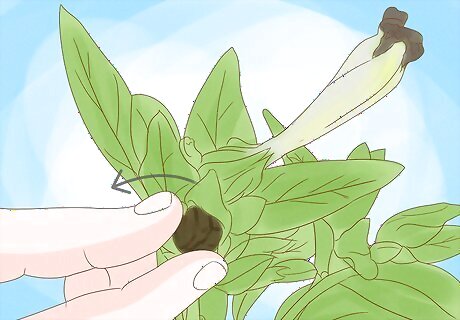
Collect the seeds. Pluck the seeds off by hand or wait until they drop off the stem on their own. If they drop to the ground, pick them up as soon as you see them. If the seeds are left alone once they drop, more four o'clock flower plants can grow in that spot. Another way to collect the seeds is to gently shake the seed-bearing stems, encouraging the seeds to break off and drop to the ground all at once.
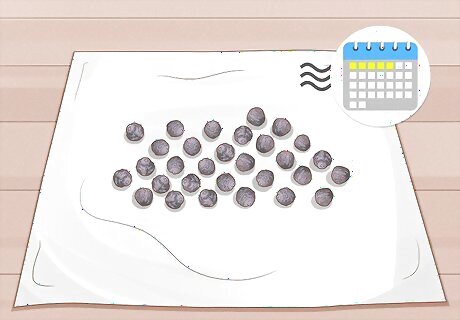
Dry the seeds for 5 days. Spread the seeds out on a clean, dry paper towel and leave them in a dry location for five days. The seeds can rot if they are stored while still moist, so this pre-drying step is very important. Dry the seeds indoors to prevent birds and other animals from taking them.
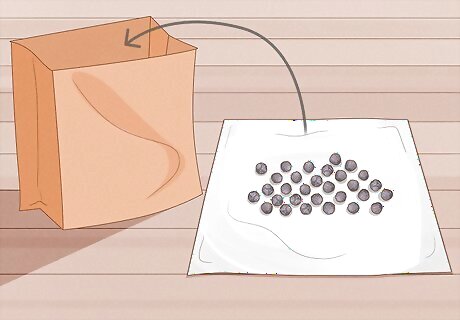
Store in paper envelops. Place the dried seeds in paper envelops. Mark the envelop, then gently seal it and store the seeds in a dry location. You can use paper bags, as well. Paper allows air to circulate. Do not use an airtight container, though, like a plastic container. Storing the seeds in this type of container can cause mildew to form or may encourage the seeds to rot.




Comments
0 comment