views
X
Research source
Keeping Your Piercing Clean
Wash your hands before cleaning the piercing site. Use soap and warm water to thoroughly clean your hands before you clean your ears to avoid introducing bacteria. Never touch the piercing site without washing your hands while the piercing is healing. Pay attention to your habits and make a conscious effort not to touch your ear or play with the piercing while it's healing. Keep in mind that, as it heals, it might itch. You'll need to resist the urge to scratch it, which could introduce bacteria. If you do happen to scratch it, clean the piercing site immediately with a sea-salt solution to disinfect it.
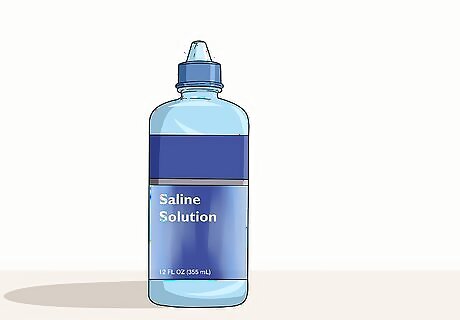
Buy saline solution to clean your piercings or make your own. There are several commercial saline solutions available — your piercer might have one they recommend. It's also easy to make your own solution and you'll save some money by doing so. Simply dissolve 1/8 to 1/4 teaspoon (0.75 to 1.42 grams) of non-iodized sea salt in one cup (8 ounces or 250 ml) of warm distilled or bottled water. If you make your own solution, don't use any more salt to make the solution stronger. It won't have any added benefit and might actually irritate your skin. If your piercer recommends a particular brand of saline solution, it's typically best to follow their recommendations. If you'd prefer to make your own, you might want to ask them first.
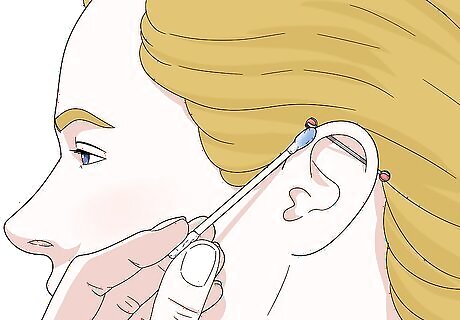
Soak the piercing area at least twice a day. The location of an industrial piercing can make it difficult to completely submerge it in the sea-salt solution, which would be ideal. If you put your solution into a large bowl, you might be able to lower the top of your ear into the solution. You can also hold a soaked cloth or cotton swab to the piercing site. If you're using a cloth or cotton swab, avoid pressing hard or rubbing at the piercing site. Simply hold the moisture there to clean the piercing site. Your piercer will likely show you the best way to clean your piercings. Try to follow their instructions as closely as possible.Warning: Don't move or rotate the jewelry unless your piercer has instructed you to do so. Moving the jewelry can reopen the wound, causing the piercing to take longer to heal.

Shield the piercing site from cosmetics or hair products. Spray products can easily get in the piercing site and cause an infection or make it take longer to heal. Covering your ear with a light cloth or even your (clean) hand should do the trick. If you do happen to get any of these products on or around the piercing site, rinse it with saline solution immediately.

Arrange your hair so it doesn't touch the piercing site. If you have longer hair, this can be tricky with an industrial piercing. However, keeping the piercing clean also means making sure your hair doesn't contaminate the site. If your hair falls over the top of your ears, keep it pulled back until your piercing has healed to prevent infections. Keep in mind that the piercing goes through your ear to the other side, so be careful about hair behind your ear as well.Tip: If you get your hair cut or styled before your piercing has completely healed, let your stylist know so they can take appropriate precautions to avoid contaminating it.
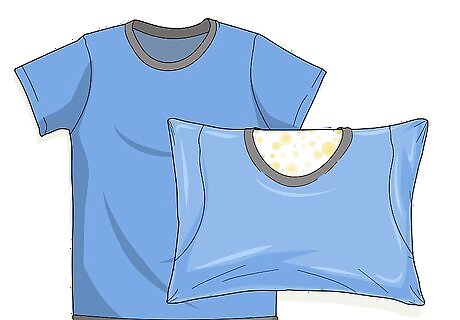
Put a clean T-shirt over your pillowcase each night. It can be uncomfortable or even painful to sleep on a new industrial piercing. However, you still want to make sure you have a clean sleeping surface just in case you roll over during the night. Try to sleep on the other side so that you're not sleeping on your piercing. Putting added pressure on the piercing site by laying on it can delay healing. Anything that touches your piercing should be clean. This includes not only the pillowcase you sleep on at night, but also other objects, such as a mobile phone, that you might hold up to your ear.

Avoid oceans, lakes, pools, or hot tubs while your piercing is healing. Unsanitary bodies of water can introduce bacteria to your piercing and cause it to get infected. You want to wait at least 3 or 4 weeks before going swimming. While you can find waterproof wound-sealant bandages at most pharmacies, these are difficult to use with industrial piercings. If you're not sure yet whether it's safe to swim, go back to your piercer and have them look at the piercing. They'll let you know if it's healed enough.
Treating Infections
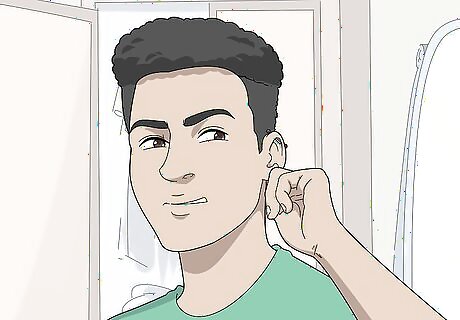
Watch for signs of infection. Until your piercing heals, it's always possible for it to become infected. Even with your best efforts to keep the piercing site clean and uncontaminated, it's still possible to get an infection. If you see any of the following, it's possible your piercing is infected: Swelling after the first couple of weeks Red, tender skin around the holes Skin near the piercing that is hot to the touch Bumps near the holes Green or yellow pus draining from the holesTip: If you're unsure if your piercing is infected, go back to your piercer and let them look at it. They can confirm an infection and advise you on what to do.
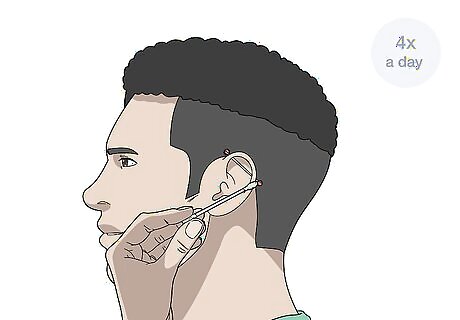
Double-up on your saline rinses for mild infections. If the skin is merely red and tender, and perhaps a bit swollen, you have a mild infection. Typically, the infection will go away on its own provided you keep the site as clean as possible. If you previously soaked the piercing site twice a day, do it 4 times a day instead. You also want to make sure you clean the piercing site with a sea-salt water solution anytime your hands or anything unclean comes into contact with the piercing site. A few drops of tea tree oil mixed with coconut oil and dabbed directly on the piercing might help clear up the infection faster and will reduce the inflammation. You can also make a paste using a crushed up aspirin and water for the same effect. If you don't notice any improvement or if the infection appears to be getting worse after a couple of days, go back to your piercer and get their advice.
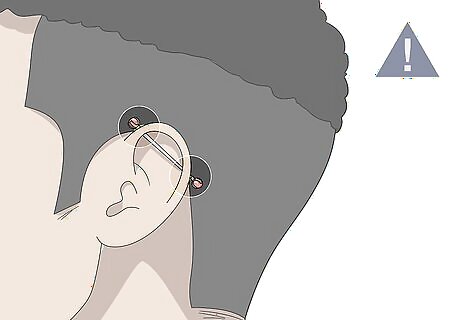
Seek immediate medical attention if there is green or yellow pus. If your piercing holes are draining green or yellow pus, this is a sign that your cartilage is infected and is a medical emergency. An infection that has developed to this level won't go away on its own. Instead, it must be treated with antibiotics. Do not remove your jewelry before you see the doctor. They will want to see it as is so they can determine the best way to get the jewelry out without causing the infection to spread any further.

Take antibiotics as directed by your doctor. For a severe infection, your doctor will prescribe an antibiotic — typically ciprofloxacin. Make sure you take the entire round prescribed, even if the symptoms of infection go away. If you don't finish the entire round of antibiotics, the infection may return with more severe symptoms than the first time.

Monitor your ear for signs of abscess if you had a severe infection. Depending on the severity of the infection and how far it has progressed, you may develop an abscess in your cartilage. An abscess is simply a pocket of pus that needs to be drained by your doctor. It might look like a large pimple in your ear. If you see an abscess, contact your doctor immediately. If it isn't drained promptly, it could cause damage to your cartilage.
Avoiding and Minimizing Keloids
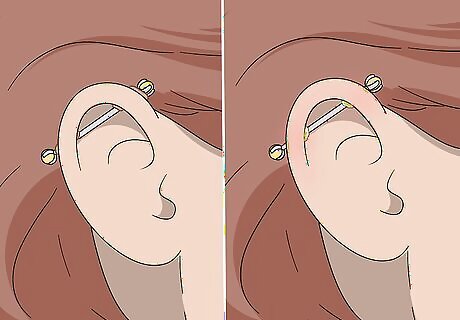
Distinguish keloids from an infection. Keloids are raised bumps of scar tissue that can sometimes grow near a piercing site. While they may look like a sign of infection, they don't pose any medical threat. Unlike infections, keloids can appear months later, after your piercing has completely healed. The propensity to get keloids is genetic, so if your parents or siblings have keloids, you might be more likely to get them.
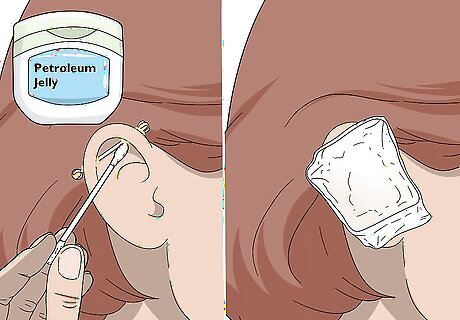
Cover the piercing with petroleum jelly and a bandage. After you've cleaned the piercing site, apply a thin layer of petroleum jelly and then cover the piercing with an adhesive bandage. Make sure the bandage is tight enough to apply light but even pressure to the entire piercing site. Use soap and water in addition to sea-salt solution to clean your piercing if you're prone to getting keloids. Make sure your ear is completely dry before you add petroleum jelly.Tip: Talk to your piercer about using pressure earrings, also called Zimmer splints, to pierce your ear. These might also keep keloids from growing.
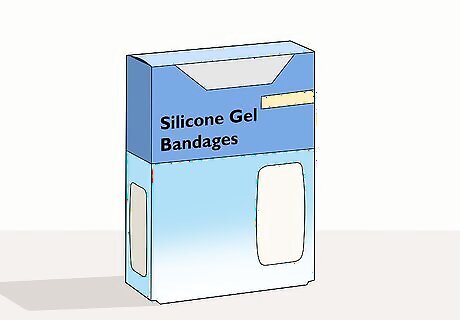
Use silicone gel bandages after the piercing has healed over. A silicone gel bandage applies even pressure to the entire piercing site and may prevent keloids from appearing. Because a keloid takes approximately 3 months to grow, you'll need to use the silicone bandages for at least that long after the piercing has healed. You can keep the bandage on your skin for anywhere from 12 to 24 hours a day. Just make sure you change it at least once every 24 hours. Wash your ear thoroughly before you put another bandage on.
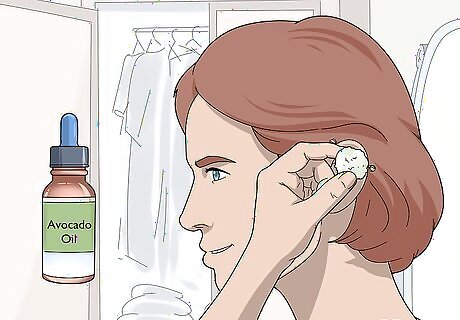
Apply moisturizing oils to soften the scar tissue. After your piercing heals, dab a moisturizing oil, such as avocado oil, directly on the keloid. Keep the oil on your skin all the time. Eventually, it may soften the scar tissue to make the keloid appear smaller or less prominent. Moisturizing oils will never completely get rid of keloids, although they may reduce their appearance. This treatment works best on smaller keloids. You might not even notice a difference with larger ones.
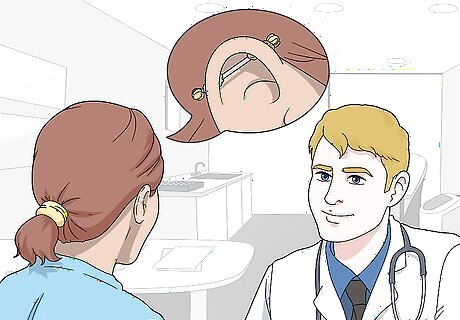
Visit your doctor to get keloids removed. Keloids don't pose any health risks, but they might make you feel uncomfortable about your appearance. If you have keloids and dislike them, your doctor might be able to remove them. The method your doctor uses depends on the size of your keloids, but options include: Cryotherapy: In this process, the keloid is frozen and removed. You might end up with a lighter patch of skin where the keloid was. Cryotherapy is typically best for smaller keloids. Corticosteroids or other medications: Your doctor might inject your keloids with medication to remove them. This is best used in conjunction with cryotherapy. Surgical removal: If your doctor recommends this procedure, they'll simply cut the keloid away. However, with surgical removal, it's possible other keloids will develop. Surgery can also be expensive.Warning: Keloid removal methods are typically considered elective medical procedures and likely won't be covered by private medical insurance. Make sure you understand how much a procedure will cost before you consent to it.




Comments
0 comment