views
Splitting a PDF into Separate Pages on Windows
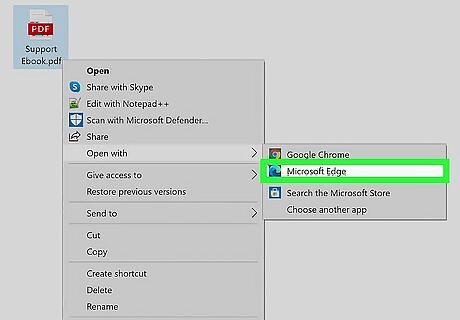
Open the PDF file in Microsoft Edge. If you want each page of your multi-page PDF to appear in your Word document, you'll need to save each page in the file to its own file. You can do this in any free PDF reader by printing each page into individual PDFs. The Microsoft Edge web browser comes with a built-in PDF reader, and since it comes pre-installed with Windows, we'll use that. To open the PDF in Edge, right-click the name of the PDF file on your computer, select Open with, and then choose Microsoft Edge. If you want to use a different PDF reader, such as Adobe Acrobat Reader or Google Chrome, you can do that instead. The steps will be similar.
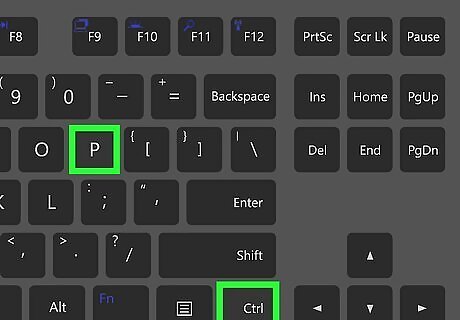
Press Ctrl+P. This opens the Print dialog window. You can also click the printer icon in the toolbar running across the top of the page.
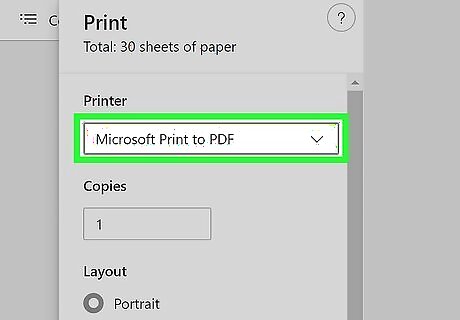
Select Microsoft Print to PDF as the printer. You'll choose this from the drop-down menu at the upper-left corner of the page. This tells Edge to create a PDF instead of sending the file to your printer.
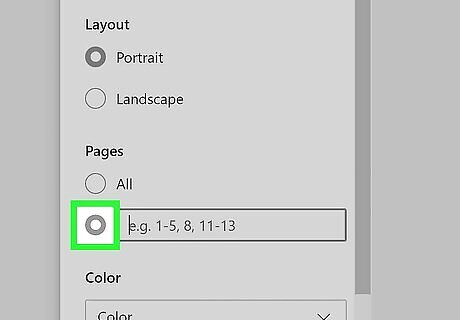
Click the second radio button under "Pages." By default, the radio button next to "All" is selected. Because we need to "print" each page separately, we'll need to choose the second radio button, which lets us enter page numbers.
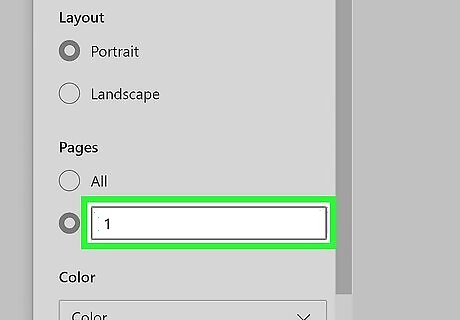
Type a 1 into the "Pages" field. This tells Edge to save just the first page of the PDF as a separate PDF.
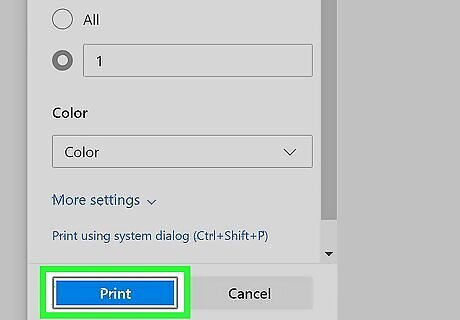
Click the blue Print button. It's at the bottom of the Print window. This opens the "Save Print Output As" window.
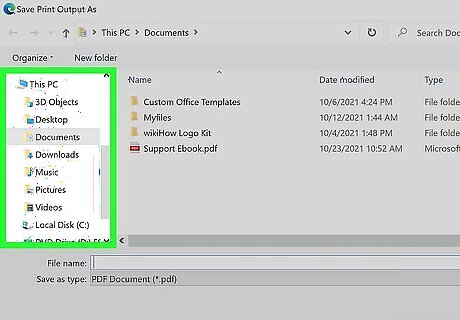
Select a folder to save your pages to. For example, you could select Desktop in the left panel to save the PDF pages to your desktop. If the PDF has a lot of pages, consider creating a new folder on your desktop. To do this, click the Desktop folder in the left panel, right-click an empty area of the right panel, select New > Folder, type PDF, and press Enter. Then double-click the new folder called "PDF" and save this first file there.
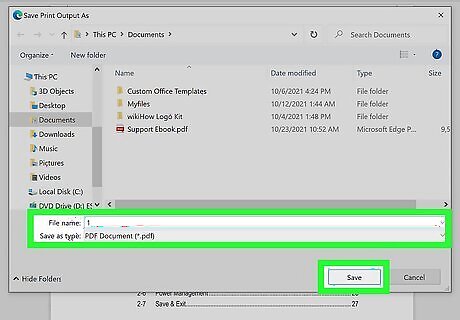
Type page 1 into the "File name" field and click Save. This saves the first page of your PDF as its own individual PDF file.
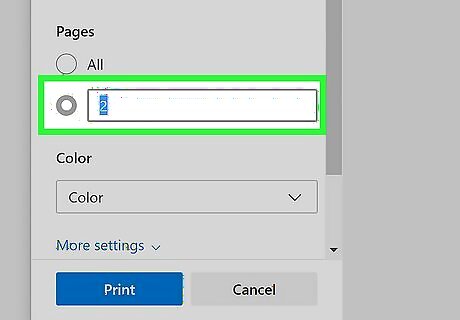
Repeat for page 2, and for all other pages in your PDF. Each page in your PDF must be saved as a separate PDF to be included in your document. The steps are: Press Ctrl + P to open the print dialog. Select Microsoft Print to PDF. Select the second radio button and type 2 (to do page 2). Click Print and select the same folder you chose earlier. Call the new file page 2 and click Save. Repeat for all pages.
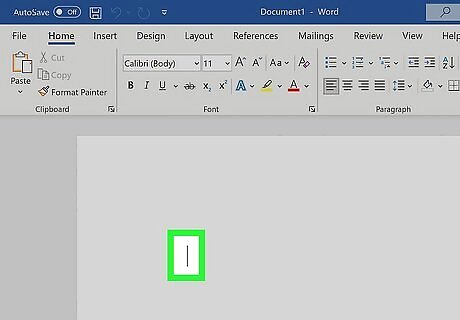
Click the place in your Word document where you want to insert the first page. If you want your PDF images to start on a new page, press Ctrl + Enter to create a page break.
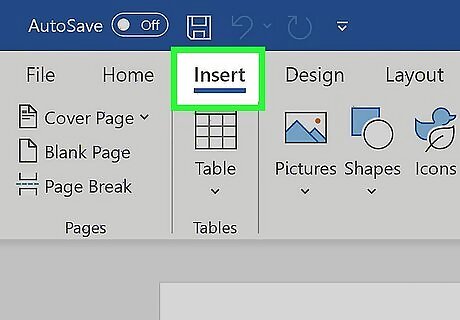
Click the Insert tab. This is in the editing ribbon above the document.
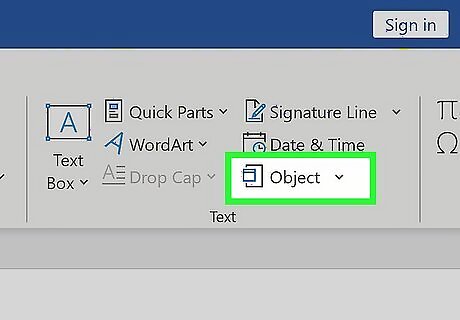
Click Object. It's in the "Text" panel on the right side of the toolbar.
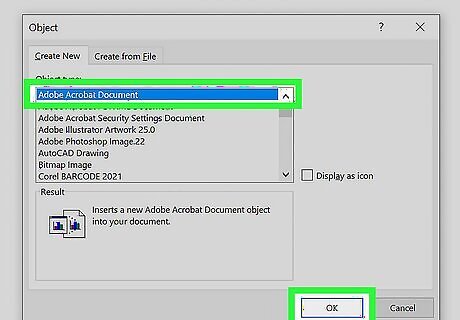
Select Adobe Acrobat Document and click OK. This opens your file browser.
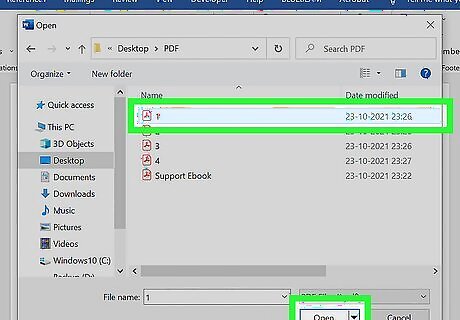
Select the PDF you named "page 1" and click Open. This inserts the first page of your PDF into the file.
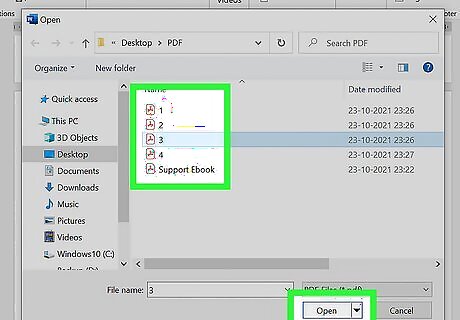
Repeat for all pages. To insert the next page, click Object on the Insert tab, select Adobe Acrobat Document again, choose your next page, and click Open. Continue doing this until you've added all pages of the PDF to your Word document. When you're done inserting pages, make sure you save the file by clicking File > Save.
Splitting a PDF into Separate Pages on macOS
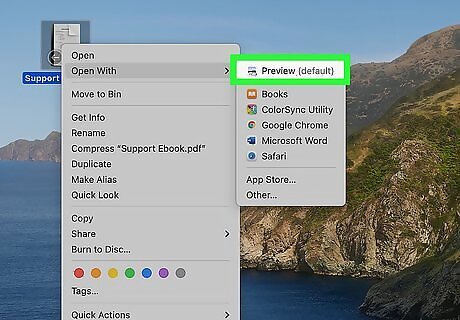
Open the PDF file in Preview. If you want each page of your multi-page PDF to appear in your Word document, you'll need to save each page in the file to its own file. You can do this in any free PDF reader by printing each page into individual PDFs. Your Mac comes with Preview, which makes it easy to get the job done. To open the PDF in Preview, just double-click the PDF file on your computer.
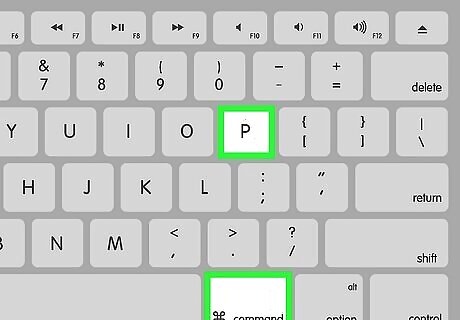
Press ⌘ Cmd+P. This opens the Print dialog window.
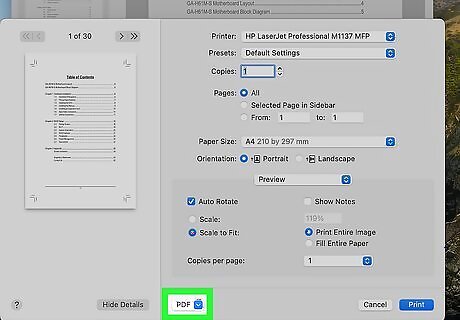
Select PDF from the drop-down menu at the bottom-left. This tells Preview to create a PDF instead of sending the file to your printer.
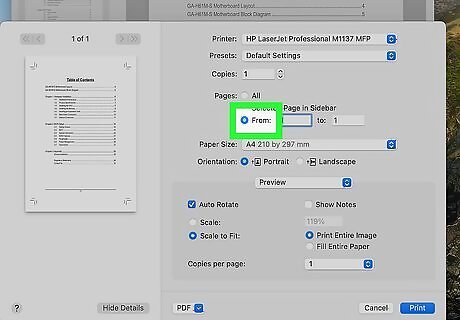
Click the radio button next to "From." It's under the "Pages" header. Because we need to "print" each page separately, we'll need to choose the second radio button, which lets us enter page numbers.
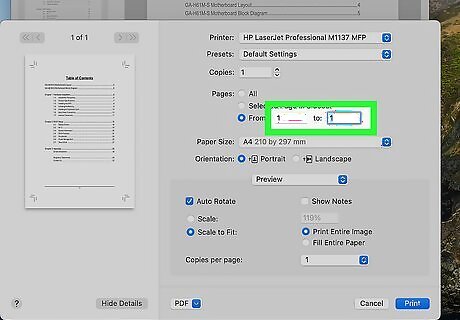
Enter the number 1 into the "From" and "To" blanks. This tells Preview to only create a PDF from the first page. You'll repeat this for all other pages in your document and insert them all separately into your Word document.
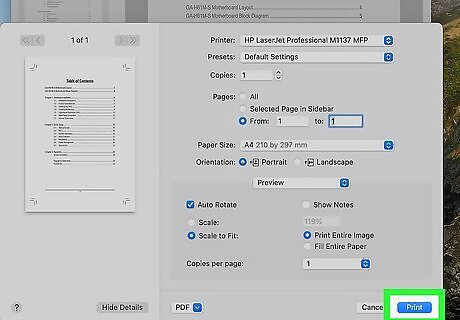
Click Print. The saving dialog window will appear.
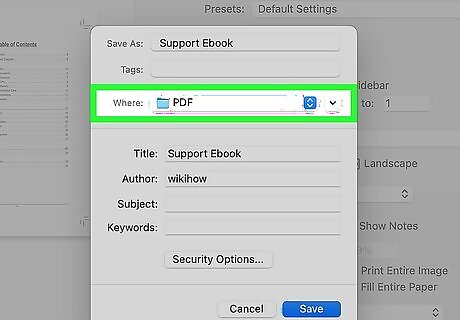
Choose a folder to save your pages to. Select a folder you'll remember, such as the Desktop folder. If you want to create a new folder instead, go to File > New Folder.
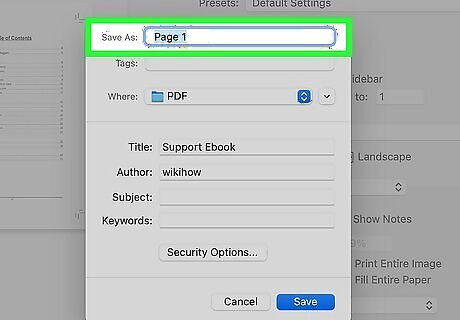
Name the file page 1 and click Print or Save. This saves the first page of your PDF to the selected folder.
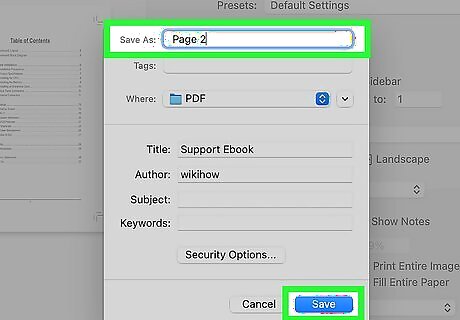
Repeat for all other pages in your PDF. Now that you've printed the first page to its own PDF file, you'll need to do the same for all other pages that you want to insert in your Word document. Be sure to save them all to the same folder so you can insert them easily later.
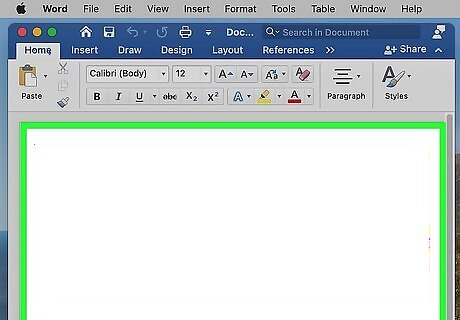
Click the place in the Word document where you want to insert the first page. If you want your PDF images to start on a new page, press Cmd + Return to create a page break.
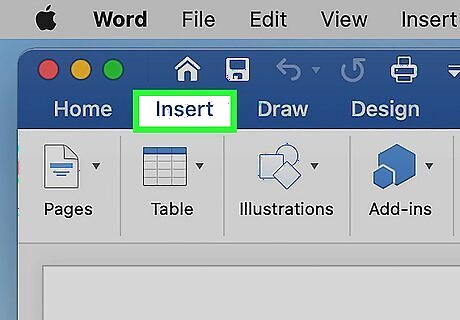
Click the Insert tab. This is in the editing ribbon above the document.
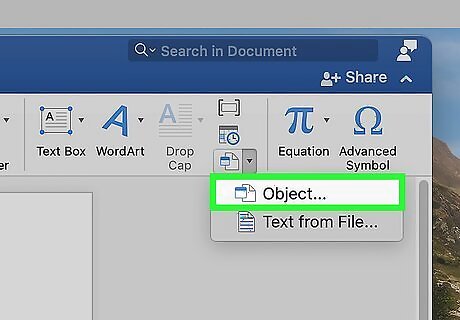
Click Object. It'll be in near the right side of the toolbar at the top of Word. If you don't see this option, click the down-arrow next to the icon of a square with a window over it toward the right side of the toolbar—when the menu expands, click Object.
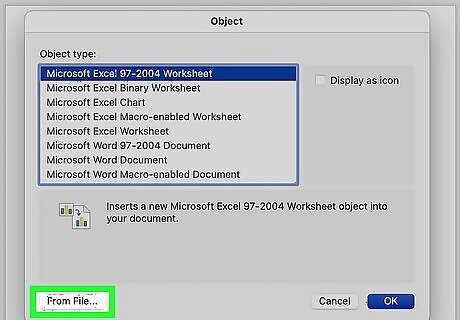
Click From file. This button is at the bottom-left corner of the window.
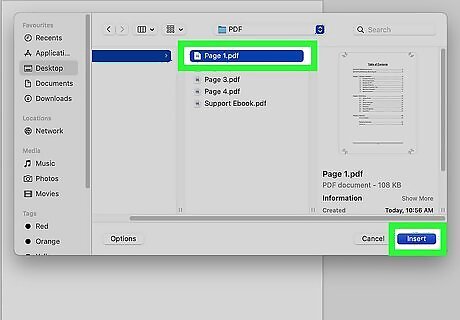
Select the PDF you named "page 1" and click Insert. This inserts the first page of your PDF into the file.
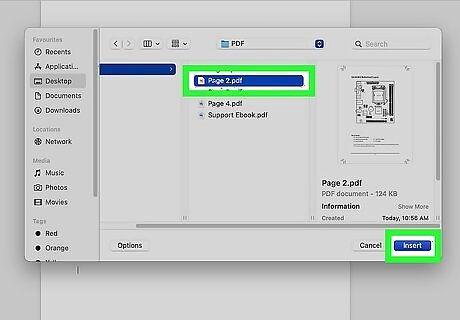
Repeat for all pages. To insert the next page, click the Object option again, select From file, choose the next page, and then click Insert. Continue doing this until you've added all pages of the PDF to your Word document. When you're done inserting pages, make sure you save the file by clicking File > Save.
Inserting as an Object Icon
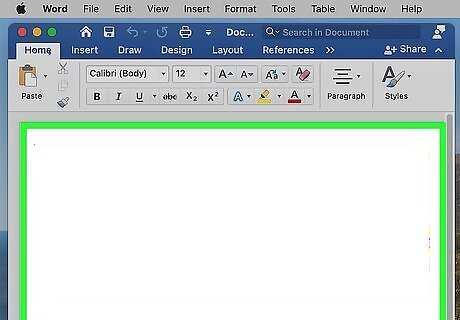
Click in the document to move your cursor where you want to insert the PDF. If you don't need the actual pages of the PDF to appear in the file and are okay with readers clicking an icon to open the PDF in their own reader instead, use this method. If you want your PDF to start on a new page, press Ctrl + Enter (Windows) or Cmd + Return (Mac) to create a page break. You can't do this using the mobile app or a web browser version of Word.
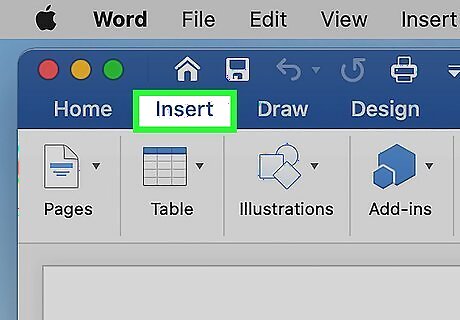
Click the Insert tab. This is in the editing ribbon above the document.
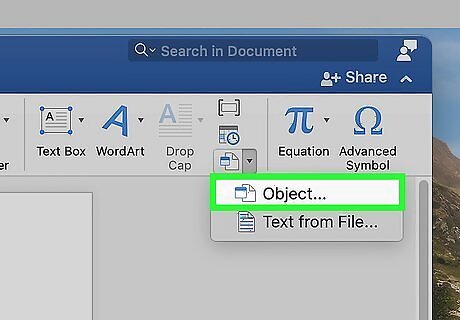
Click the Object button. You'll find it in the toolbar at the top of Word. If you're using Windows, it'll be in the "Text" group. If you're using a Mac, you may have to click the small down-arrow next to the icon of a square with a window on it and choose Object.
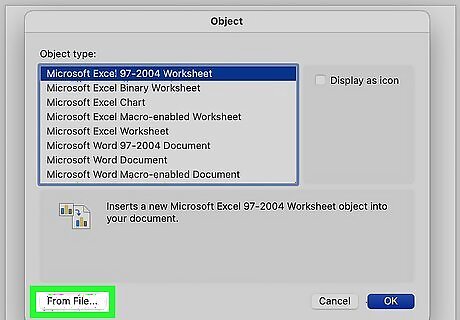
Click Create from File (Windows) or From file (Mac). If you're using Windows, you'll click the tab at the top of the window. If you have a Mac, click the button at the bottom-left corner of the window instead.
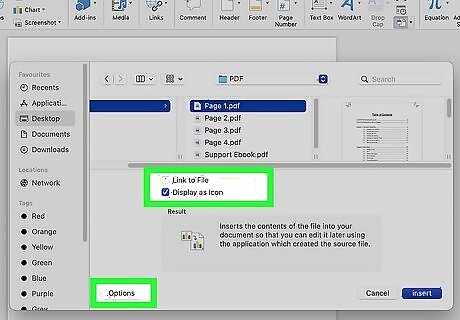
Choose how to link the file. This option determines how the PDF is displayed in your document. First, if you have a Mac, click the Options button at the bottom-left to display your options. To display an icon that represents the file in the document, check the box next to "Display as icon." This icon will appear in your document with your text and your readers can click the icon to open your multi-page PDF in a PDF viewer. To display the first page of the PDF as a clickable link, which, when clicked, opens the entire PDF in another window, check the box next to "Link to file."
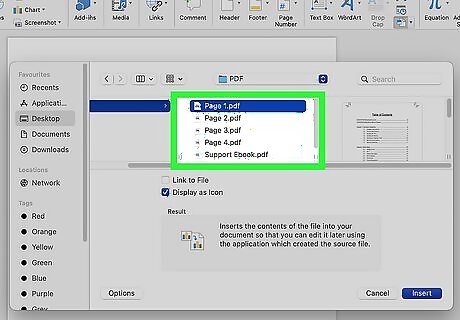
Select the PDF you want to insert. If you're using a Mac, navigate to the file and click it once to select it. If you're using Windows, click Browse, navigate to the file, and then click it once to select it.
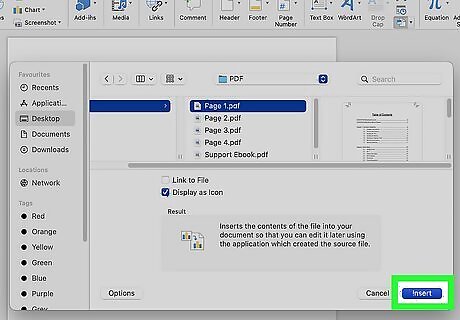
Click OK (Windows) or Insert (Mac). This inserts the PDF into your file as a clickable icon or image link. After inserting the object, make sure you save your document by going to File > Save.


Comments
0 comment