
Setting up the Roof Properly
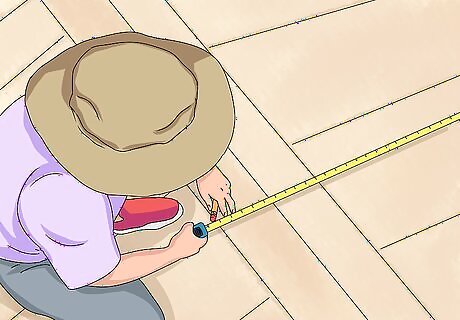
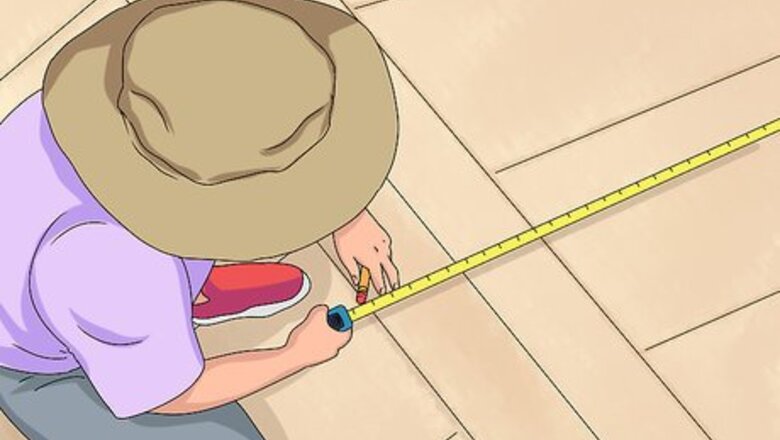
Measure your roof so you know how many shingles to buy. Measure the length and width of your roof, then multiply these numbers to get the total area. Take this number with you to a home goods store where they will be able to assist you in figuring out how many shingles you should buy. Make sure to actually get up onto the roof instead of just estimating. Be very careful while you are on the roof, and only do this in dry conditions. It’s best to buy too many shingles rather than not enough, as it’s obviously a hassle to run out. Make sure you buy ridge cap shingles if you’re planning on putting shingles on the upper ridge of your roof also.
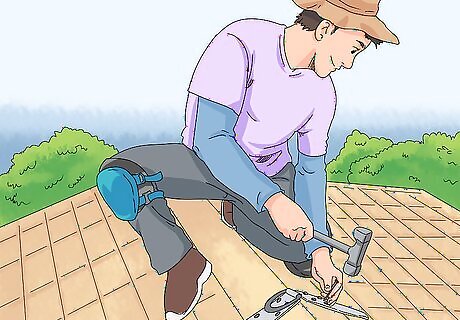
Place safety anchors into the roof. You can buy these from any home goods store. The way that you install these will differ depending on the brand you buy, but they always come with very detailed installation instructions. Make sure that the anchors are absolutely secure before you put any weight on them.

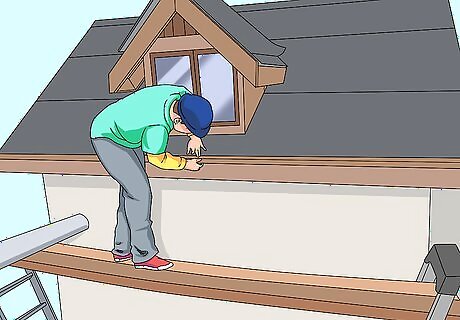
Attach your safety harness to the anchors. The exact process for this will differ depending on the type of harness you have. It's possible that it just requires a simple hook onto the anchors. Make sure the harness is secure around your chest. Harnesses are really important to wear because of the risks associated with being so high off the ground. Strapping yourself in should be the first thing you do each time you start work each day.
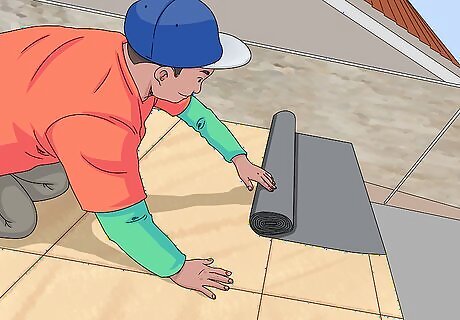
Put the underlayment membrane down to form the base. Start in a bottom corner (left or right) of the roof, then roll it out until it gets to the other end. Make sure that you hammer in a 1.5 inches (3.8 cm) nail every 12 inches (30 cm) so it stays down. When you start moving up the roof to put more down, make sure there is an overlap of about 6 inches (15 cm) with the previous underlayment you have put down. The underlayment is put down to provide a base surface to work on. It is breathable and helps the roof deal with condensation.
Install your drip edge against the fascia board. The fascia board is the long, straight board that runs along the lower edge of the roof. Make sure there is a 0.5 inches (1.3 cm) gap between the board and the drip edge. Hammer the nails in every 6 inches (15 cm). You can find a drip edge at any home goods store. Make sure you measure the length of the roof so you know what length drip edge to get. You should use 1.5 inches (3.8 cm) nails that are compatible with the metal being used which, in this case, is steel. This helps prevent corrosion.
Installing the Shingles

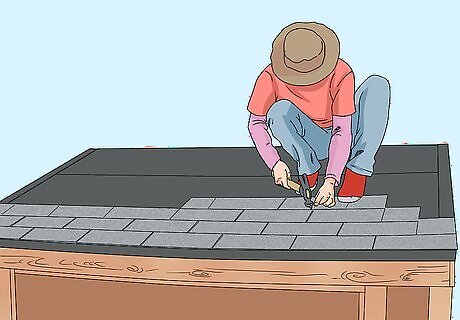
Place one shingle at the bottom left (or right) of the roof. This is the starting point of the installation process. Make sure to hook the bottom of the shingle into the bottom of the roof where there is an opening. Use a hammer to tap the shingle gently just to make sure it’s securely in. Make sure the shingle is pushed right up to the left or right as far as it can go. This ensures that you are covering all of the roof. It doesn’t matter which side you start on, but you do need to start in a corner. You should feel the shingle lock in when you have put it in correctly, and you shouldn’t have to force it in.
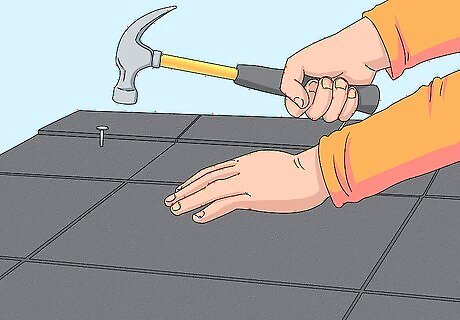
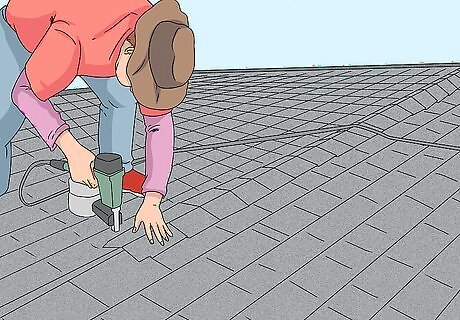
Nail the shingle in using hammer and steel nails. Make sure to use steel nails here so that the nail doesn’t corrode the steel shingle. There is one nail tab on the top right corner of the shingle where you must hammer in a nail. You should also place a nail clip approximately halfway across the top edge of the shingle, and hammer in a nail through there. The nail clips come together with the shingles so you will get them when you purchase the shingles. 1.5 inches (3.8 cm) nails are fine here, but a little bit of length either side of that measurement is also ok.
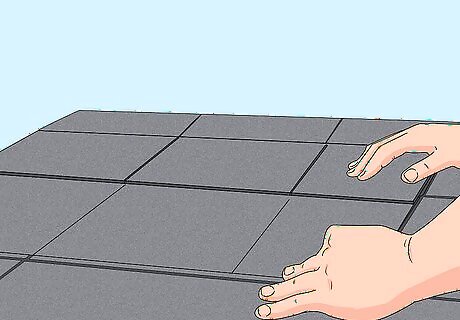
Hook the next shingle along into the previous one. Make sure you get the tab on the underside of the right shingle, hooked into the edge of the shingle you just installed. Once it’s hooked in, slide it up and into place where it should lock in nicely. This process is almost exactly the same as the first shingle you installed. However, instead of attaching the shingle to the edge of the roof, as with the first shingle, you are attaching it to the previous shingle. You just need to continue this process as you go along to the right until you reach the edge of the roof.
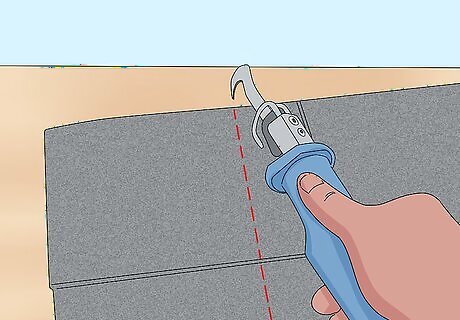
Cut the end shingle to the length it needs to be. It’s unlikely that your last shingle will fit in perfectly to the edge of the roof. Grab a full shingle, and put it down where you are going to install it. Then, mark how much shingle you need to cover the remaining roof. After this, cut off the portion of shingle you don’t need, and install the remainder as usual. Use steel cutters to cut the shingle. You can find these at a home goods store and they are reasonably cheap. It can also be a good idea to wear gloves while doing this, as once you cut the steel, it becomes very sharp and can easily cause some nasty cuts.
Continue this process until you have all of the roof covered. Take your time, and make sure that each shingle is properly connected into the other shingles around it. Don’t be too concerned if this process takes a few days. If you’re doing it yourself, these things often take a little bit longer than if a professional was doing it. This can be a good thing to get someone else to help you with, as you can work on more than one area of the roof at a time. Once you’ve reached the ridge (the very top of the roof), you have installed all the regular shingles that you need to.
Install the ridge cap shingles. You should have bought these when you bought the regular shingles. These work in a very similar way to the rest of the shingles. They lock into each other, and you then nail them in with a steel nail. Start at one end and make your way along the ridge to the other side. It doesn’t really matter which side you start at. You will need to cut the final shingle down to the right size, as you have previously done, so it fits.


Comments
0 comment