
views
Setting Up Your Model Rocket

Select a rocket launch site. Choose a large field free of debris, power lines, trees, or buildings. Make sure there isn't any dry flammable material near the launch site (such as dry leaves, twigs etc.) Football fields, parks, and playgrounds can be good sites for a model rocket launch. Be sure to check park and playground rules to make sure you are permitted to use the area for a rocket launch. Different sized rockets require different sized launch areas. For example, a rocket with engine size A would require a 100' x 100' launch area. The instructions on your model rocket launch kit should specify what size engine and launch area you need.

Choose a central location within the launch site for the launch system. Make sure all spectators are at a safe distance away from the launch system. It is also a good idea to position several people to act as trackers as rockets can launch very high and fast, making them difficult to track down once they make landing.
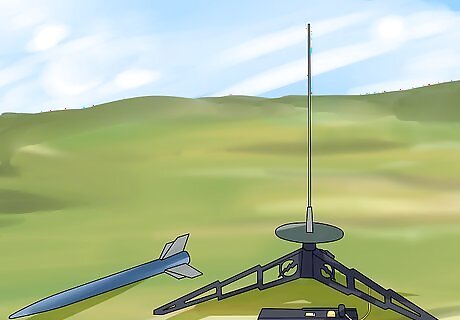
Prepare the model rocket launch system. A model rocket launch system consists of two things: a launch pad and a launch controller. Most rocket launch kits will come with a launch pad and launch controller. Most rocket launch systems require some assembly. You should assemble the rocket launch system before you begin to assemble the model rocket itself. Most launch pads consist of several parts: a 3-4 leg platform to provide stability on uneven ground, a launch rod to control the angle of the model rocket at launching, and a deflector plate to protect the launch pad from being damaged by the rocket engine when it is ignited. Follow the instructions provided with the kit or launch pad to assemble these properly. There are several types of launch pads, and you should always the appropriate one for your type of model rocket. The instructions for your model rocket or kit will tell you which type is required. The next component of the rocket launch system is the launch controller, a piece of electrical equipment that ignites the rocket igniter attached to the model rocket by supplying appropriate voltage to cause the igniter to burn. Some of these connect to an external battery to provide this voltage. This controller will be connected to the model rocket later via wire and clips.
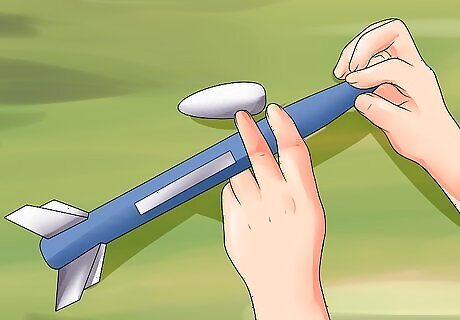
Prepare the rocket for launching. You will need a rocket body and nose cap, recovery wadding, the recovery system, an igniter, the model rocket engine, and engine mount. First, insert the recovery wadding into the rocket through the nose cone end. Recovery wadding is a type of flame resistant material that will protect the model rocket from flames during the ejection of the model rocket engine. Without the wadding, the parachute or recovery system will melt. Be sure not to pack this material too tight or the recovery system may not eject properly during launch. Second, fold insert the parachute or recovery system into the tube of the model rocket body. Third, place the nose cone back onto the rocket body. Fourth, install the igniter into the model rocket engine, as per the instructions in your kit or with the igniter. The model rocket engine is what powers the flight of the rocket. Lastly, insert the model rocket engine into the engine mount, the portion of the model rocket that houses the engine. In many cases, this will be a system of hooks inside the rocket tube or a separate kit for assembly will be included. Be sure to check your instructions with your model rocket kit to see what is required for assembling the engine mount.
Launching Your Rocket

Do a quick safety check. Make sure all spectators are at a safe distance away from the launch pad and your tracers are in position to find the rocket once it lands. Also, check again for any flammable debris or other obstructions to the rocket's trajectory.
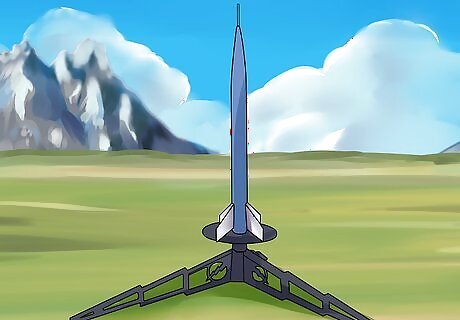
Slide the model rocket onto the launch rod. First, disconnect the safety cap off of the launch rod and slide the rocket on. The rod should go through a cylindrical piece on the side of the rocket called the launch lug. The rocket should rest on the deflector plate of the launch pad. Be sure that the hole in your launch lug is clear and slides easily onto the pole on the launch pad. Angle your rocket away from any area you would not want it to land in.
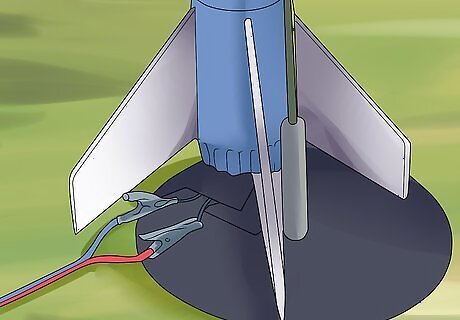
Connect the igniter on the model rocket to the launch controller on the launch system. Connect the clips from the controller to the igniter wires. Don't let the clips or the wires touch each other. This can cause a failed ignition.
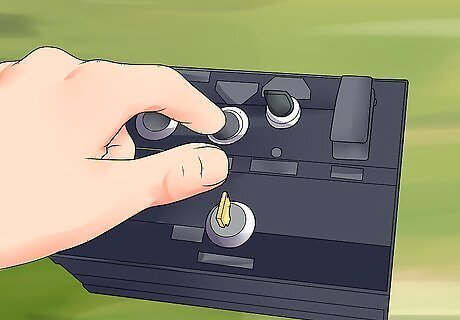
Launch your rocket. Place your key in the launch controller. Use a countdown and press the button to launch your rocket at the appropriate time. A common type of countdown that is used by model rocket enthusiasts is: "5... 4... 3... 2... 1... LAUNCH!" When you reach "LAUNCH", press the button.
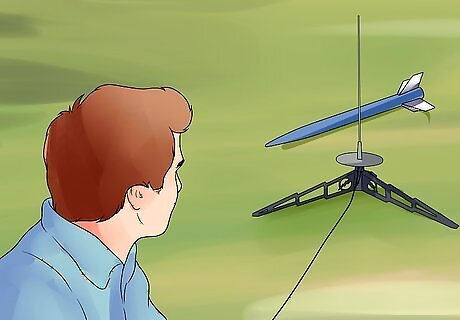
Deal with any problems. If your rocket launch fails, check that your connection between the controller and igniter is secure. There are a number of other reasons why an igniter might fail. Here are some common troubleshooting tips: Inspect the igniter wires where they protrude from the tip of the pyrogen. They shouldn't touch each other. If they are touching or close to touching, you can adjust them. When placing the igniter into the rocket, turn the rocket upside down so the nozzle is pointing up. Then drop the igniter into the nozzle. Gravity will help the tip of the igniter to touch the propellant, which is necessary for proper ignition. Each igniter comes with its own plug to hold it into place. Press the ignitor plug down hard into the nozzle on the igniter. Make sure the igniter clips are clean before you hook them up to the igniter wires. Dirty clips are a common problem and can prevent a good electrical connection from taking place. When you attach the clips, attach them as close to the pyrogen as possible, but make sure they are not touching each other.
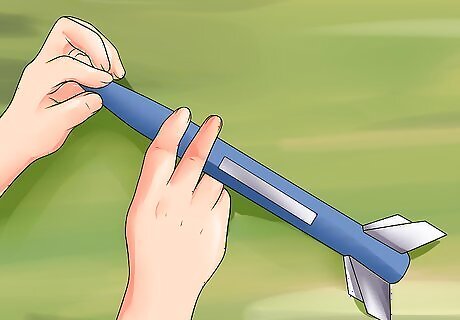
Find your rocket. It can be reused if there's no damage. Minor damage can usually be repaired. It is a good idea to have several people positioned down field to act as chasers or spotters. This can help you find your rocket more easily once it lands. If your rocket is severely damaged, you may not be able to re-use it. A really useful thing to have with you is five minute epoxy. This allows for quick and strong repairs if there's any damage.


Comments
0 comment