views
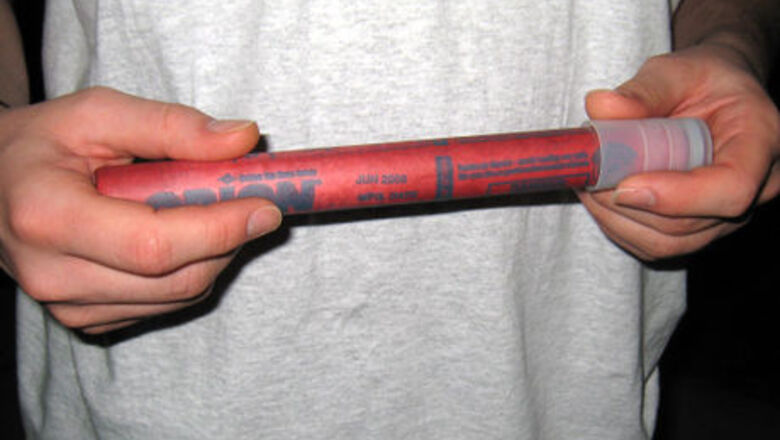
Have a location in mind to place the flare before you light it. A level, paved surface, free of dried vegetation, is best. If you are lighting the flare for roadside use, you should place multiple flares well behind the vehicle, so that oncoming traffic has time to move over. A hundred steps behind or "upstream" of your vehicle is a good distance for the first one. Make certain there is no gasoline leaking from any cars nearby and if there is gasoline leaking, consider NOT using a flare.
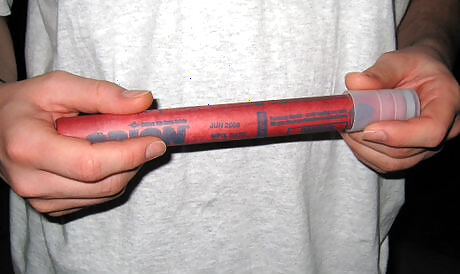
Locate the cap at one end of the flare. It will generally have a rough striking surface on the outside edge. Remove the plastic lid or cap to expose this surface, if necessary.
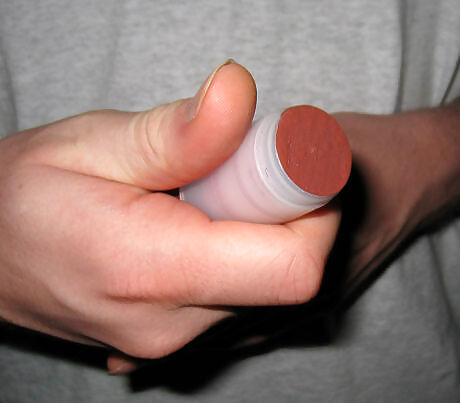
Look at the cap. Often, the caps are designed with a fold-out tabs or a flat side that will help prevent the lit flare from rolling around. Identify this feature and get it ready before lighting the flare.
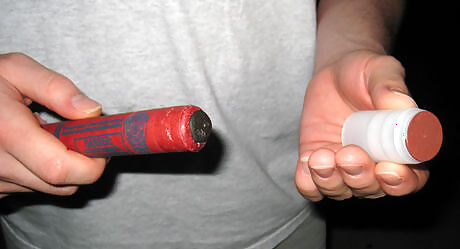
Remove the cap, exposing the end of the flare. You may need to twist gently. The end of the flare will have an ignition surface or "button". This is the end you will light.
Hold the flare as far away from your body and face as possible. Stand with your left or right shoulder facing into the wind. Point it away from yourself and others. Also, remember to hold the flare by the middle, with your hand away from the end you will be lighting.
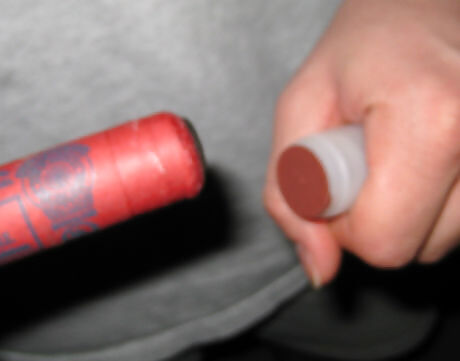
Light the flare much the same way as you would light a match. Rub the end of the flare briskly against the coarse striking surface on the cap. There is no need to strike too firmly. Remember, the flare will spray ignited, molten material from its end so if you are wearing good clothing you may damage your clothing.
Carry the lighted flare pointed downward and away from yourself, so that no burning residues can drip back onto your hand. Keep the burning end of the flare away from hair and clothing.
Replace the cap on the back end of the flare (the end that is not burning).
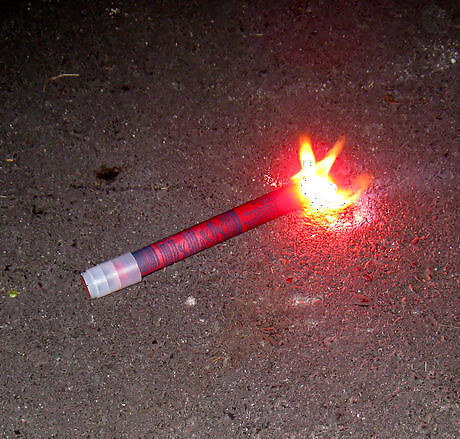
Set the flare on the ground, away from vehicles and flammable materials and be sure that it will not roll. Do not drop it. If you drop the flare you will have less control over its location, and the flare could break. If you think you need to extend the burn time of a flare, you can stack one burning flare over the other non-burning flare (bottom of burning flare crosses over the head of the non-burning flare).
Make sure that the flare is extinguished before leaving the site. If you wish to extinguish a lighted flare before it burns out, either douse it completely with water or tap the lighted end against the ground to break the burning part off of the rest of the flare. Smothering the flame is unlikely to be effective.


Comments
0 comment