views
Creating a Template
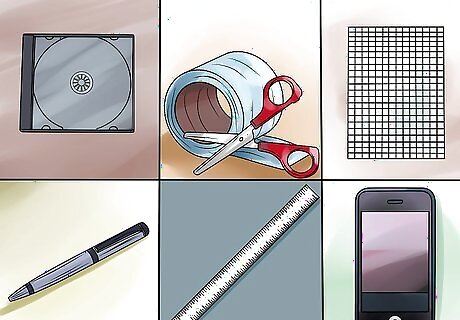
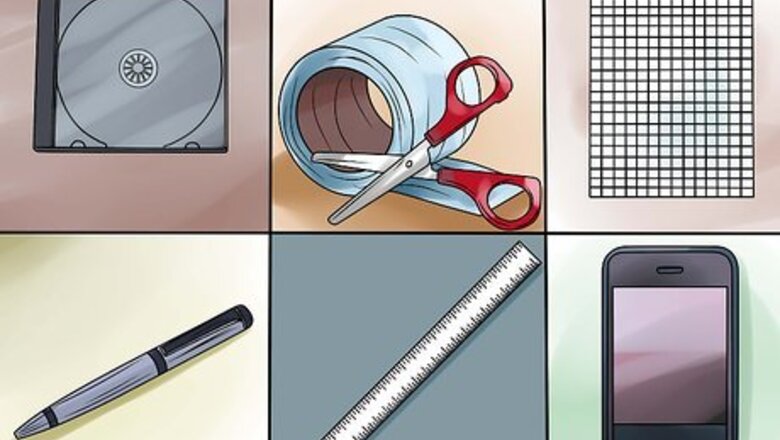
Gather your materials. Most of the items you'll need will be laying around the house. For instance, you probably have some old CD cases around. You'll also need tape or glue, graph paper, a pen, a ruler and a smartphone.
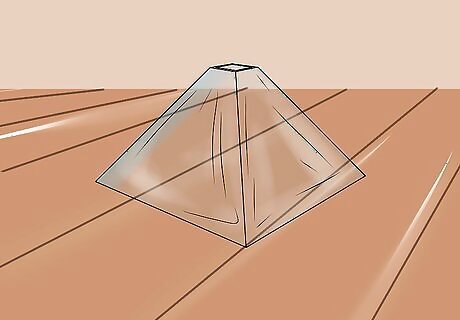
Map out the dimensions of the template on the graph paper. The template you’re going to make is for your hologram projector. It will take a rhombus shape when all the pieces are put together, resembling a square with slanted sides. A rhombus is a parallelogram. It has four equal sides that are parallel to each other and diagonals that bisect each other at right angles. You are going to make a template to form the side of this 2-D shape, which will be the projector screen for your hologram. The final shape of the projector will resemble a pyramid with a short flat top.
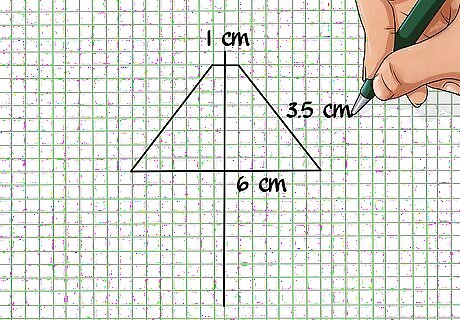
Use a pen and a ruler to draw the lines on graph paper. Line up your ruler with lines on the graph paper. The dimensions of your shape are 1 centimeter (0.39 inches) on the top, 3.5 centimeters (1.37 inches) on the sides and 6 centimeters (2.36 inches) on the bottom. Then, draw your lines. Connect all of the lines to complete the outline of the shape. The finished shape should look similar to an isosceles trapezoid. In other words, the template will show resemblance to a flat-topped pyramid. If you want to make your template bigger you can double or triple each of the sides. For instance, the dimensions should be 2 cm by 7 cm by 12 cm if you want to double it. If you’re wondering why it matters, it’s because increasing the size of the template increases the size of your hologram. You might get a better quality hologram with a smaller template, but how big you choose to make your hologram is ultimately your choice. Just use the same proportions of the provided dimensions when you’re increasing the size.
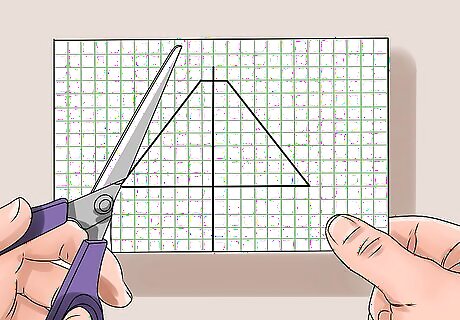
Cut out the shape from the graph paper. Cut along the lines as precisely as possible, making sure that none of the edges are jagged or uneven. You can use scissors if you want, but you’ll get a more exact cut if you use a box cutter or a utility blade. Use the tool that you're the most comfortable using.
Creating the Projector Screen
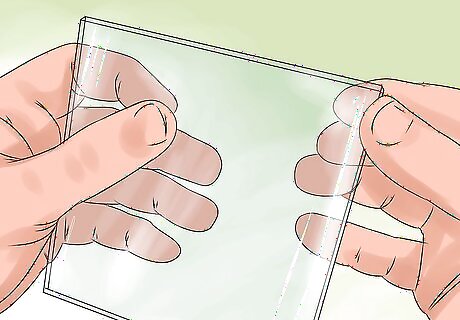
Prep the CD case by removing the unnecessary material. Cut off the sides of the CD case with a utility blade. You only need the front plastic cover because it is going to be the source material for your projector screen, which will project the hologram. If your CD case is dusty, clean it off with some glass cleaner. The cleaner and clearer your plastic pieces are the more clarity your hologram will have. Don’t worry if the plastic has some scratches on it. That doesn’t matter as much, but if you have a CD case with fewer scratches or none at all, it would be a better option.
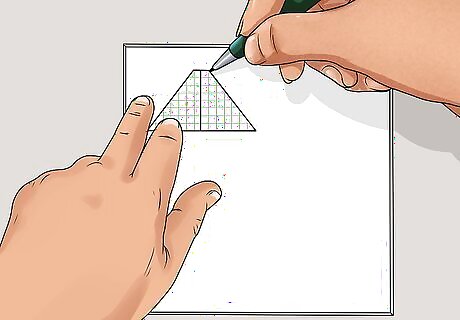
Trace the template on the plastic CD case. Try to orientate the template in such a way that you can fit it on the plastic four times. Flip it in the opposite direction, so you have one template upright and one upside down. You’ll need four of these pieces to construct the projector, and it’s easier to cut them out of the same piece of plastic -- especially if you don’t have several CD cases laying around. Then, with your pen, trace the template four times on the plastic if are able. If you have increased the size of your template, you may not be able to cut out four templates from a single plastic CD case. If not, salvage a few more plastic CD cases to cut out your templates.
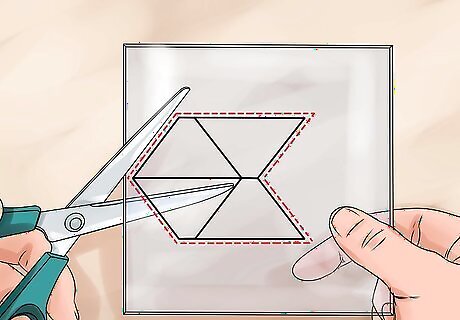
Cut out the templates from the plastic CD case. With your utility blade, follow the line that you traced on the plastic. Use your ruler as a guide to help you cut straight. Line it up along the line that you traced, press firmly on the ruler so it doesn’t move. Then with your other hand, trace over your lines with your utility blade. Go over the lines with the blades several times until you have cut through the plastic. When you finish you should have four plastic pieces that look just like your template. If you have removed the sides of the plastic from the CD case, then cutting out the templates will be much easier because you’ll be able to press down.
Making the Hologram
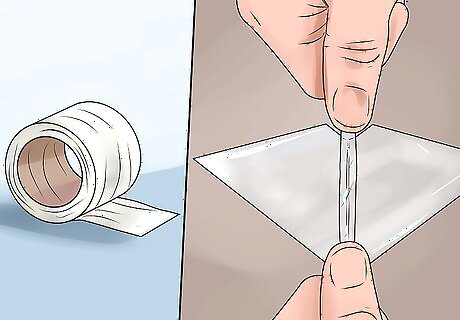
Tape or glue the templates together. Line up two of the plastic template pieces side by side. Then put a piece of tape at the top and the bottom where their edges meet. Make sure the tape overlaps onto both sides of the template so that it holds them together well. Then, tape the remaining two pieces to each end in the same manner. All four of the plastic pieces should be taped together. You can glue the pieces together instead of taping them. However, this will likely take longer because you have to hold the pieces together until they dry.
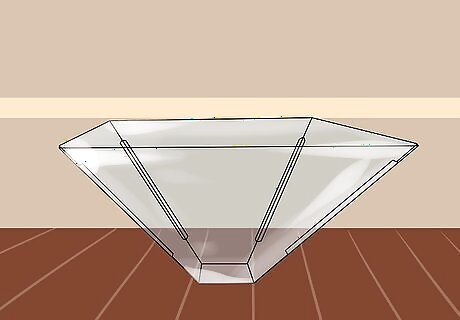
Shape the figure. Stand up the taped pieces on the bottom edge. Bend the pieces where you have applied the tape to create corners or creases at each edge. Then tape the two open ends together to close the shape. This is your hologram projector. It should now resemble a pyramid with a flat top.
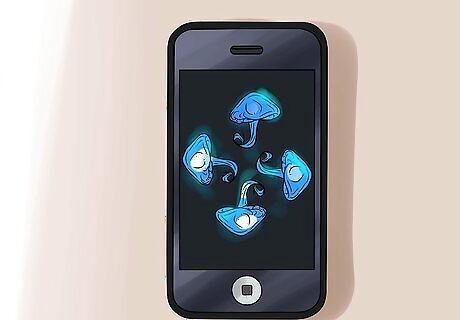
Display a simple video or moving image on your smartphone. A single fish swimming or a flower moving back and forth works fine. Use a screensaver image or a video. Whatever image you display is the image that is going to be projected into a hologram.
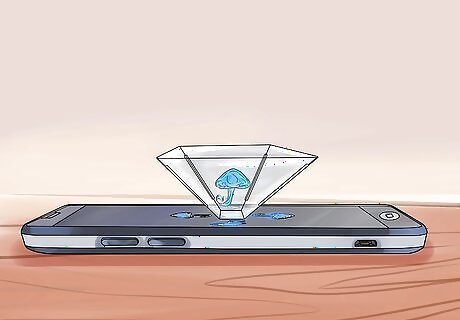
Place your hologram projector on your smartphone screen. With the moving image still displayed on your smartphone, set your screen projector with the short end -- the 1-centimeter end-- down on your smartphone. The side facing up at you should be the 6-centimeter end, and it should now have the shape of the rhombus. If your image on your smartphone is still moving, you should now see a 3D hologram of it projected through your CD case projector..


Comments
0 comment