views
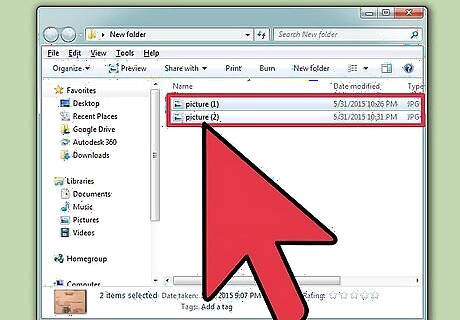
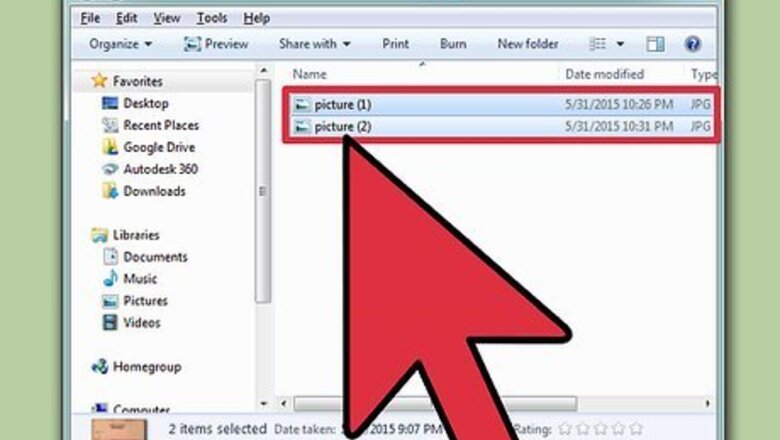
Prepare two images for the rollover effect. Select two different images to make a rollover image and save them in the same folder where you will save your HTML file displaying a rollover image.
Open any text editor of your choice. Dreamweaver will be used as the text editor in this article. Otherwise, if your text editor is blank when you open it, you need to enter HTML elements to build a web page.
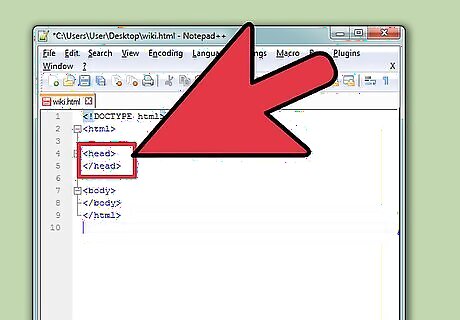
Locate the
section. JavaScript code will be inserted within the tag. Two JavaScript functions will be created to change the images. The two functions are named MouseRollover and MouseOut in the code below. The image's src property will be used to change the image's source when those two functions are called.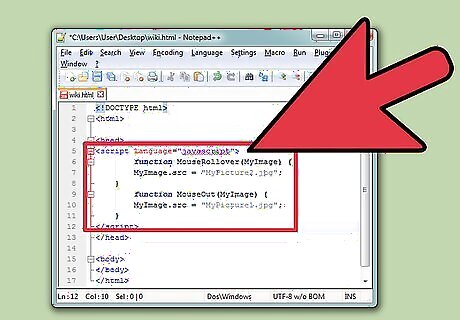
Copy the following JavaScript code:
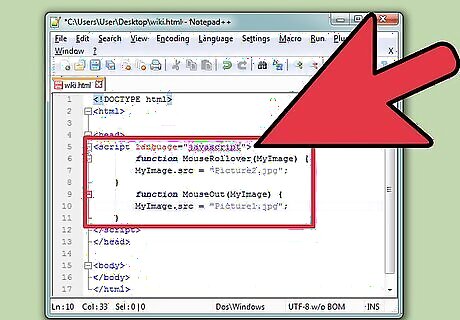
Paste the JavaScript code in between the
section onto your text editor. The MyPicture2.jpg in the function MouseRollover should be replaced by your rollover image's name and the MyPicture1.jpg in the function called MouseOut should be replaced by your original image's name.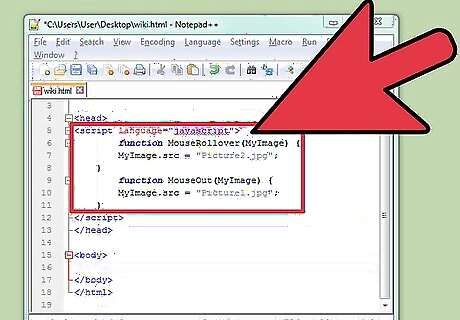
Locate the
section. The image tag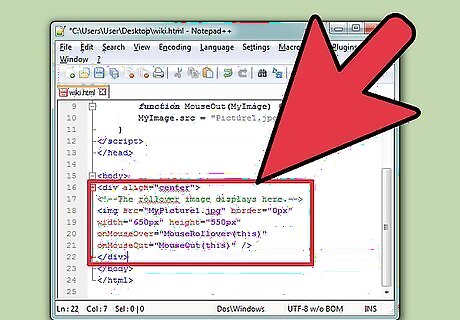
Copy the following code:

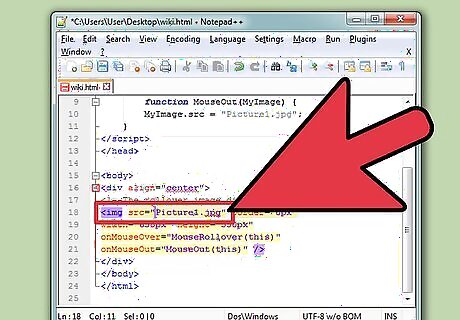
Paste the code in between the
section. The onmouseover property is added inside the image tag above and will be assigned to call the JavaScript function Image Rollover to change your original image to a new rollover image. Replace MyPicture1.jpg with your original image's name. Moreover, another property called onMouseOut is added in order to change the image back into its original one when you move your mouse away from the rollover image.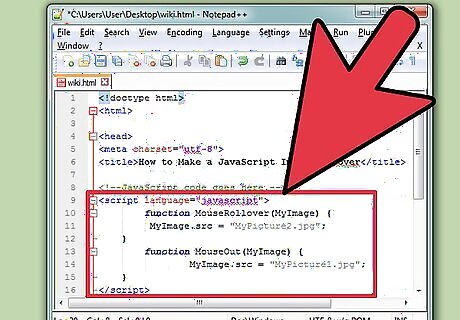
Review the entire code. Your code should look similar to the code below. You can play around with the code from this example and see how things change.

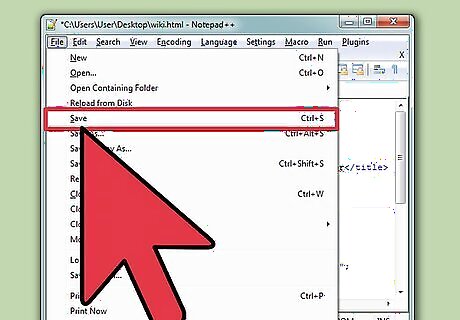
Click “File” and select “Save.”
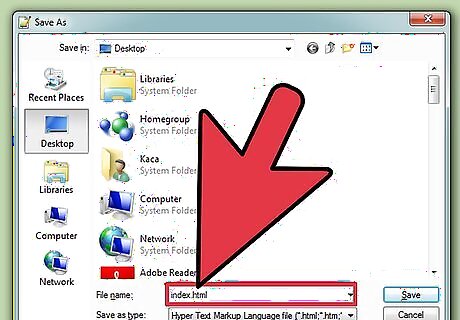
Enter a name to save your HTML document. “index.html” is used to test the file. Select “Save as type” to HTML documents.
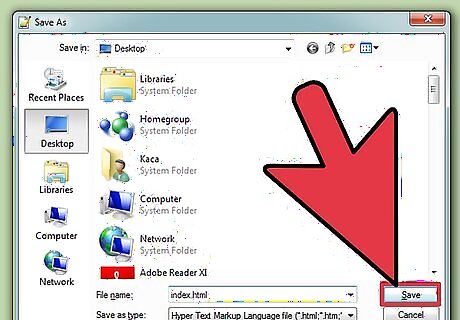
Click the “Save” button.
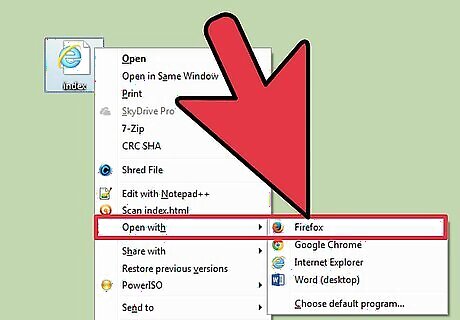
Preview the finished web page in a browser. Click “File” and then go to “Preview in Browser.” Click “Firefox” or any Web browser being installed in your text editor.







Comments
0 comment