
views
Designing Your Jump Rope
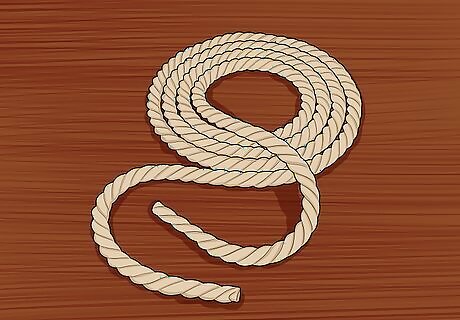
Select your rope. You can select from a variety of materials that can work as a rope. You can get an actual rope from your local hardware store, or you can use ropes made of leather, PVC, or elastic. Different fabrics will have an effect on the speed, durability and versatility of your rope. For example, leather ropes are great for speed, but can feel like a whip when they hit your skin, so leather is not a great choice for children. If you plan to use your jump rope on hard surfaces, such as concrete or asphalt, it is better to use relatively sturdy materials to prevent breakage. Braided nylon is a good, durable choice.
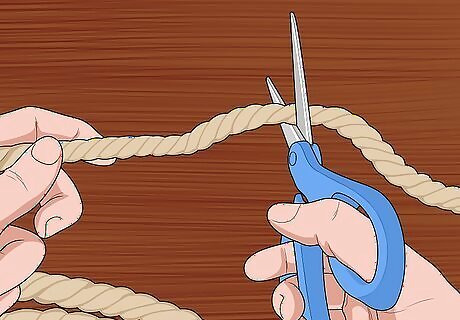
Cut the rope. Measure the length from the top of your chest to your feet. Multiply it times 2. The total number will give you a good length to cut your rope. If you are not making the jump rope for yourself, you will need to get those measurements from the person you are making the jump rope for. If you can't get a measurement, you can just go with a 7-foot (approx. 2 m) rope for most children. For people between 5'2"-5'6" (1.57-1.68 m) in height, you can use an 8-foot (2.45 m) rope. For people who are 5'6"-6'2" (1.68-1.88 m) tall, you can use a 9-foot (2.8 m) rope. And for people taller than 6'3" (1.91 m), go with a 10-foot (3 m) rope. You can always adjust the knots to shorten the rope later on, so it's best to have a little extra length to begin with. You will want to use a much longer rope if you plan to do double Dutch jumping. A rope of 12 feet (3.7 m) will be sufficient for one jumper, and add 2-4 feet (0.6-1.2 m) for each additional jumper.
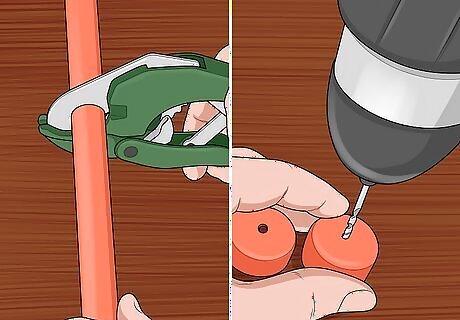
Select your handles. Handles will have a big impact on how your jump rope performs. You can purchase some handles at a sporting goods store, or make some yourself using items around your home. To make some handles at home you can cut 2 pieces of 1/2-inch (1.3 cm) PVC pipe in equal lengths of 4-8 inches (10-20 cm) depending on your preference. Drill a hole in 2 1/2 inch (1.3 cm) PVC end caps that is wide enough for your rope. You could also cut a wooden dowel into similar lengths. Drill a hole that is wide enough for your rope through the center of the dowel. If you are making a jump rope for children, you will want the handle to be small and light enough for a child to hold easily. If you are making a jump rope as a piece of exercise equipment, you will get more benefit by using handles that have some more weight. This will challenge your arm muscles more when you exercise.
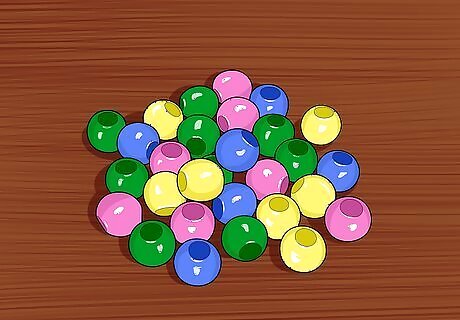
Consider adding beads. Jump rope beads serve several different purposes. They make the jump rope more visible, which is desirable for performances and safer for children. The beads also make a louder sound when they hit the ground, which helps some jump ropers to keep a good rhythm. Beads can also add a little weight to a rope which can alter the feel and performance. They also help to protect the rope.
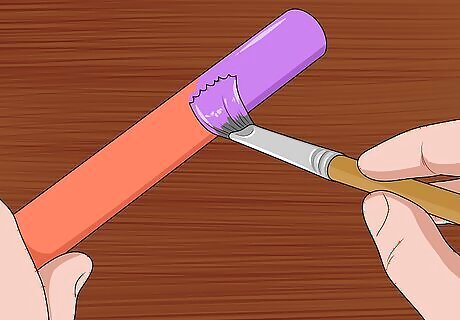
Add some personal touches. You can paint the handles your favorite color. Adding some tassels to the ends of the handles can make the jump rope even more exciting for kids. You can even find beads with letters to personalize the rope.
Assembling a Jump Rope
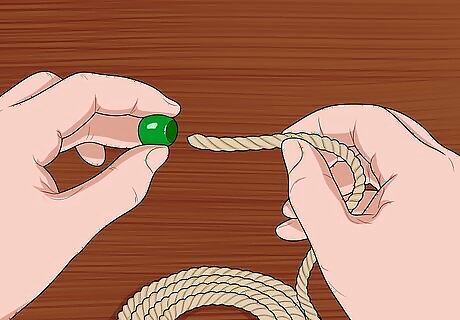
Slide the beads on before the handles. If you are using beads, you will need to slide the rope through them first, then secure the ends with the handles. Try alternating colors. Select 2 different colors of beads. Slide on a bead of 1 color, then the other color. Repeat until the rope is full.
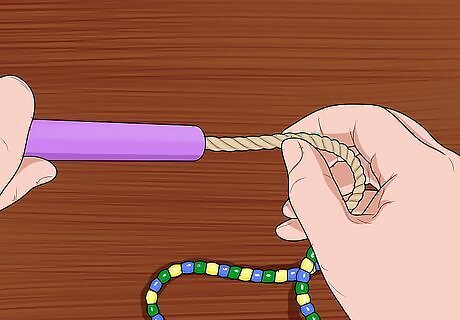
Slide the rope through the handles. Take 1 end of the rope and feed it through 1 handle. Then take the opposite end of the rope and feed it through the other end of the rope. Be sure the handle ends face opposite directions at each end of the rope.
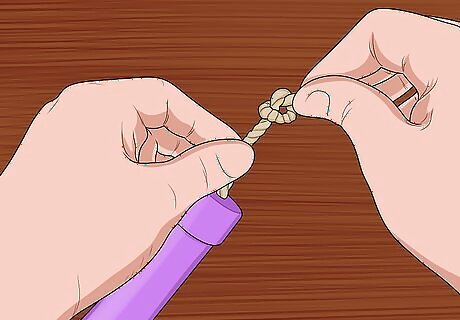
Secure the ends of the ropes to the handles. How you secure the rope will vary depending on your rope and handle choice. Some cord ropes will come with a cap that tightens or crimps around the cord to hold it to the handle. For most cloth and elastic materials you can simply tie a knot at each end of the rope so that the ends will not slip through the handles. To tie the rope, hold it in front of you several inches from the end of the rope. With your other hand make a loop on 1 side of the rope, bringing the end behind the bulk of the rope. Make another loop on the other side of the rope, bringing the end across in front of the rope. Then pull the end through the top loop and tighten. This knot will stay secured until you untie it.
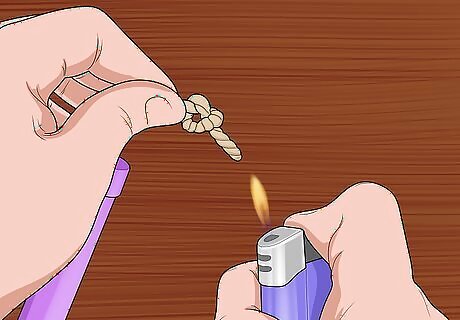
Singe the tips of cloth ropes slightly. Use a lighter and quickly insert the ends of the rope into the flame. The fabric will harden and seal the tips to prevent them from fraying. You can also dip them in glue to help seal the ends of the ropes.
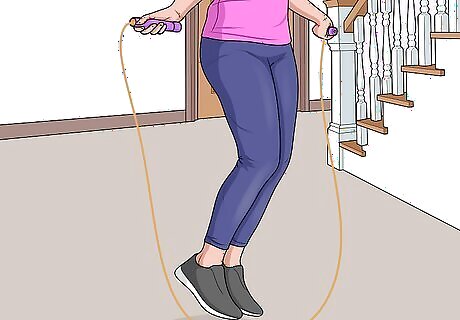
Try out the jump rope to test the length. If the rope seems too long then you can adjust the jump rope as needed. Having a longer rope than necessary means the rope will take longer to rotate. This can be beneficial for new jumpers or children. Conversely, if you are an experienced jumper and looking to increase your speed, you will want to have as little excess rope as possible.
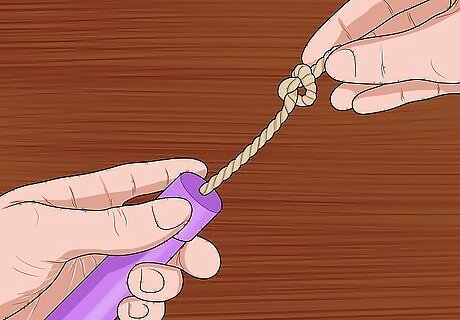
Adjust the rope. Pull the unwanted length of rope through the handle. Try using the rope again. When it seems like a good length, tie a knot at one end of the rope again and cut off the excess with a pair of scissors. If you have clips for your handles you can simply adjust them and trim away the excess. Some handles have extra room so you can make a loop in the rope to adjust the size and fit the loop within the body of the handle. If your handles have the space, consider using this method to resize your rope. It is quicker and will give you the ability to add some length back to the rope later on if you want.


Comments
0 comment