views
X
Trustworthy Source
National Audubon Society
Nonprofit environmental organization focused on conservation, citizen science, and public science education
Go to source
In Great Britain, populations of these birds of declining, so housing them may help conserve them. If you'd like to welcome house sparrows around your home, you can build a nestbox for them fairly easily with just some wood, nails, and a drill and saw.
Cutting the Wood
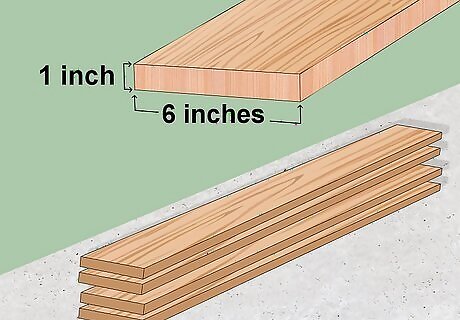
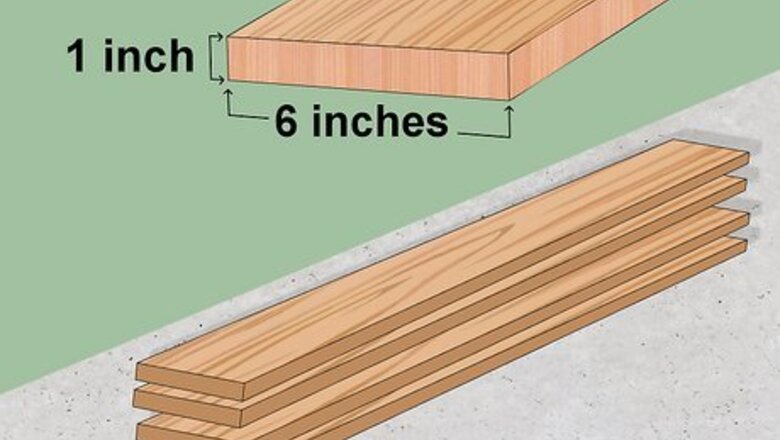
Purchase a plank. A basic nestbox can be built using a single plank of wood. Purchase a board that is one inch by six inches in thickness/width, and four feet long. Any type of wood will work. However, hardwoods like oak and beech will last longer than softer woods like pine. Don't use wood that's less than 3/4 of an inch thick. It can warp and won't provide enough insulation to keep birds warm. House sparrows are invasive in some places and can be very territorial, so check with your local wildlife services before you make a nesting box.
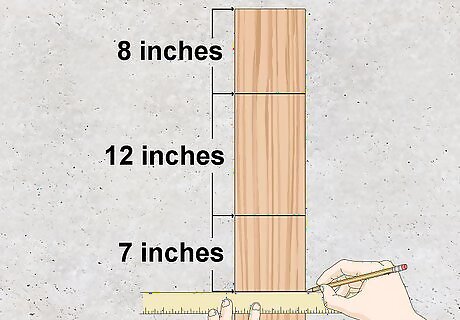
Mark for cutting the roof, front, and back. Using a pencil and a ruler, draw several lines on the wood to mark where you'll be cutting to create the sides and back of the nestbox. The cut lines should be as follows: For the roof, move eight inches down from the end of the plank and make a mark on each side of the board. Use a ruler to draw a horizontal line between them. For the back, move 12 inches (30.5 cm) down from your first line, and draw another horizontal line across. For the front of your nestbox, move down another seven inches down and draw another horizontal line.
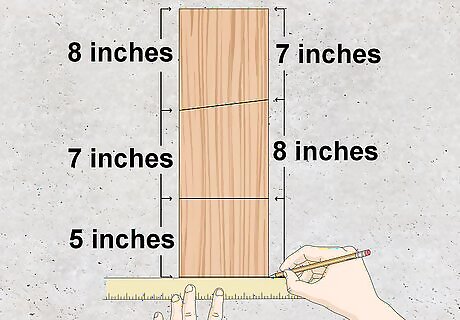
Mark for cutting the walls and bottom. The walls of the nestbox need to be angled at the top so the roof will slant. For the first wall, move eight inches down the left side of your plank and make a mark. On the right side, make a mark seven inches down. Draw a line between the two. It should slant gently upward. For the second wall, the lengths are reversed. Move seven inches down the left side of the plank from the slanted line and make a mark. Move eight inches down the right side of the plank and make a mark. When you draw a line between these two marks, it will be horizontal if you have done it correctly. Finally, for the bottom, draw one more horizontal line five inches down from previous one. There should be about an inch left at the bottom, which you will discard.
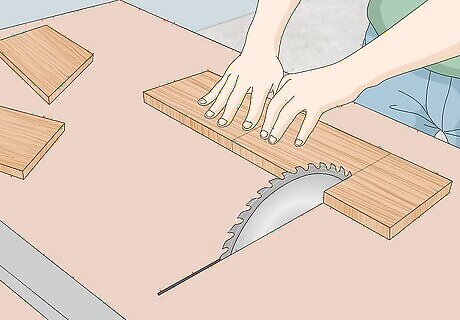
Cut the pieces. Use the lines you've drawn to cut the pieces for your nestbox with a saw. Any saw will do, but a table saw or circular saw will give the cleanest cuts and do so the fastest.
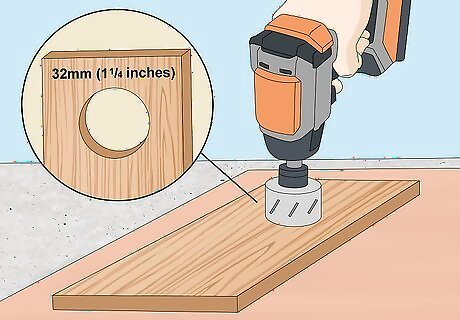
Drill an entrance hole. The front piece of your nestbox will need an entrance hole for the sparrows to use as an entrance. The easiest way to create this hole will be using a power drill with a large bit that creates circular holes. A hole of 32mm (about 1 and 1/4 inches) is recommended for house sparrows.
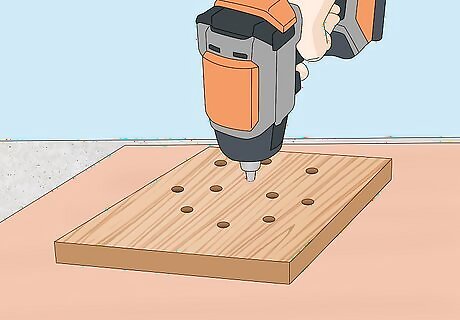
Drill drain holes. Inevitably, your nestbox will get some rainwater in it. So, it's a good idea to drill a couple of small holes in the bottom piece to allow water to drain out easily.
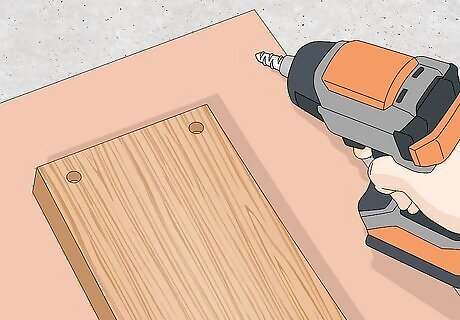
Drill mounting holes. Finally, before assembling the pieces, you'll want to drill some holes in the back you can use to hang the nestbox. Make one or two at the top of the back piece for mounting.
Assembling the Pieces
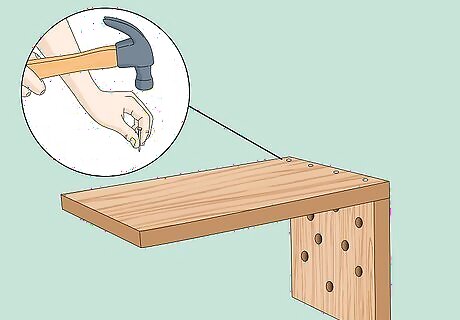
Attach the bottom to the back. Now it's time to start assembly. To begin, attach the bottom to the back using galvanized or stainless steel nails, to avoid rust. Attach the base to the back along one of the short (five-inch) edges of the bottom piece, leaving room on each side for the side pieces. Hammer the nails in through the backside of the back piece and into the base. Attach the base so it is perpendicular with the back, about one to two inches up from the bottom of the back piece. Brass screws may be used in the place of nails if you prefer.
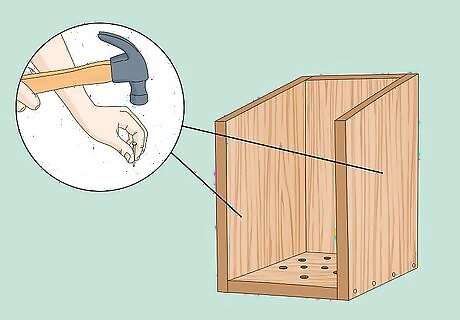
Secure the walls onto the bottom and back. The bottom edge of each wall piece should be flush with the underside of the base. The long edge of each wall piece should be attached to the back piece. Hammer the nails into the base through the outside of each wall. Hammer nails into the walls through the backside of the back piece.
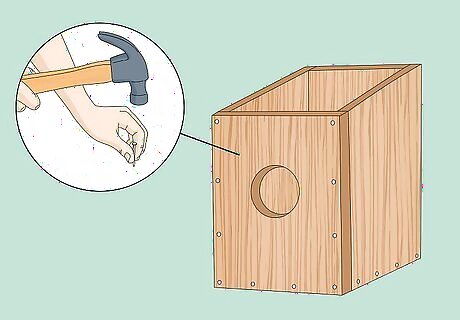
Install the front. The front piece should now be attached to the walls and base. The edges of of the front piece should be flush with the underside of the base and outside walls of the nestbox. To attach this piece, hammer nails through the front piece into the edges of the base and walls.
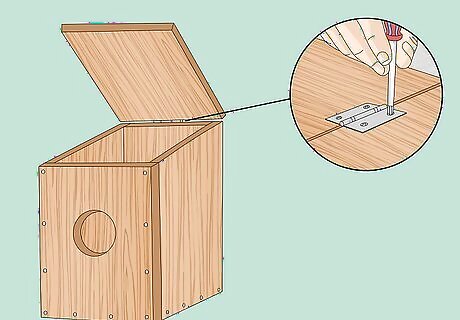
Attach the top using a hinge. To attach the top, you'll want to use a hinge (or hinges), with one side screwed into the top of the roof piece and one side screwed into the back. Lay the roof on to get a sense of where to place the hinge. Your hinge should be waterproof. You can use a waterproof brass hinge, if you can find one, or just use piece of inner tube in the place of a hinge. Attaching the roof with a hinge ensures that the roof piece will fit onto the back without having to cut the edge at an angle. It also allows you to clean out the nestbox in the autumn after any new chicks have left the nest.
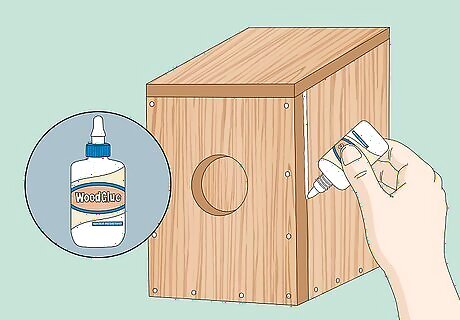
Seal, if desired. Bird lovers disagree about whether or not the joints in the nestbox should be sealed. If you choose to do so, you can seal the birdhouse using waterproof wood glue. Sealing your nestbox can stop drafts and make the birds more comfortable. However, leaving the joints unsealed allows moisture to drain more easily.
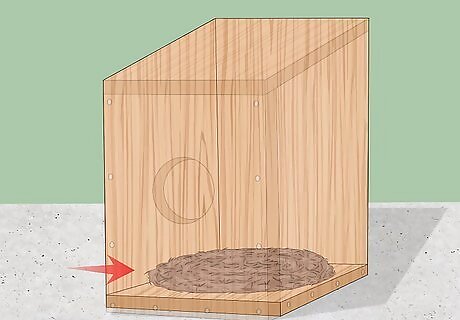
Add nesting materials. Dry moss or other coarse vegetation provides the basic materials for sparrow nests. Putting some in the box will get your new guests started on furnishing their home!
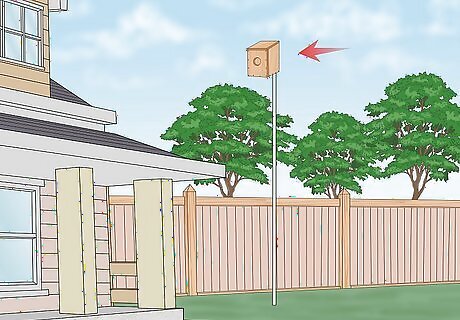
Mount your nestbox. Once your box is finished, find a good place to hang it up. Ideally, you will want to place it at least 15 feet (4.6 m) above the ground. Placing the box close to the eaves of your home will make it attractive to sparrows. Make sure to place it away from anything that would make it easy for a predator to access the nest.


Comments
0 comment