views
Dyeing the Fondant
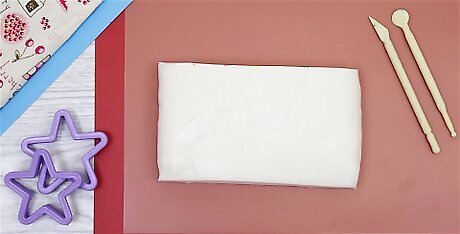
Purchase or make some fondant. Fondant is thick sugary dough that is often used for cake decorating. You can color it and shape it into all sorts of designs, so it is perfect for making edible makeup. Fondant is available in the cake decorating section of craft stores. You will need one package or one recipe to make your edible makeup.
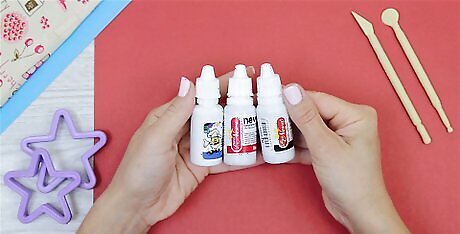
Decide what colors you will need for your edible makeup. You can purchase pre-dyed fondant or dye fondant to be almost any color, but you should take some time to plan out what colors you will need. For example, if you want to make a lipstick for your cake, then you might need some red or pink fondant. If you want to make an eyeshadow palette, then you might want some green, purple, or blue fondant. Jot down the makeup items you want to make and what colors you think you will need to make them. Since most makeup is cased in black plastic, black fondant is essential for making edible makeup. To dye fondant, you will need to use food safe dye. You can purchase all kinds of different dye colors for cake decorating in craft stores.
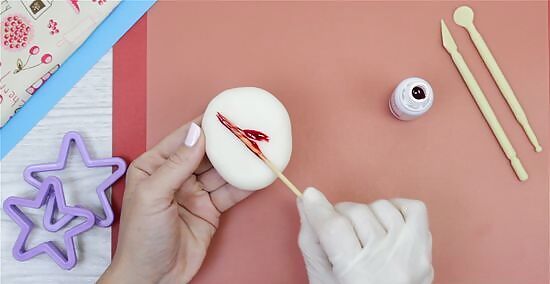
Add dye to fondant pieces with a toothpick. When you are ready, put on a pair of food-safe vinyl gloves and break your fondant into pieces. Then, add dye to the fondant using a toothpick. Stick a clean toothpick into the dye and then stick it into the fondant to transfer the dye. Make sure that you discard toothpicks after they have touched the fondant. Do not dip them into the dye again. It is almost impossible to dye fondant black, so you will probably need to buy black fondant at a craft store. Other dark colors, such as red, can be difficult to achieve, so you may want to purchase these colors as well.
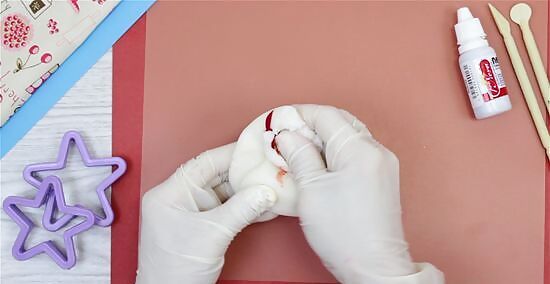
Mix by kneading the fondant. When you have added some dye to the fondant, begin mixing it with your gloved hands. Knead the dough to distribute the color evenly. Keep kneading until the color looks uniform. If the color is not as dark as you want it to be, then get a new toothpick, add some more dye, and knead again. If the color is too dark, then add some white fondant and knead the dyed piece with the white piece to lighten the color.
Making Fondant Lipstick
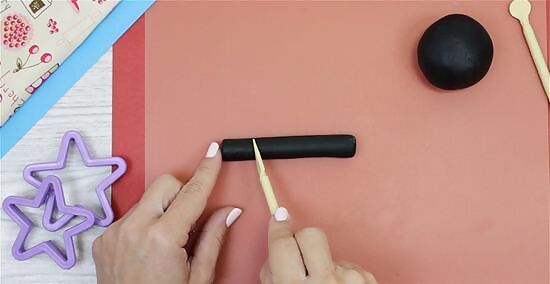
Roll the fondant into a small cylinder. Take a piece of black or white fondant and roll it out into a cylinder. The cylinder should be a little smaller in diameter than an actual lipstick tube and it should be about half as long as an actual lipstick tube. You can use an actual lipstick tube to help you with the size. After you create the cylinder, cut off the bottom and top of the cylinder to create flat edges on the ends.
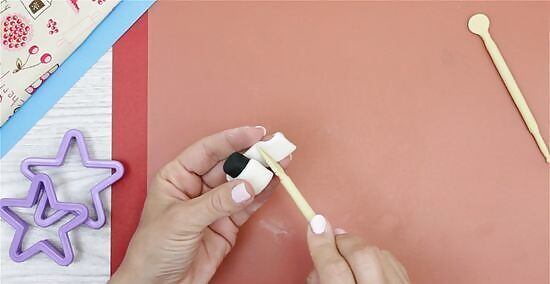
Cover the base of the cylinder. Next, roll out a piece of black or white fondant and cut it into a rectangle. Then, wrap the rectangular piece around the bottom of the cylinder. If there is any excess, then cut it off. The rectangular piece should cover the bottom half of the cylinder completely.
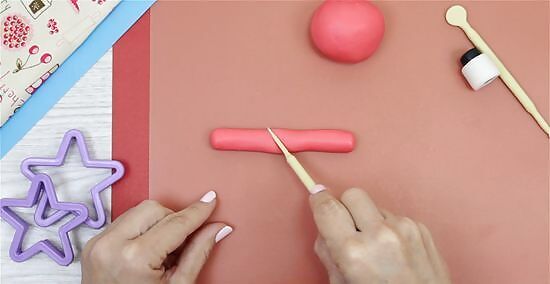
Make the lipstick piece. Choose a piece of colored fondant for the lipstick, such as pink or red. Then, roll out the piece of fondant into the shape of a sausage. It should be about the same size as the first cylinder you created. Cut off the bottom so that it will be flat and easier to stick onto the other piece. Cut off the top at an angle. Lipsticks are usually angled at the top, so make sure to cut off the top of your lipstick at an angle.
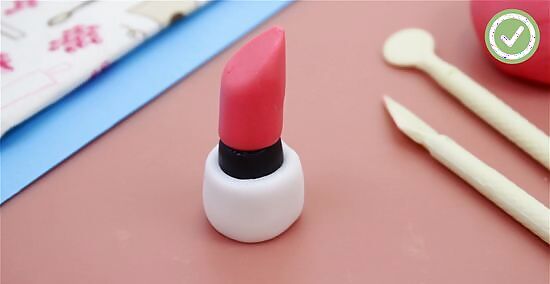
Attach the lipstick to the tube. After your lipstick piece is complete, add a drop or two of water to the base and gently press it onto the inner cylinder of the lipstick tube. Set the fondant lipstick on a flat sturdy surface and allow it to dry.
Making Fondant Eyeliner
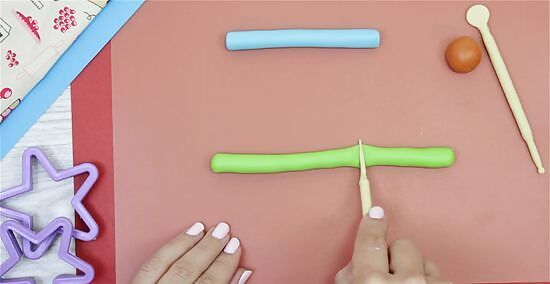
Roll fondant into an eyeliner sized tube. To make edible eyeliner, roll out a piece of fondant in the color of your choice. For example, if you want to make a green eyeliner, then roll out a piece of green fondant. If you want a black eyeliner, then roll out a piece of black fondant. Make sure that the fondant cylinders are about the same diameter and length as an actual eyeliner pencil. You can use an actual eyeliner pencil to help you get the dimensions right. Cut off the ends of the cylinder so that they are flat.
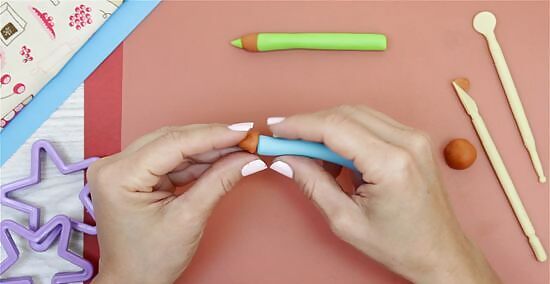
Create a beige cone for the wood part of the tip. Next, make a beige cone that is about the same diameter as the cylinder you just created. Then cut off the tip of the cone and the bottom of the cone so that it has a flat edge on the top and on the bottom. Attach the cone to the cylinder with a drop of water.
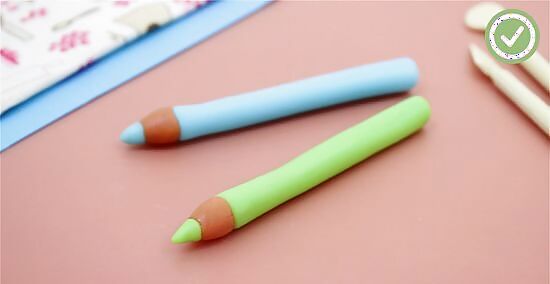
Shape a smaller cone for the pencil tip. Next, get a small piece of the same color fondant as you use for the cylinder. Then, shape the piece into a cone. This cone will be the tip of your fondant eyeliner, so make sure that it is nice and pointy. Attach the tip to the top of the beige cone with a drop of water and set the pencil aside to dry.
Making Fondant Nail Polish
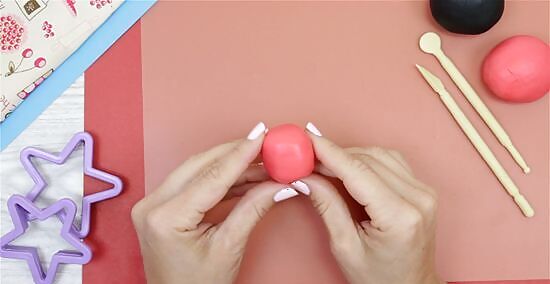
Roll a piece of fondant into a ball. Choose a piece of colored fondant for your nail polish bottle and roll it into a ball. You can use any color you like. For example, if you want a bottle of pink nail polish, then use a piece of pink fondant. If you want a bottle of yellow nail polish, then use a piece of yellow fondant. You can use an actual nail polish bottle as a model for your nail polish bottle and to help you get the size right.
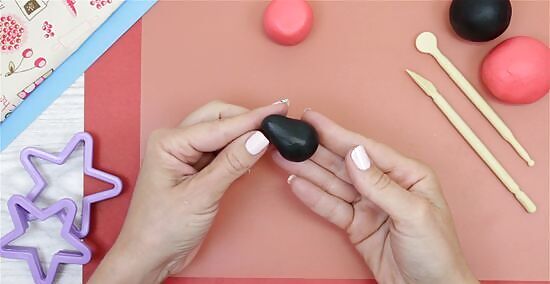
Shape a piece of black fondant into a cone. Next, you will need to create a piece of fondant for the top of the nail polish bottle. These are usually black, so use a piece of black fondant and shape it into a cone. Make sure that the cone piece is scaled to fit the ball piece. Check the size of the cone piece against your bottle as well.
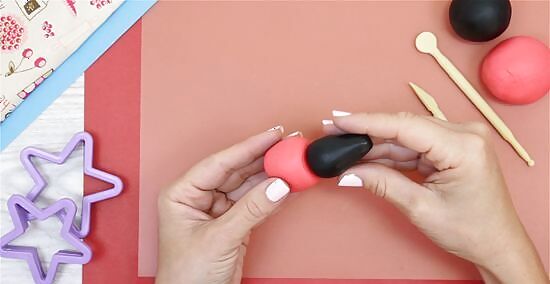
Cut off the bottom of the cone and attach to the ball. After you have shaped your cone. You can cut off the top and bottom of the cone to give the piece a cleaner appearance. Then stick the cone onto the ball piece with a drop or two of water. Set aside the nail polish bottle to dry.
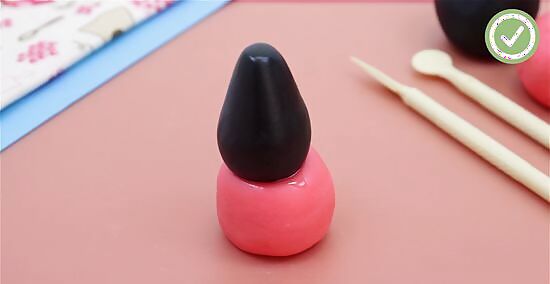
Make your nail polish bottle shiny. If you want your nail polish bottle to look shiny, then you can use a small food safe brush to apply a thin layer of shortening to the bottle. This should give your nail polish bottle a light sheen so that it will look like shiny nail polish when the light hits it.
Making Fondant Eye Shadow
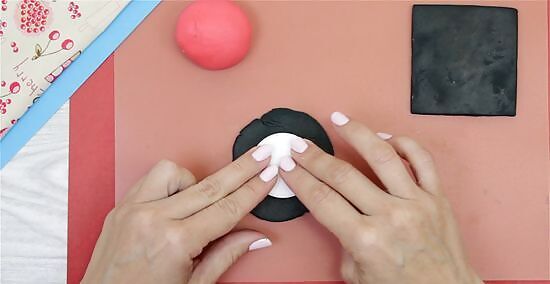
Cut out rectangles and circles for palette bases. To make palette bases for eyeshadows, you will need to roll out and cut out some black fondant into rectangles and/or circles. Roll out the fondant so that it is about ¼ inch thick. If you want to create some round eyeshadow pots, then use circle cookie cutters to create perfect circular pieces. If you want to create rectangular pots, then cut out a couple of rectangles. Use some of your actual eye shadow pots to help you determine what dimensions you will need.
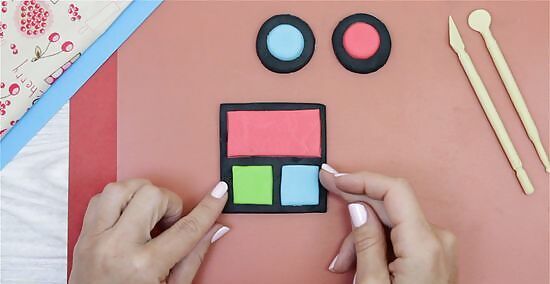
Cut out smaller rectangles and circles for eyeshadow. Next, you will need to create some fondant eyeshadow for the pots you created. Cut out some pieces that are slightly smaller than the pieces you created for the pots. Make each piece about ½ inch (1 cm) smaller than the black pot fondant piece you created. After you create the eyeshadow palette pieces, attach them pieces to the palette pieces with a drop or two of water and set them aside to dry. If you like, you can shape, imprint, or indent the pieces as desired. For example, you could use the side of a ruler to makes small indents in a rectangular piece, or use a fondant imprint mat to press a design (like a heart or flower) into the fondant eyeshadow.
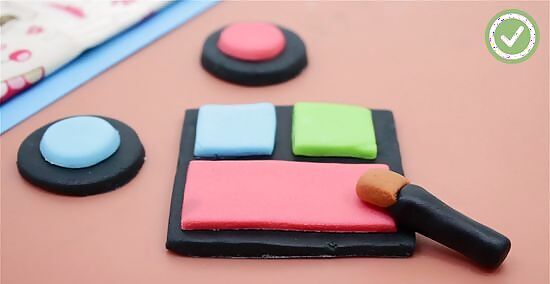
Make an eyeshadow applicator. If desired, you can also make an eyeshadow applicator by cutting out a small black fondant rectangle (about ½ inch by 3 inches) and a small white fondant cone for the tip. Flatten the cone and attach it to the end of the black rectangle with a drop of water.





Comments
0 comment