views
Using a Bottle Cap
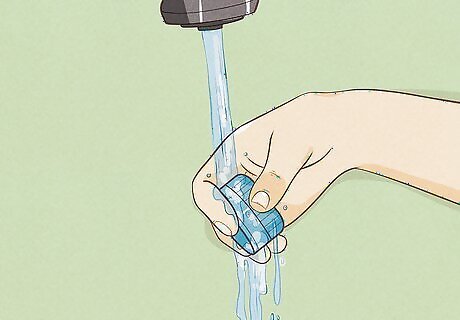
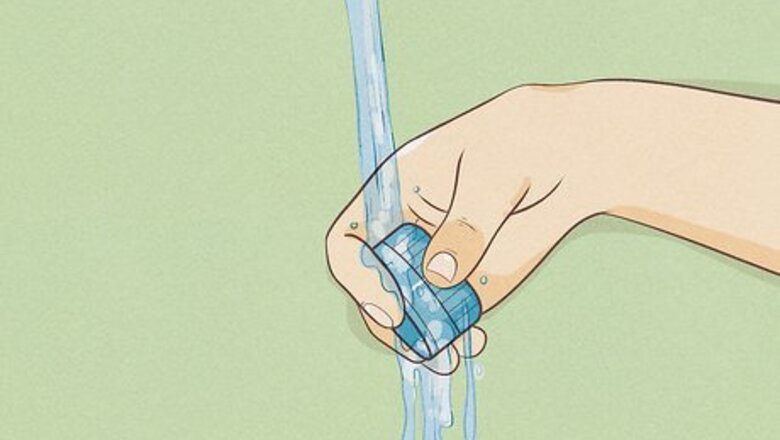
Wash the bottle cap. You can use either a metal or a plastic bottle cap, but since the cap will be going into your mouth, you need to make sure that it has been thoroughly cleaned, first. Metal bottle caps are shallow and tend to produce more subtle, natural looking fake dimples. The ridges can be painful, though, especially if you have sensitive cheeks. Plastic bottle caps come in a few different sizes. If you want really exaggerated dimples, use a soda bottle cap, since these tend to be the deepest types. For a more subtle option, though, grab a shallow water bottle cap. The solution should contain about 1 tsp (5 ml) salt for every 8 oz (250 ml) of water. Soak the cap for 15 minutes before rinsing it, drying it off, and placing it in your mouth. You could clean the bottle cap with soap and water, but make sure that all the soap has been completely cleaned off before placing the cap in your mouth. If using this technique, you should only create one dimple at a time. Bottle caps produce dramatic fake dimples, and having two dimples like this at once can overwhelm your face.
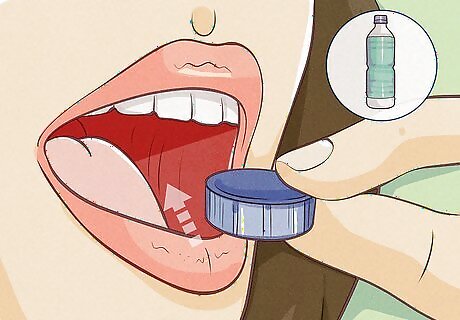
Position the bottle cap in your cheek. Open your mouth wide and place the bottle cap in inside, wedging it in between your your cheek and your teeth. Make sure that the opening of the bottle cap faces your cheek and not your teeth. It may take a little work before you figure out the right placement, so play around with it a little. If you have a hard time figuring out where to place the cap, take it out of your mouth and smile in front of a mirror. Look for the outer creases the form on your cheeks when you smile. The cap should be placed just to the outside upper corner of the crease on one side of your face.
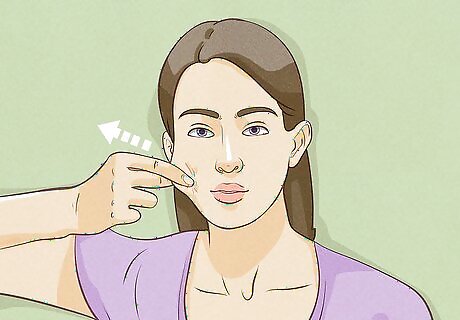
Squeeze your cheek into the opening. Press on your cheek from the outside while simultaneously sucking on your cheek inward from the inside. Your cheek should firmly indent itself into the opening of the bottle cap. If done right, you should even hear a small suction noise. Be careful as you do this so that you do not accidentally inhale and choke on the bottle cap, especially if you are using a small metal cap.

Strike a pose. This fake dimple technique does not really work when you are in front of someone in person, but if you want to create a fake dimple for a photograph, it works well. Take a few pictures from a few different angles until you find the look you like best. A popular way to pose with this fake dimple is to cover your mouth from below and turn your face so that the “dimpled” cheek faces the camera. Smile slightly, but do not allow the pressure to loosen from the bottle cap inside your mouth. This pose really accentuates the fake dimple while concealing any lines or bulges from the bottle cap, and it can also hide the fact that your mouth is not smiling quite as widely as it would usually need to if it were producing dimples that deep naturally.
Using Eye Shadow or Eye Liner
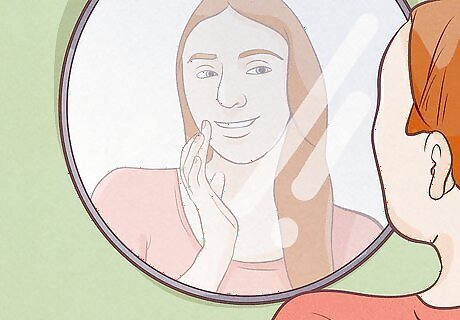
Figure out the right placement. Dimples can occur naturally on the outer corner of the lip or further up on the cheek. Figure out which look you want and estimate the best place to make your fake dimples. Most natural dimples fall near the natural outer crease line of a smile. To figure out where dimples like these should go, smile in front of a mirror and pinpoint the accompanying creases. The dimple should go just outside of the creases on either side of your face. For dimples that fall just to the outside of your lips, smile in front of a mirror and look for the smaller, inner creases that form just to the lower outside of your mouth. A fake dimple could be positioned along the inside curve of the creases on either side of your mouth. If you have a hard time keeping an eye on the spot, you can make a small dot with your eyeshadow applicator or eye liner pencil to mark it. This dot should be as small as possible to prevent it from interfering with the final look.
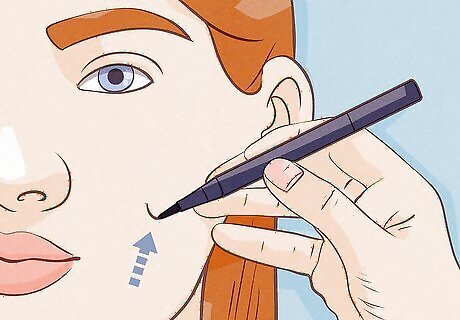
Draw a comma on your cheeks. Take a matte eye shadow or eye liner pencil and draw a small comma on your desired location. Draw lightly at first; it will be easier to darken your dimple later than it will be to lighten it. Use a dark brown color for best results. Make sure that the color is matte. A glossy or sparkly cosmetic would not be suitable since it will make your fake dimples stand out too much and look too fake. Likewise, color other than a dark brown might also look fake. The period or dot portion of the fake dimple should follow the natural curve of your lips when you smile. Imagine an invisible, diagonal line connecting the corner of your lips and the crease of your smile. The intersection of this line with your smile crease is the right point for your period to go. Draw the tail of the comma directly below the period portion. This tale should be 1/2 inch (1.25 cm) or so long, and the curve should be about as subtle as the curve of your fingertip.
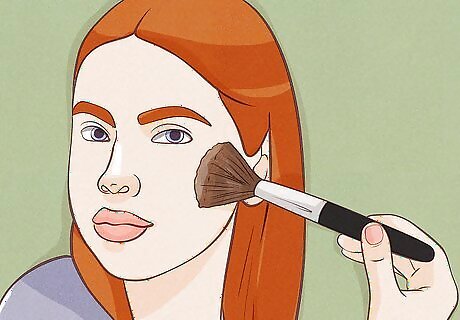
Brush in the eye shadow. Blend the cosmetic into your skin to make it look more natural. Start with a small makeup brush, applying even, rounded strokes that follow the curve of the mark. Fade the edges after you finish with the small brush by using a larger brush. Apply similar strokes with your larger brush. If you cannot achieve the subtlety you want with your brushes, smooth the mark in further with your ring finger. Use the ring finger of your dominant hand since your other fingers may not be able to apply the right amount of pressure for adequate blending purposes. You should continue blending along the curve of the fake dimple, rather than blending against it.
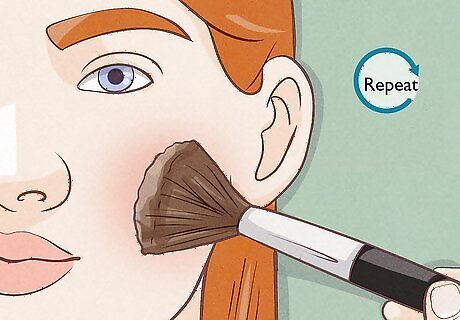
Repeat as needed. Create dimples on both cheeks for a more symmetrical look. If the marks are too light and the fake dimples do not stand out enough, you can apply more eye shadow or eye liner in the same spot and in the same manner. The right level of darkness can vary depending on why you want your fake dimples. If you want to wear them out and about, you should make them fairly subtle. Fake dimples that are too dark tend to have an obviously fake look. On the other hand, if you only want fake dimples for a photograph, you might want to consider making them a little darker by using several applications of eye shadow or eye liner. This is especially worth considering if you are taking the photograph in poor lighting.

Smile. These fake dimples will show up regardless of whether you smile or not, but a beautiful smile is the icing on the proverbial cake and can take your fake dimples from “okay” to “glamorous.” You should also smile immediately after application for the purpose of checking your fake dimples. Take a good look in the mirror and determine if you have achieved the appearance you were hoping for. If not, do not hesitate to wash the makeup off and try again.
Long-Term Fake Dimples

Get dimple piercings. Dimple piercings are fairly risky since you are dealing with an area more prone to infection than most. If done right, though, dimple piercings can partially mimic the look of dimples. Keep the piercings if you want to permanently highlight the dimple area or take them out eventually so that the skin eventually heals, leaving behind a dimple-like indentation. Due to the risks involved with dimple piercing, some professionals do not offer them at all. Others may offer them but often refuse them to anyone under the age of 18, even if that individual has the permission of a legal guardian. Dimple piercings cut through muscle and usually cause some mild form of nerve damage. This nerve damage can help hold the dimples in place even after the piercing closes up, but it can also be risky and could do unforeseen harm. The professional piercer should clean the outside of your cheek and should also instruct you to clean the inside of your mouth before making the dimple piercings. The needle and jewelry should also be sterilized. The piercer will puncture both cheeks symmetrically, right at the spot where natural dimples would fall. Afterward, he or she will place a straight barbell or other piece of piercing jewelry into each hole to prevent it from closing immediately. Your dimple piercings will need to be cleaned multiple times a day with a saline solution to prevent infection from setting in. You can keep the dimple jewelry in permanently if desired, but you can usually take them out after three months have passed. If the piercing did the expected nerve damage, you should have an indentation in your cheek even after the skin heals over the original hole.
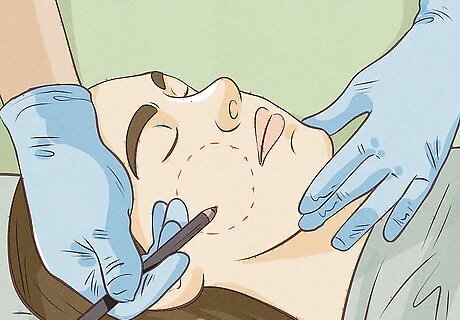
Consider cosmetic surgery. If you want something that looks more natural and will last for the rest of your life, learn about a plastic surgery procedure that will create dimple-like marks in your cheeks. Cosmetic surgery can be costly and does come with its own set of risks, but this option will give you fake dimples that look more natural than many other methods can. A plastic surgeon will use local anesthesia for the procedure. He or she will make a small incision on the inside of the mouth and into the inner surface of the cheek. Using specialized tools, the surgeon will make an indentation in the cheek muscles and mucosal tissues. Afterward, the dimple divot will be held in place with internal stitches, and external stitches will be used to close the wound in the inner mouth. For larger dimples, a plastic surgeon may perform a punch tissue excision. During this procedure, a portion of the cheek muscle is completely removed, creating a deeper and more obvious indentation. In either case, the procedure will take an hour or less. You should expect some pain, swelling, and bruising immediately after the procedure. The area is also weak to infection afterward, so you will need to carefully and thoroughly follow any instructions provided by the surgeon concerning proper wound care and cleansing. For the first few weeks, your dimple-like indentations will be present at all times. Once your cheek muscles partially heal, though, you should only notice the marks when smiling.


Comments
0 comment