views
Basic Granola Recipe
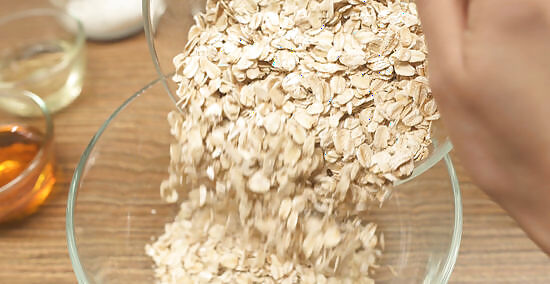
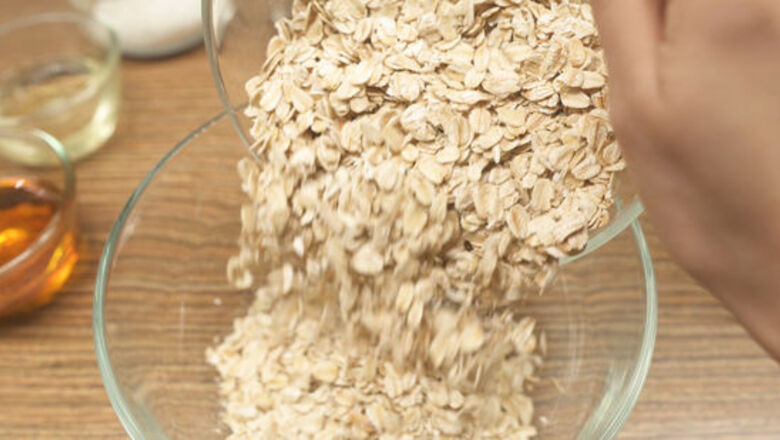
Add 3 c (225 g) of rolled oats to a large bowl. Rolled oats are really the only non-negotiable ingredient in homemade granola. For this basic recipe, they should make up half of your dry ingredient total (3 out of 6 cups). Any type of rolled oats will work, but old-fashioned rolled oats may provide a better texture than either quick-cook or instant rolled oats.
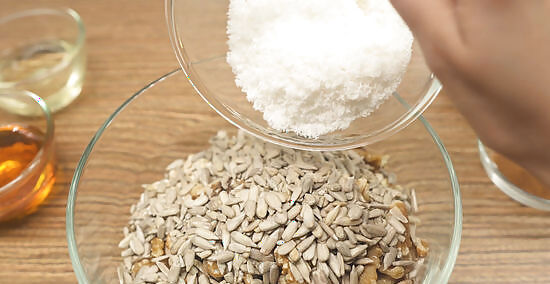
Combine your other dry ingredients with the oats. Use a wooden spoon or your hand to incorporate everything together. Add the following amounts of the other dry ingredients: 1 c (225 g) nuts (cashews, almonds, peanuts, walnuts, etc.) 1 c (225 g) seeds (pumpkin, sunflower, sesame, etc.) 1 c (225 g) other—this could be more nuts or seeds, or another dry ingredient like coconut flakes or puffed millet. However, dried fruit is an add-on that you’ll add later, and doesn’t count here. Likewise, chocolate chips or other add-ons that melt don’t count here and should be added at the end.
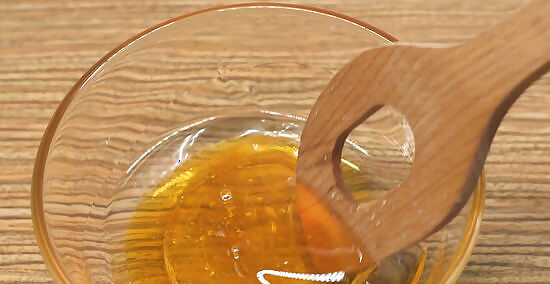
Mix your wet ingredients in a medium bowl. The wet ingredients make up 1 c (240 mL) total in this recipe, and should be half vegetable oil and half liquid sweetener. Pour the oil and sweetener into a medium bowl, then stir them with a wooden spoon. Canola oil has the mildest flavor, but extra virgin olive oil and grapeseed oil also work well, depending on the flavor profile of your granola. For liquid sweeteners, try honey, maple syrup, agave nectar, brown rice syrup, or coconut nectar.
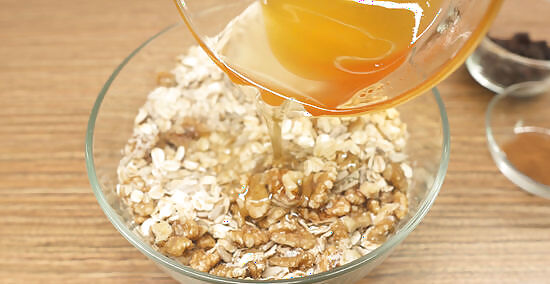
Add the wet ingredients to the dry ingredients and combine them. Pour the contents of the medium bowl into the large bowl, and use the wooden spoon or your hand to thoroughly incorporate the wet and dry ingredients. Do your best to coat all of the dry ingredients in the oil and sweetener mixture.
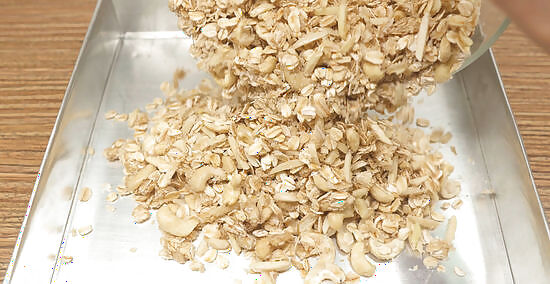
Preheat your oven and add the granola to a rimmed baking sheet. Set your oven to 300 °F (149 °C). As it preheats, spread your granola out in an even layer on a rimmed baking sheet. If desired, you can lay parchment paper on the pan first. Depending on your oven’s temperature accuracy and your preferences on how toasty you like your granola, you may instead choose to set your oven to 275 or 250 °F (135 or 121 °C).
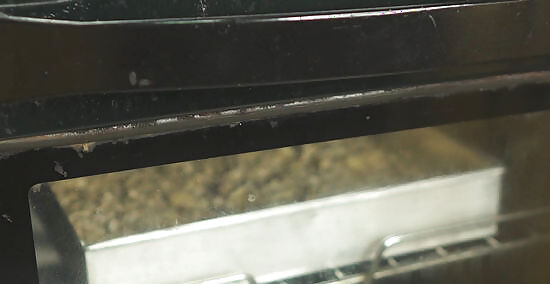
Bake the granola for about 45 minutes, stirring it every 15 minutes. Pull the granola from the oven every 15 minutes, stir it around with a wooden spoon or silicone spatula, smooth it back out into a single layer, and return it to the oven. After 30 minutes, check it every 5 minutes or so for doneness. When it’s golden brown, it’s finished. Keep checking often, because the granola can go from golden brown to burned quickly!
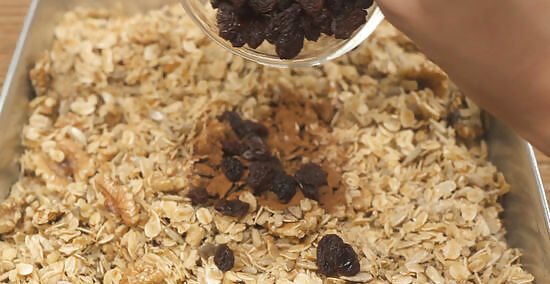
Mix in dried fruit, other add-ins, or seasonings as desired. Let the granola cool for about 5-10 minutes, then scoop it into a large bowl. Stir in as much and as many kinds of dried fruit as you like—raisins, dried cranberries, and dried cherries are just some of your options. Taste the granola and decide if you want to add any seasoning—maybe a pinch of salt, a spoonful of sugar, or flavors like cinnamon or vanilla. If you’re adding chocolate chips or another add-in that you don’t want to melt, make sure the granola is completely cooled before mixing it in.
Coconut Cashew Almond Granola
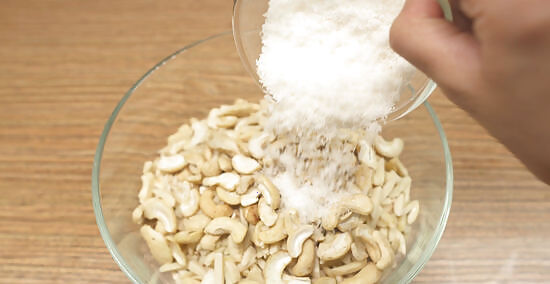
Mix the dry ingredients while you preheat the oven. Set the oven to 250 °F (121 °C), then grab a large bowl and stir the dry ingredients together with a wooden spoon or your hand. Use the following: 3 c (775 g) rolled oats. 1 c (225 g) slivered almonds. 1 c (225 g) cashews. 0.75 c (170 g) shredded sweet coconut. 0.25 c (56 g) plus 2 tbsp (28 g) dark brown sugar.
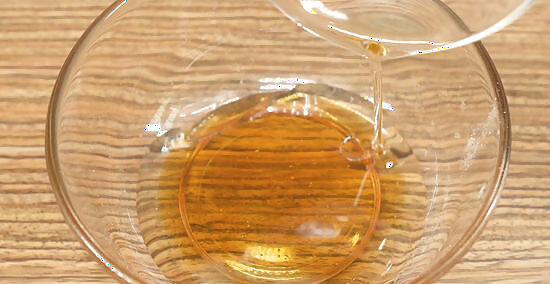
Combine the wet ingredients (plus salt) in a medium bowl. Pour the liquids and the salt in a separate bowl from the dry ingredients, then stir them together with a wooden spoon. The wet ingredients include: 0.25 c (59 mL) plus 2 US tbsp (30 mL) maple syrup. 0.25 c (59 mL) vegetable oil. ¾ tsp (3.6 g) salt—while this is obviously a dry ingredient, mixing it into the wet ingredients first helps incorporate it evenly throughout the granola.
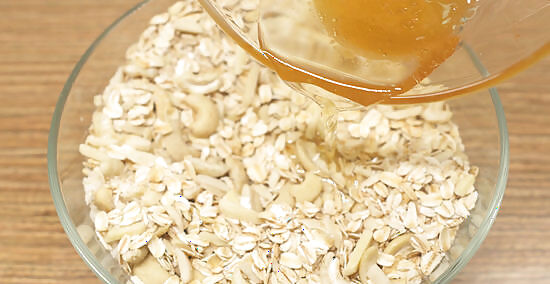
Mix the wet and dry ingredients together thoroughly. Pour the medium bowl of wet ingredients into the large bowl of dry ingredients, then stir them together with your hand or a wooden spoon. Make sure to give the dry ingredients an even coating of the maple syrup and oil mixture. Don’t be afraid to use your hand as a mixing tool—just make sure you wash it first!
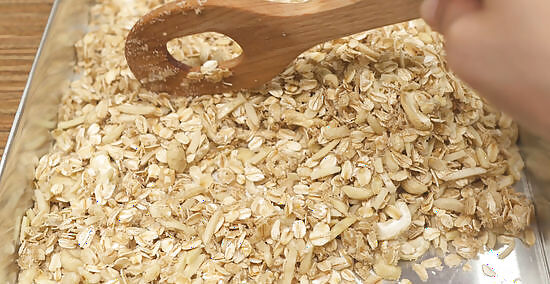
Pour the granola onto a sheet pan and bake it for about 75 minutes. Use a rimmed baking sheet and spread the granola out evenly. Every 15 minutes, remove the pan from the oven and stir around the granola to ensure even browning. After 1 hour, check the granola often to make sure it doesn’t over-brown. Remove it promptly when it’s golden brown. You can try increasing the temperature to 300 °F (149 °C) and reducing the baking time to 45 minutes, but you’ll run a slightly greater risk of burning some of the granola.
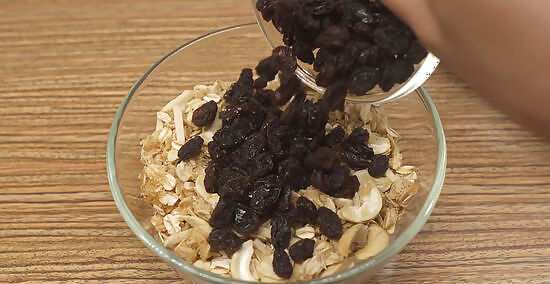
Stir in 1 c (225 g) of raisins when the mixture cools. After 5-10 minutes of cooling, scoop the granola into a large bowl. Then, mix in the raisins. This granola tastes great slightly warm, but don’t store it in a sealed container until it is completely cooled to room temperature.
Storing and Serving Granola
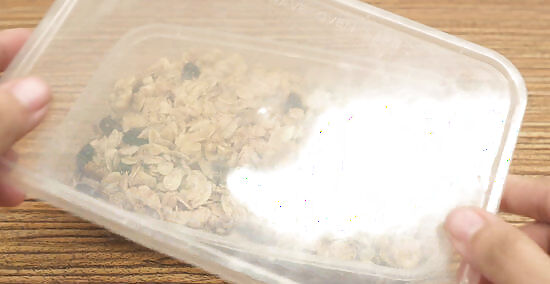
Store fully-cooled granola in an airtight container. A glass jar with a screw-top lid is great for storing granola, but a zip-close bag will do the job as well. Just make sure the granola is completely cooled first! Warm granola will release moisture inside the sealed container, ruining the granola’s delightful crunch.
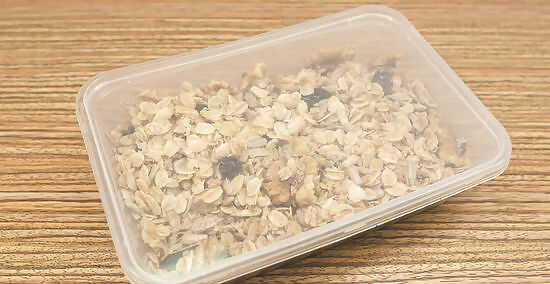
Keep the granola sealed in a cool, dry place for up to 1 month. Your pantry is a great place to keep your granola. Make sure you seal it back up tightly after each use, and it should last for a month—if you haven’t eaten it all before then! If you’re giving granola as a gift—in small screw-top jars, for instance—add a tag with a use-by date.
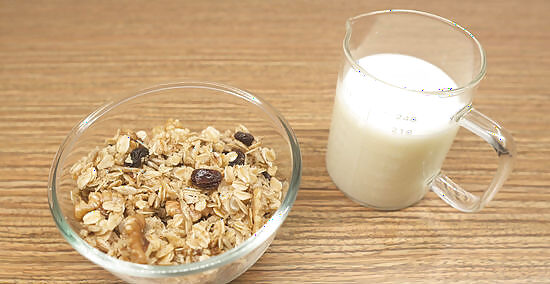
Enjoy your homemade granola! It’s great with yogurt, as a breakfast cereal with milk, and on ice cream. Or, just grab a handful for a quick snack! Once you start making your own granola, you’ll probably never want to settle for the store-bought stuff again.


Comments
0 comment