views
Putting a Head in a Jar
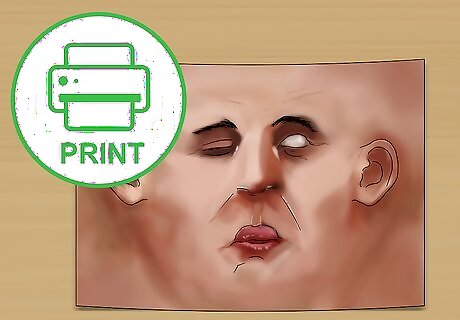
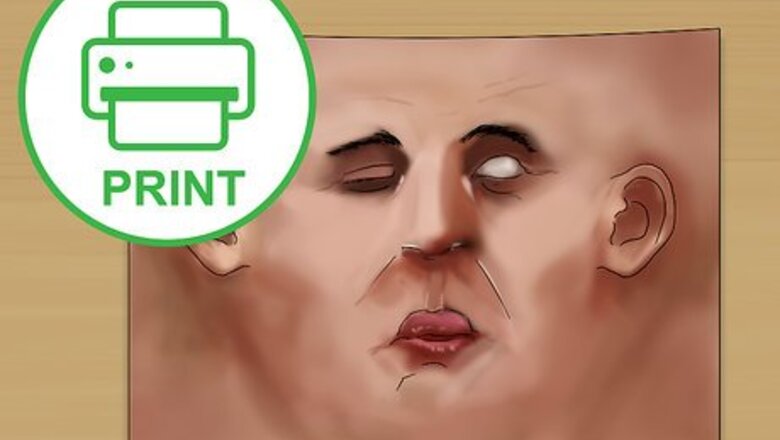
Print out a picture of a head. If you have exceptional photoshop skills, you can use a front and side view of your face to create a 3D image. Or you can download a readymade one here: http://www.instructables.com/files/orig/F53/QS3Z/HSVGCE57/F53QS3ZHSVGCE57.pdf. The illusion may work best if you print onto legal size paper. Make sure you print in color for the best looking picture. It’s going to use a lot of ink, so make sure all of your ink cartridges are full enough.
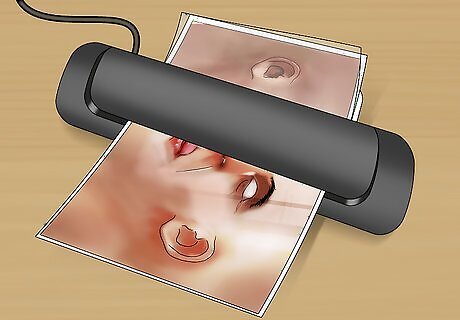
Laminate the paper. You will be submerging the image in a jar of water, so laminating it is important or the paper will just dissolve. Once the image is laminated, you can carefully trim any excess lamination from the outside of the image. Don’t cut too close to the paper. If you have access to a lamination machine, this is a good option, but if not you can get large laminating sheets at craft stores or stores that sell craft supplies.
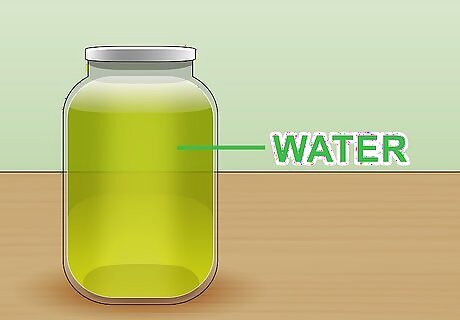
Fill a large jar with water. A gallon size jar is the best option since it will appear to be the right size for a head. Fill the jar mostly full with water. For added effect, put a few drops of yellow and green food coloring in the jar. It will give the water a rotting look. Make sure to use a jar with a lid so that you don’t make a mess. A glass jar with a hinged lid will give the illusion a look of being really old.
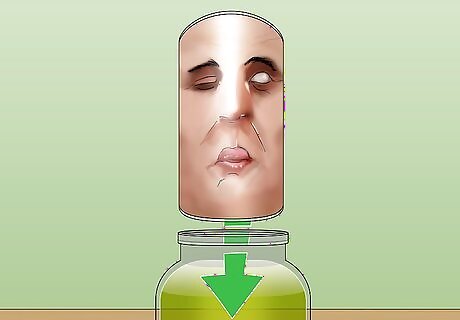
Place the picture into the jar. Take the laminated picture and curl it up. Slide it into the jar so that it wraps around the inside, pressing against the jar. It doesn’t need to be pressed tightly, so it if floats more in the middle, that’s okay too. You may find that you need to adjust the size of the jar for the size of the picture that you printed out. You want the picture to fill most of the jar for the illusion to be convincing.
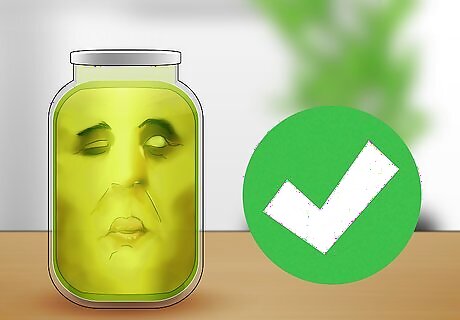
Set the jar anywhere you want. One great thing about this decoration is that you can set it up in a lot of different places. You could put it in the fridge if people will be getting food or drinks from there. You can set it out on the counter or on an end table in your living room.
Making an Army of Zombie Dolls
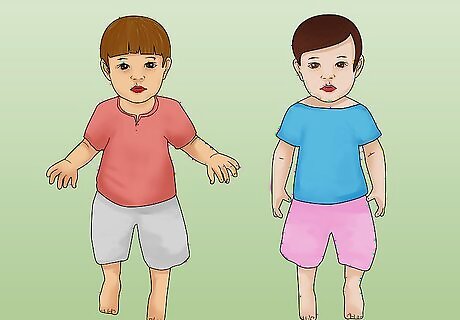
Gather some lifelike dolls. For this decoration to work best, you’ll want to use some dolls that stand up. If you have old ones you are okay with ruining, use those, or consider looking through some garage sales or thrift stores. You probably don’t want to buy new ones, but you can. It’s totally fine if they are dirty or kind of broken already. This will add to the effect that you are going for anyway. If you use some that aren’t meant to stand up, you’ll just have to position them differently or use a stake of some kind to stand them up.
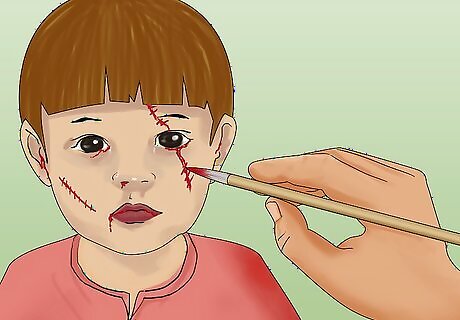
Paint on some wounds. You can use red paint to make scratches or stitch marks. You can use brown or gray to give the skin a sickly look. How creative you want to be and exactly how you want the dolls to look is up to you. You can paint all of the flesh to give the dolls a deadly grayish look, or you can just paint some marks here and there that give the appearance of blood. In a pinch, red fingernail polish works great for this!

Rough up the dolls. Rip the dolls’ clothes and put some more red paint on the clothes for blood. You can even cut out some of the hair to make it seem like it fell out. Don’t be afraid to detach an arm or leg here and there to enhance the zombie-like appearance. You could step on the dolls to add a dented or crushed look. If the eyes are at all detachable, taking an eye out is a great way to add creepiness to the effect. You could also paint over the eyes in such a way that makes it look like an empty socket. If the dolls are stuffed, you could cut them open and pull some of the stuffing out to imitate guts coming out.

Place the dolls in the front yard. You can make it look like some of them are coming out of the ground, or you can stand them all up like they are waiting in formation. Another option is to stash them at different points around your house, inside or outside, so that it seems like they are coming from all over the place. If you have some dolls that you can’t make stand up, you could sit them in a corner or in a chair. You could also prop them up with a stake if you are putting them outside.
Creating a Bathroom Murder Scene
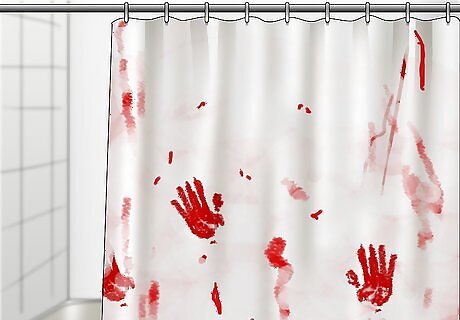
Smear a cheap shower curtain with red paint. Buy a shower curtain at a dollar store that you can throw away after the holiday. Use red paint to make a few handprints on it. Let some of the paint drip down the curtain and make some other smudges. It is probably best to do this outside on the grass or in the garage. You don’t want to smear the paint around too much or it will start to look like just a blob of red. Let the curtain dry completely before you hang it up in your shower. Hang it so the painted side is facing inward.
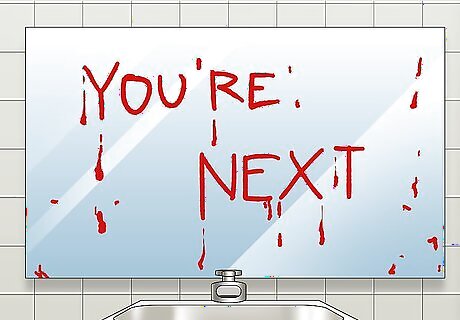
Make the mirror a warning. Using some washable red paint, or lipstick, scrawl a warning across your mirror. Writing “you’re next” or “Red Rum” are classic horror phrases. You can splatter some other paint onto the mirror or makes streaks around the words. An added scare tactic that uses the mirror is to hang a creepy picture on the wall that faces the mirror. Position it in such a way that when people look in the mirror they can see the picture right behind them.
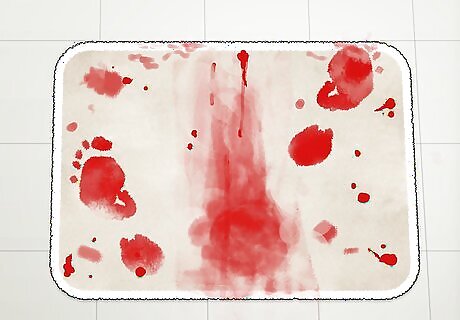
Turn the floor into an escape trail. You can throw a cheap rug down and make “bloody” footprints that lead out the door. If you don’t mind getting the floor messy, you can make footprints on the floor as well. Be sure that whatever you use to make the footprints is washable. Another option is to make handprints that look as if someone crawled away. You can smear some paint along with the handprints as if the person was dragging their body away.


Comments
0 comment