
- To make the slime, squeeze 16 fl oz (470 mL) of liquid glue into a large bowl. Add 0.5 tsp (3 g) of baking soda and 1⁄4 c (59 mL) of water and mix well.
- Add a few drops of food coloring if desired. Or, add a handful of glitter, small beads, or other objects to the bowl to give your slime some flair.
- Pour 1.5 US tbsp (22 mL) of contact solution to the bowl a few drops at a time while mixing to activate your slime. Then, pick it up and play!
Making Contact Solution Slime
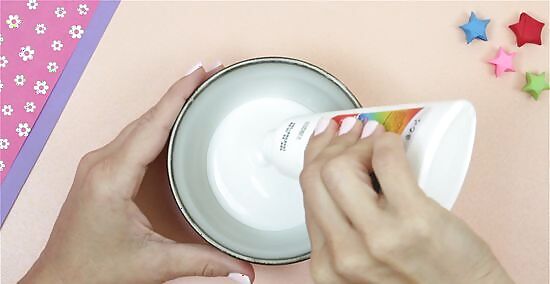
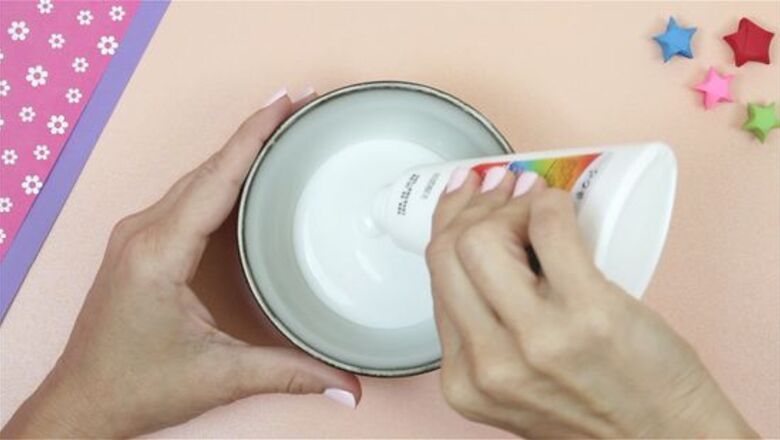
Squeeze a 16 fl oz (470 mL) bottle of liquid glue into a large bowl. Use clear glue, glitter glue, or white glue—any kind will work as long as it’s in liquid form. Hold the bottle of glue upside-down and give it a big squeeze to get all the glue out, then hold it there for a few moments more to let any extra glue drip into the bowl. Don’t worry about getting all the glue out. It’s okay to have some left inside the bottle.

Mix 0.5 tsp (3 g) of baking soda and 1⁄4 c (59 mL) of water into the glue. Use a measuring spoon to measure out 0.5 tsp (3 g) of baking soda, then dump it into the bowl. Then measure out ⁄4 c (59 mL) of water and carefully pour it into the bowl, too. Use a wooden spoon to mix it all up. Be careful of splashes! The water helps make the slime springy and stretchy.
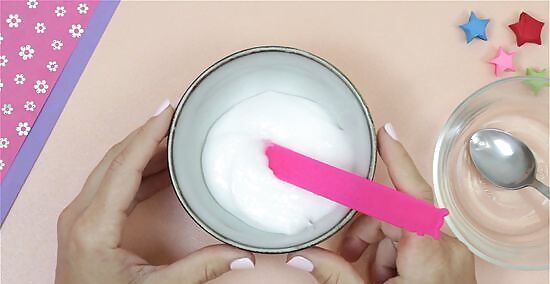
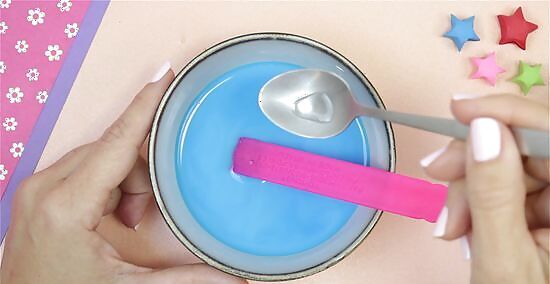
Mix in 1.5 US tbsp (22 mL) of contact solution to activate the slime. Measure out 1.5 US tbsp (22 mL) of contact solution, then add it to the bowl a few drops at a time, mixing it all the while. Don’t add it all at once, or your slime won’t be a very fun consistency—it'll get tough and hard. Keep adding contact solution until your slime is the texture you want. Make sure your contact solution has boric acid and sodium borate on its ingredients list. Otherwise, the slime will not work. Knead the slime with your hands as you add the contact solution to help make the texture more slimy. If the slime stays too "wet" and loose, add very small amounts of extra contact solution to help firm it up. Use an eyedropper to add your contact solution more easily (and to add a little "mad scientist" flair to your experiment!).

Play with your slime and store it in an airtight container afterward. Now dive in with your hands! Pick up your slime, stretch it out, squeeze it, flatten it, and mold it into all the shapes you can think of. When you’re done, store your slime in an airtight plastic container or a plastic bag until you’re ready to play with it again. Play with your slime over a hard, smooth surface like the kitchen table or counter to avoid making too much of a mess with it. Don’t eat your slime! It’s for touching with your hands only. Trust us, it doesn’t taste very good and can make your stomach upset, too. When you’re done with your slime (or your slime gets too dirty), throw it out in the trash.
Customizing Your Slime

Add food coloring before the contact solution for a vibrant slime. Before you add your contact solution to activate the slime, place 3 drops of food coloring into the bowl and mix it until it’s a uniform color. Now you have your own bright and colorful slime to show off! This works best with clear or white glue. Add a couple more drops to make the slime more vivid, but don’t overdo it—you may end up staining your hands. Feel free to add multiple colors to see what sort of hues you can create.
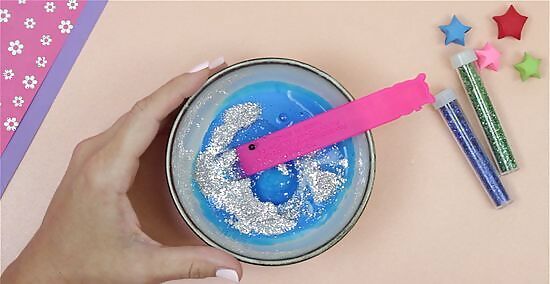
Add 3 tbsp (40 g) of glitter along with the water to make shiny slime. Right after you add your water, and before you add the contact solution, mix in about 3 tbsp (40 g) of glitter to make a sparkling, dazzling slime, then activate it with your contact solution. Be careful to get the glitter into the bowl and not all over the table. Add another 2-3 tbsp (30-40 g) of glitter in the same color (or a different one!) to make your slime even shinier.
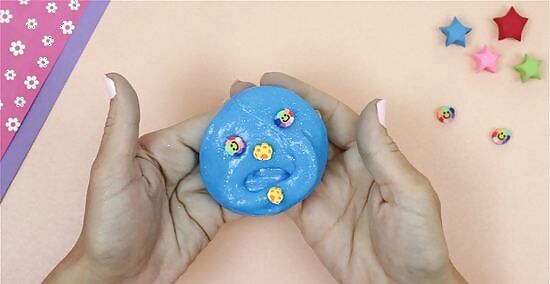
Add small beads or other objects to make a slime treasure hunt. After you add in the water, but before you add the contact solution, mix a handful of small beads into the slime. That way, you’ll have a whole bunch of goodies to find and feel while playing with your slime. Make sure the objects are water-proof so that they don’t break down when you play with them. You might also add small clay sprinkles, mini gems, or confetti to the slime. Just be sure they’re objects you don’t mind getting rid of when you’re done playing.
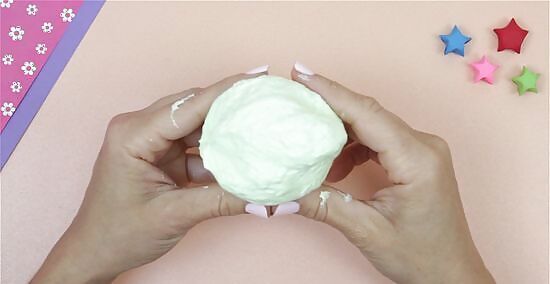
Substitute shaving cream for water to make fluffy slime. For this recipe, leave out the water. Before you add your contact solution, mix 1–2 cups (240–470 mL) of shaving cream into the bowl to make slime as fluffy and soft as a cloud.
The Science in the Slime
Slime forms in a chemical reaction between the glue and contact solution. The molecules in glue are arranged in long strands called “polymers” that can slip and slide past each other. When the glue is mixed with the boric acid in contact solution, those polymers start linking together in long chains, making it harder for them to slide, and turning liquid goo into thicker, stretchier slime. Try adding a few drops of water to make the space between polymers larger and your slime looser, or a couple more drops of contact solution to make the chemical reaction stronger and your slime thicker.


Comments
0 comment