views
Using the Microwave
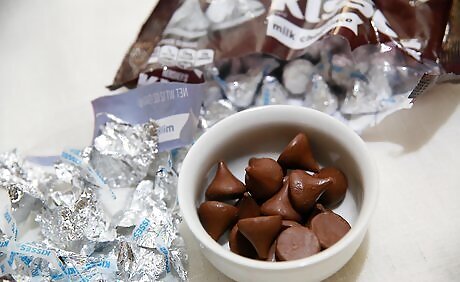
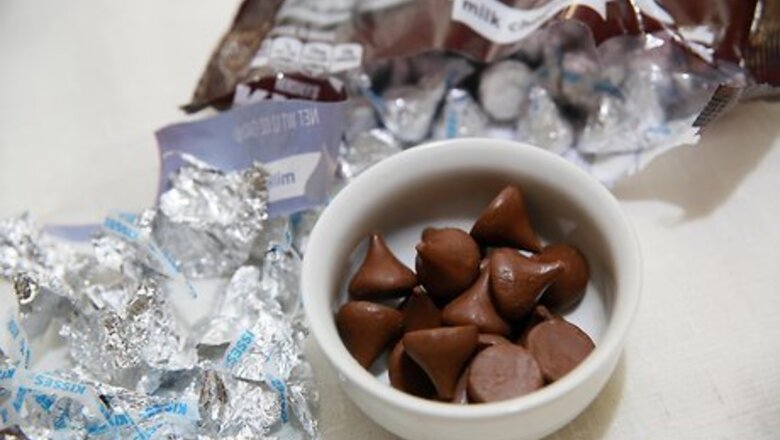
Unwrap the Kisses and place them in a heat-safe bowl. Hershey Kisses come wrapped individually in thin foil. The standard milk chocolate versions, which are the best for melting, are wrapped in plain silver foil. Unwrap each one and place them into a heat-safe bowl (like glass). If you aren't sure, check your bowl for a "heat-safe" label. A standard 12 ounce bag of Kisses contains 72 individually wrapped candies. Melting the whole bag will result in about 1.5 cups (350 ml) of melted chocolate. A wide, shallow bowl is often recommended for melting chocolate.
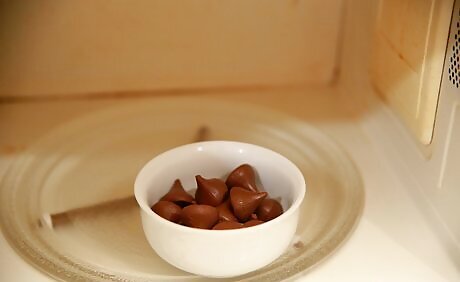
Place the bowl, uncovered, in your microwave. Position the bowl right in the center of the microwave, so the chocolate will heat as evenly as possible. Once the bowl is in place, close the microwave door.
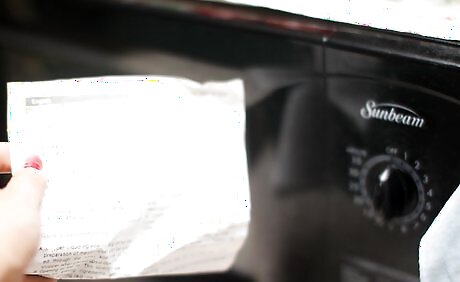
Set your microwave to 50% power. Since individual microwaves vary so much in power, it’s best to be on the side of caution and set it to 50% to avoid burning the Kisses. The process for changing the power varies from microwave to microwave, but you can usually adjust it after you hit the “Cook Time” or “Power Level” button on the front of the machine. Consult your microwave’s instruction manual for more specific instructions.
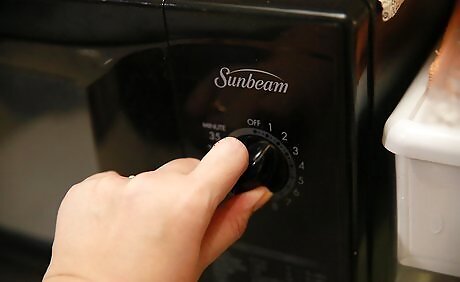
Set the cook time for one minute and press “Start.” When the timer beeps to signal that 60 seconds have passed, slip on an oven mitt or grab a pot holder to protect your hands from the hot bowl. Remove the bowl carefully from the microwave. If you're melting a 12 ounce bag of Kisses or more, stick with 60 seconds to start. If you're melting less than that, start with 30 seconds and monitor closely.
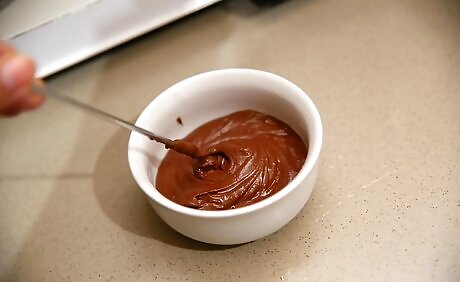
Stir the chocolate with a rubber spatula or wooden spoon. Kisses will try to hold on to their shape unless you stir them after each heating. Use a rubber spatula or wooden spoon to gently scrape along the bottom and sides of the bowl. Then, make a few passes through the center of the chocolate.
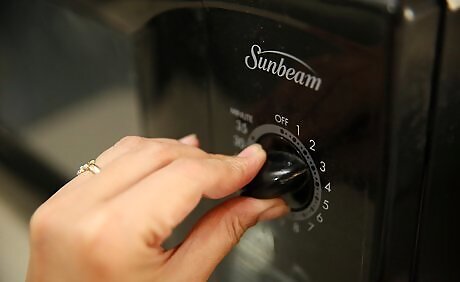
Place the bowl back into the microwave and heat for 15 seconds. Continue to heat the Kisses at 50% power. Heat them for 15 seconds, then pull out the bowl carefully. Stir the chocolate again with your spatula or spoon.
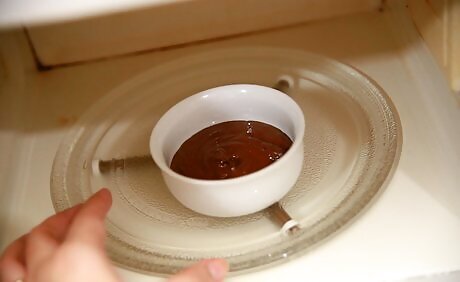
Continue heating in 15 second intervals until fully melted. Stir between each heating. Stirring will help distribute the heat and melt the chocolate. Stir well and make sure you need more heat before attempting to microwave again. Once the chocolate appears smooth and lump-free, it’s fully melted. Avoid continuing to heat them after this point, since overheating can affect the chocolate’s consistency and texture.
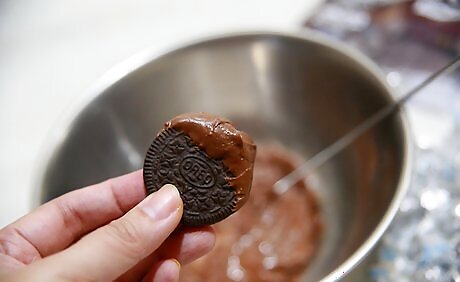
Use the melted chocolate immediately. Whether you’re using it in a recipe, drizzling it over ice cream, or using it some other way, melted Kisses should be used quickly. As the chocolate cools, it will harden back up and no longer be malleable.
Using a Double Boiler
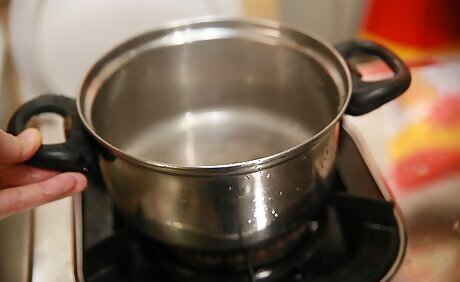
Pull out your double boiler. If you don’t have one, don’t worry! You can make one easily with a deep saucepan (for boiling the water) and a heat-safe bowl that fits snugly on top of the saucepan (to melt the chocolate). Choose a bowl that is shallower than the saucepan. Once you’ve added water to the saucepan and placed the bowl over it, the bottom of the bowl should not be touching the water. Leave about an inch (2.5 cm) between the water and top bowl. The fit should be snug enough that no steam will be able to escape from beneath the bowl.
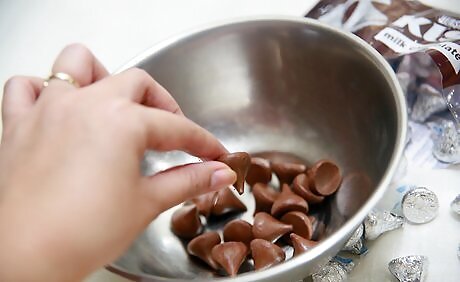
Unwrap the Kisses and place them in the heat-safe bowl. Chopping them coarsely first will make them melt faster, but it’s not necessary. You can just unwrap the candies and drop them in the bowl, as is. Fill the bowl up about halfway. If you have more candy than that, work in batches. Set the bowl aside. There are 72 individually wrapped candies in a standard 12 ounce bag of Kisses. If you melt all of them, you'll end up with about 1.5 cups (350 ml) of melted chocolate.
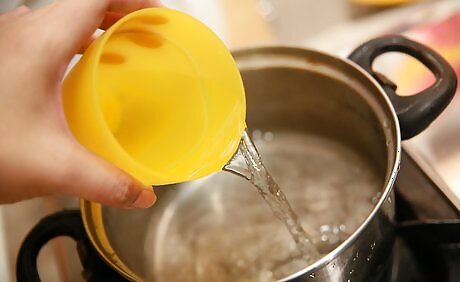
Add about 2 inches (5 cm) of water to the saucepan. Double boilers use the steam produced by the hot water to melt the chocolate in the bowl. If you need to, go ahead and double check your water level by placing the bowl on top. Once everything looks good, remove the bowl and turn on the heat. When the bowl is in place over the saucepan, the water should come to just underneath it, but not touch it. Aim for about an inch (2.5 cm) of space between them.
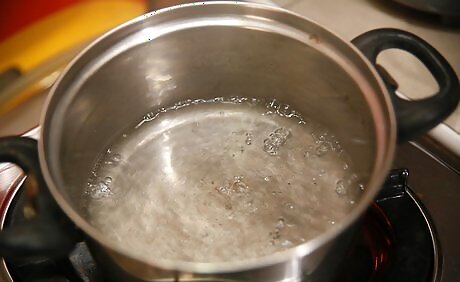
Bring the water to a simmer over medium-high heat. Heat the water until it begins to simmer; you don’t need to let it come to a full boil. You’ll know it’s simmering when tiny bubbles start to rise to the surface slowly. Once the water is simmering, turn off the heat.
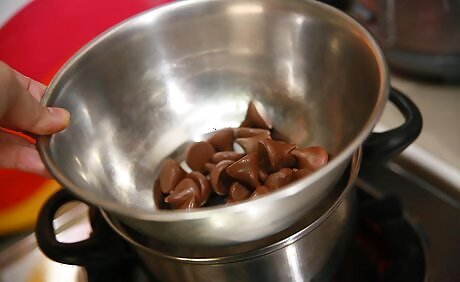
Place the bowl over the saucepan of hot water. Carefully lower the bowl of chocolate into position over the saucepan of water. You may want to wear oven mitts or use pot holders as you do so, since the lip of the saucepan will be very hot. Make sure the bowl fits tightly and doesn’t allow any steam to escape.
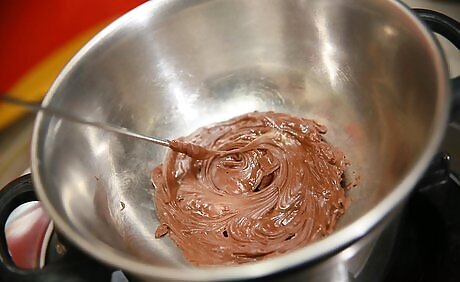
Stir slowly and continuously while the chocolate melts. Once the bowl is in place, the Kisses will start to melt right away. Stir the chocolate continuously with a rubber spatula or wooden spoon to keep it moving while it melts. Make sure your stirring utensil is completely dry – if any plain water gets into the chocolate, it will cause it to seize up.
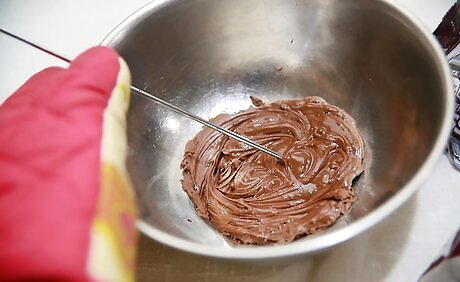
Remove the bowl once the chocolate is almost completely melted. Once your Kisses are nearly melted, with just a few thick lumps remaining, pull the bowl off the saucepan. Place it on the counter. Stir vigorously with your spatula or spoon to complete the melting process. The consistency should be smooth and viscous.
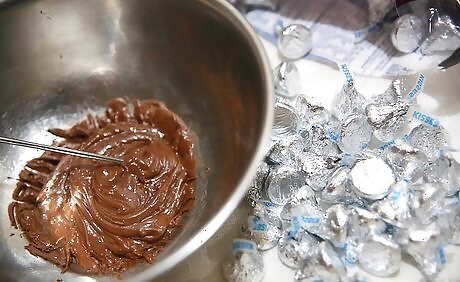
Work in small batches if you’re melting a lot of Kisses. If you want to melt a lot of chocolate, don’t try to do it all at once! Your heat-safe bowl shouldn’t be more than half full with chocolate each time. Work in batches, if necessary.
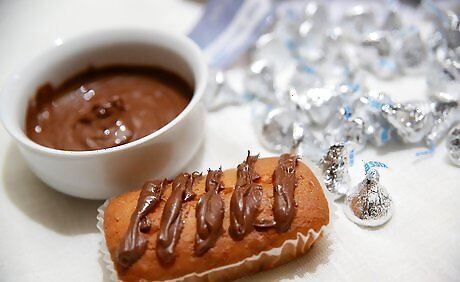
Use the chocolate while it’s still warm. Add the melted Kisses to your recipe or drizzle them over your dessert before they cool. Once the chocolate starts to cool, it will harden again, making it difficult to work with.


Comments
0 comment