
Stripping and Sanding the Walls

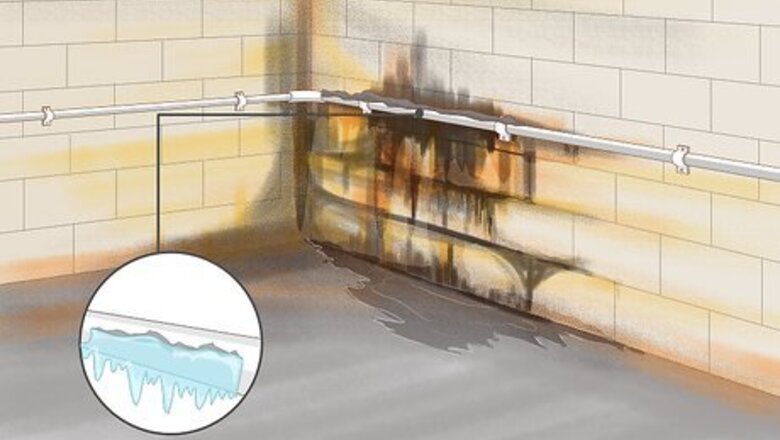
Inspect your basement for water damage. Before you start your project, walk around your basement and inspect the top and bottom of your walls. Run your hands over your walls to see if you feel any moisture or water. If there are any leaks or seepage issues, you have to find the source of the leak and resolve it before you can paint your basement. Unless you’re a licensed contractor, hire someone to resolve leaks in your foundations or basement walls if you find evidence of water. If you paint your basement wall when the walls are wet or moist, your paint job won’t come out correctly. You may also accidentally trap moisture or water in your wall and possibly cause further damage. Basements are especially prone to water damage since they’re underground and have poor air circulation. One of the main goals in painting a basement is to prevent water from seeping into your basement walls.
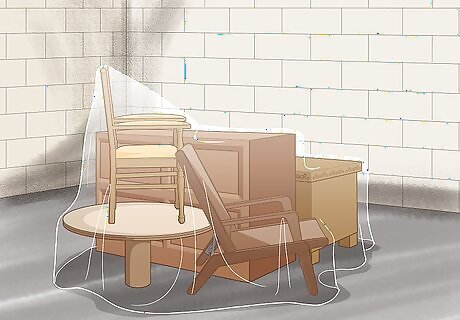
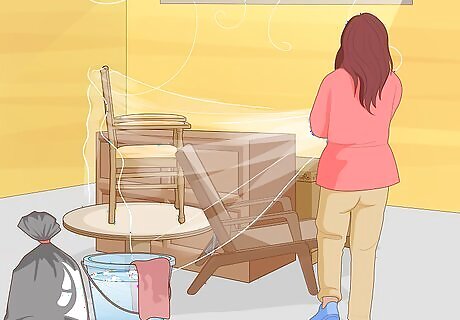
Remove any furniture and lay down a drop cloth. To make painting easier, move any furniture, storage boxes, or other materials to a different room. If your basement is bigger, you can simply opt to move your items to the center of the basement. Lay down drop cloths along the walls to keep paint or other materials from spilling to your floor and making a mess. The thicker your drop cloth, the better. You’re going to use some thicker primers and paints to cover your walls, and flimsy cloths may be prone to leaking if you spill.
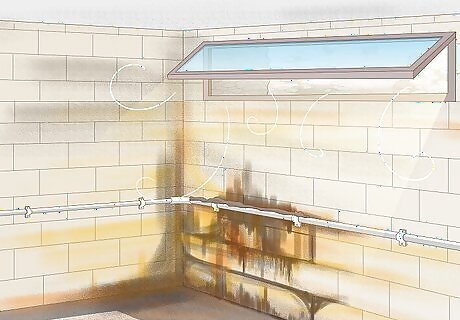
Open any windows and put on your safety gear. If you have any hopper or awning windows in your basement, open them to promote some air circulation in the basement. This is particularly important if you’re painting concrete or cinderblock, since masonry paint can be toxic depending on the brand and style of paint you choose.Tip: If you don’t have any windows in your basement, set up a few fans in the room and aim them up towards your open basement door to keep the fumes from building up in your room.
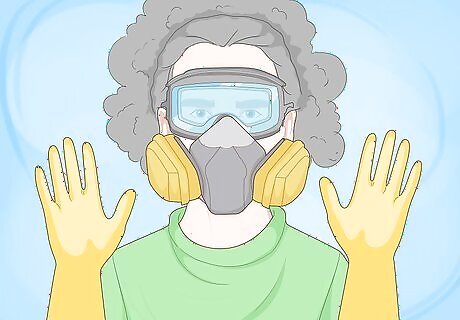
Put on your safety gear to avoid inhaling fumes and getting dirty. Grab a dust mask or respirator to avoid inhaling any sealant, primer, or paint fumes. Throw on clothing with longer sleeves and thick gloves to keep sealant, primer, and paint off of your skin.

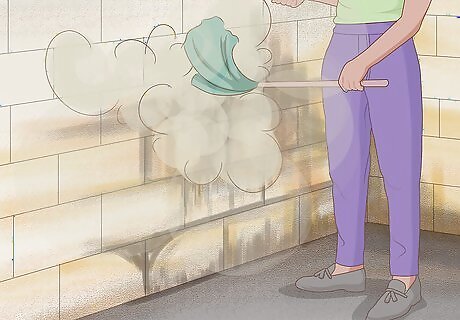
Strip old paint on concrete walls with a wire brush and paint scraper. Grab a wire brush and use back-and-forth strokes to aggressively scrape any old paint off of your wall. For smoother concrete, you can use a paint scraper to strip your walls. You don’t need to completely remove all of the paint, but you do need to remove any paint resting on the surface. This is pretty tough to do, so pace yourself and take frequent breaks to avoid wearing yourself down. Cinderblock and concrete are essentially the same material. The only difference is that cinderblock has concrete grout between the individual blocks, which can be a little tougher to paint. You won’t be able to fully remove the old paint. This is fine though, you only need to get rid of the paint on the surface of the walls. You can skip this step if your concrete walls have never been painted before or if the paint is so worn away that you can feel and see the pores in the concrete or cinderblock.

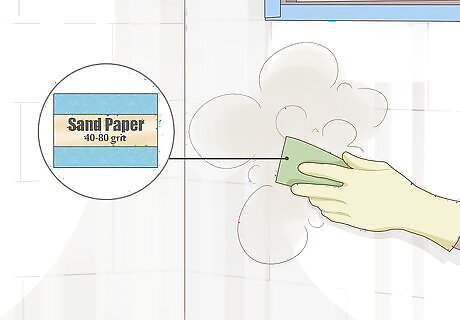
Sand finished walls with a fine-grit sandpaper. If your basement walls are finished, grab a sheet of sandpaper or sanding brick with a grit of 40-80. Use firm circular strokes to sand down your walls and cover each area 3-4 times to ensure that you’ve sanded every section of your wall. This will create quite a bit of dust as the drywall and paint particles are ripped off of the wall. You need to sand even if your walls aren’t painted.
Clean the walls and any baseboards with a dry cloth. After sanding or stripping, grab a clean cloth and run it over every section of your wall. Wipe off any baseboards to knock off the dust they’ve collected. If you don’t have a drop cloth, you’ll have to vacuum your floor before painting to avoid kicking up any dust into your fresh paint job.
Sealing and Priming the Area
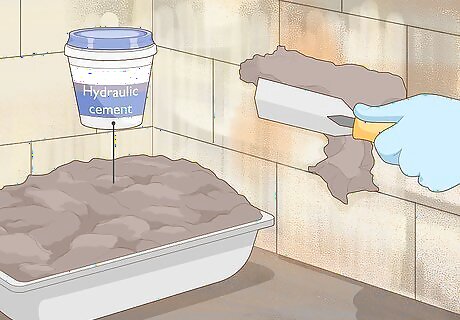
Fill in cracks in concrete walls with hydraulic cement. If you have any gaps or cracks in your concrete, cinderblock, or grout, fill them in with hydraulic cement. Either get a pre-mixed version or mix the powder with water yourself by following the manufacturer’s instructions. Use a trowel or putty knife to pick the hydraulic concrete out of a mud pan and into the gap. Use the putty knife to smooth the patch over by scraping away any excess cement.Tip: You can use a gloved finger to press the cement deeper into cracks if you’d like. Make sure there aren’t any rips or tears in your glove though! Hydraulic cement expands as it dries, so don’t worry if you think you didn’t completely fill in the back of a crack. Wait at least 24 hours after applying hydraulic concrete to do anything else. Before you prime, scrape excess concrete away with the sharp edge of a putty knife. You can use waterproof caulk to fill in thin cracks in plaster or stucco walls. Use standard joint compound to patch holes in drywall. Wait 24-48 hours for spackle to dry before sanding it.
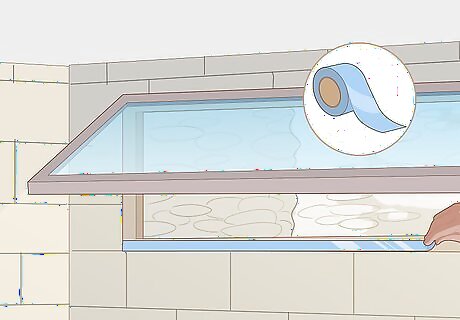
Tape off any edges you want to keep clean with painter’s tape. If you have finished walls, wood floors, or wood joists that you want to keep dry, get a roll of blue painter’s tape. For each surface that you want to keep dry, line the edge with a strip of tape. Smooth it down with your hand or the edge of a putty knife and use multiple strips as needed. Painter’s tape will simply peel off of concrete or cinderblock walls. Don’t bother using it on these surfaces. Painter’s tape is a guide, not a perfect safety measure. Paint can occasionally bleed through gaps under the tape.

Use waterproof primer to seal a finished basement wall. Get a can of waterproofing primer and use a flathead screwdriver to pry the top off. Fill a paint tray up to the second hash mark and load a standard-nap roller in the paint tray. Use smooth up-and-down strokes to cover the larger surfaces of each wall. Select white primer if you’re painting your walls a lighter color. Look for gray primer if you plan on painting your walls dark blue, red, or black though. Apply waterproof primer to stucco or plaster walls as well. If you’re having trouble getting the primer in to the grain of the material, use a thicker nap roller.

Roll on a waterproofing sealer for concrete walls. Get a can of masonry sealant from your local construction supply store. Masonry sealant is the equivalent of primer for concrete or cinderblock and will seal the pores in the material. Fill your paint tray to the second hash mark with sealer and use a thick-nap roller to cover the larger surfaces of the wall. Roll over each section 2-3 times to ensure that sealant fills in every pore in each area. The chemicals in the sealant aren’t usually toxic, but they can be kind of rough on the lungs and throat if they’re inhaled. If your dust mask or respirator isn’t keeping the fumes out entirely, take frequent breaks and work slowly over the course of a week or so.
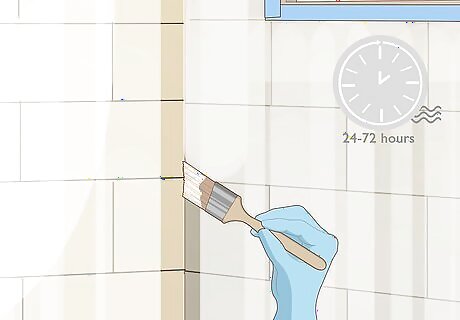
Trim the edges with sealer or primer and wait for it to dry. Once you’ve rolled the larger areas of your walls, grab a natural angled-brush to trim the edges and corners. Wait at least 24-48 hours to give the primer time to dry. Wait 24-72 hours for your sealant to dry. If you’re painting finished walls, the primer should be dry after 24-48 hours. Read the directions on your particular brand of sealant to determine how long it will take to dry. Some sealants have a longer drying time.
Painting the Walls
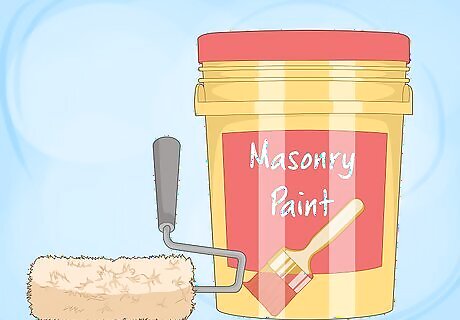
Roll your cement walls with waterproof masonry paint and a thick-nap roller. Get a natural roller with a thick nap. Fill your paint tray with your paint and run the roller back and forth in the tray to load it. Apply paint to the larger surfaces of your wall using vertical back-and-forth strokes. Cover each area 3-4 times with your roller as you paint to fill in the pores. Leave the 3–6 in (7.6–15.2 cm) around the top, bottom, and sides of the walls unpainted to avoid messes accidentally rolling the wrong surface.Tip: Do not use a foam roller on concrete or cinderblock. The pores will rip it apart as you paint. You may need to buy multiple rollers for rougher concrete or cinderblock. You can use paving paint or porch-and-floor enamel for smoother concrete if you’d prefer. Waterproof masonry paint will work on either cinderblock or concrete walls.
Sand finished walls a second time before painting. After waiting at least 2 days for the paint to dry, grab another sheet of sandpaper or a sanding brick with a grit of 40-80. Sand your primed walls using circular strokes to remove the upper layer of the paint and make the surfaces paintable. If you don’t sand your primed walls, the paint will peel, crack, or fail to hold up in cold or hot temperatures.

Use a roller to paint finished walls with a semi-gloss paint. Once you’ve sanded your finished walls, fill a clean paint tray with your paint. Opt for semi-gloss to protect your basement walls from moisture or water. Fill your roller in the paint tray and roll the larger sections of your walls, leaving the 3–6 in (7.6–15.2 cm) around the edges unpainted. Work slowly and apply even pressure with your roller to get a beautiful base coat. You can use matte or flat paint if you’ve never had any issues with water in your basement. Semi-gloss paint will be easier to clean and will do a better job of protecting your walls though. Use standard paint on stucco or plaster walls as well.
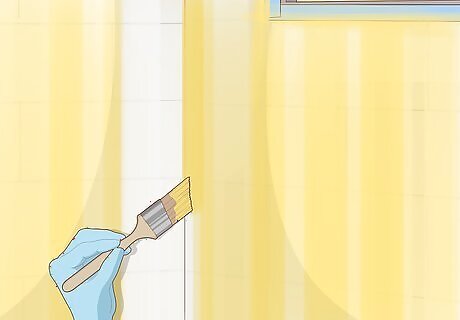
Paint your trim with an angled brush. Whether it’s concrete, cinderblock, or finished drywall, you will finish the trim the same way. Get a 2–3.5 in (5.1–8.9 cm) angled brush with natural bristles. Load your brush and use the rim of the paint tray to scrape excess paint off of the brush. Carefully paint the trim around the edges of each wall, angling the tip of your brush towards the exterior edge as you paint around the ceiling, adjacent walls, or floor. Use even back-and-forth strokes to paint the trim. You can use a nylon brush to paint finished walls if you prefer.

Apply a second coat to finish painting your walls. Let your first coat dry for 2-3 days. Then, apply a second coat to your basement walls using the same method that you used the first time. Roll the center of each wall first and then paint the trim using the same brand and color of paint.
Clean up and wait 48-72 hours before touching your wall. When you’re done painting, clean up, vacuum any dust off of the floor to keep it from kicking up into the wet paint. Wait at least 3 days before touching your walls or putting any furniture back.


Comments
0 comment