views
Water Propagation
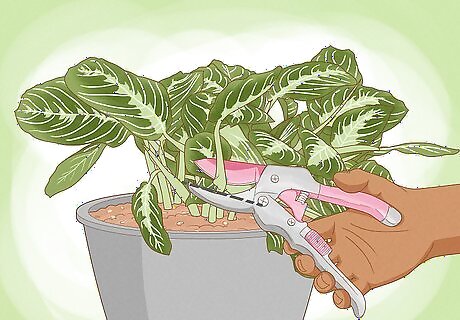
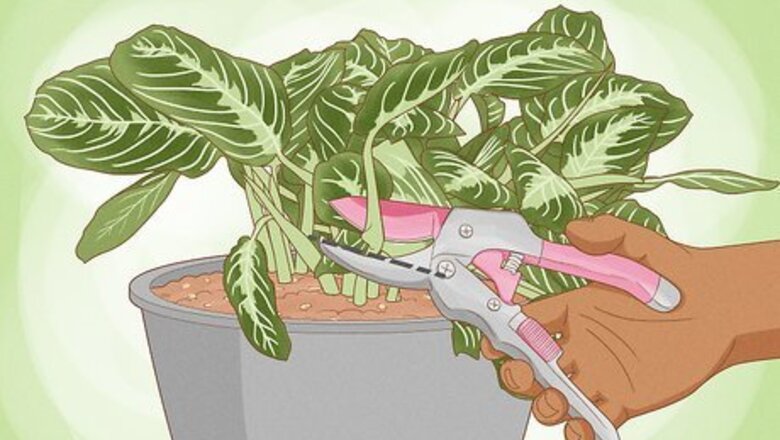
Take a cutting below the node. Look at your plant and feel along its stems. Recognize a node by its thickness compared to the rest of the stem, its lighter shade of green, and by the presence of new stems and leaves. Once you have found a node that you wish to cut for propagation, cut .5–1 inch (1.3–2.5 cm) below the node with sharp scissors or gardening shears. Sterilize your shears with rubbing alcohol. Let them dry before you cut! When selecting a node to cut, consider the appearance of your existing plant as well as the cutting. Make sure the plant will still have opportunities to reinvigorate its appearance after you make a cutting.
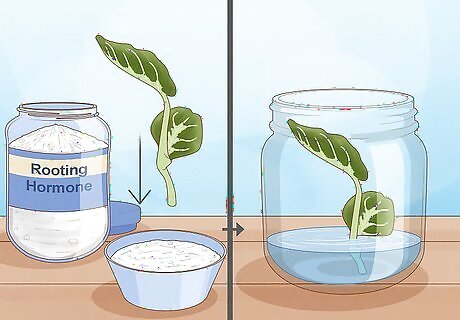
Place the cutting in water. Fill a glass container with room-temperature water. Rainwater and distilled water are the best options, but if they are not available, use tap water that has been left out overnight. Place the cutting in the container so that the node is underwater, but its leaves are not. Select a container that supports your cutting enough that it does not slide into the water. Remove stems, sheaths, and leaves that are close to the node before placing the cutting in water. To provide some additional support as the plant grows, dip about 1 inch (2.5 cm) of the stem into powdered rooting hormone before placing the cutting into water.
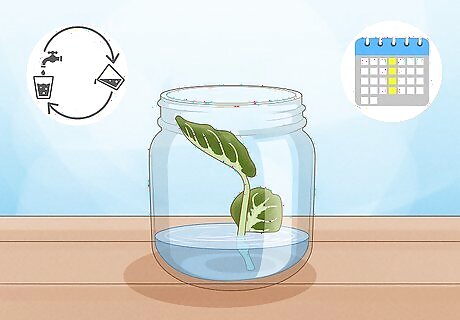
Change the water once per week. Also change the water if algae grows in the container or the water begins to appear cloudy, as this will reduce the risk of pathogens that could harm your cutting. Ensure that the new water is room temperature or slightly warmer and cut away any parts of the plant that are starting to dissolve in the water.
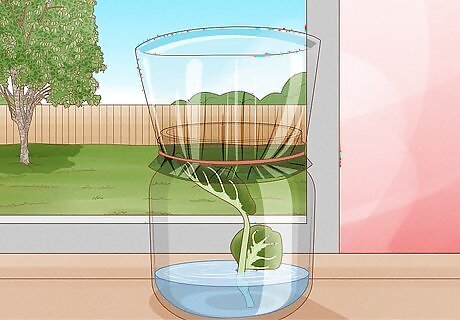
Cover your cutting with a clear plastic bag and put it in indirect sunlight. This will trap moisture and create a humid environment for your plant to grow. Marantas prefer bright conditions as long as the sunlight is indirect. Water propagation is a fantastic choice for your first time because you will be able to witness the roots growing underwater!
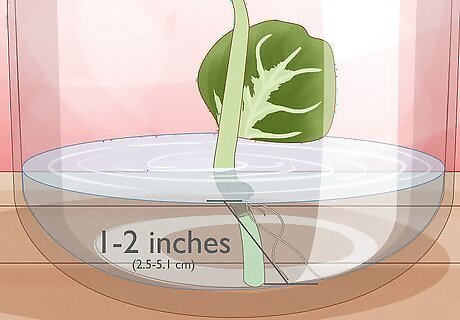
Plant the cutting when the roots have reached 1–2 inches (2.5–5.1 cm) long. After about a month—though more or less time is often appropriate depending on an individual cutting’s growth—prepare to plant your cutting in a pot. Fill a small pot with a soil mixture of peat moss, compost, and perlite or vermiculite. Compose the mix of approximately ½ peat moss, ¼ perlite or vermiculite, and ¼ compost. You can compost at home too, but be sure that the compost is finished before you use it in soil. To pot the plant, create a small hole in the soil, gently place your cutting into it, then readjust the soil to fill in the hole and support the stem. If it struggles to stand on its own, use green garden tape to attach the plant to a small stake planted in the soil 1–2 inches (2.5–5.1 cm) from the stem.You can create a makeshift stake with a piece of bamboo or an old chopstick.
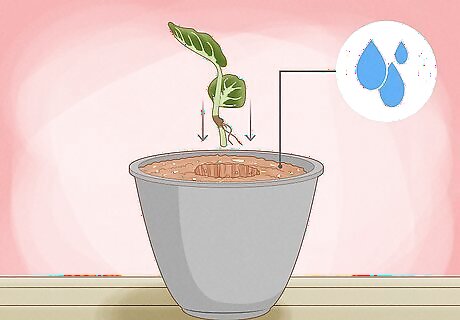
Keep the soil moist while your new plant grows. Water heavily to keep the soil thoroughly moist in spring and summer but less in the fall and winter—enough to lightly moisten the soil. If your home is not naturally humid, continue to cover the plant in a plastic bag as well.
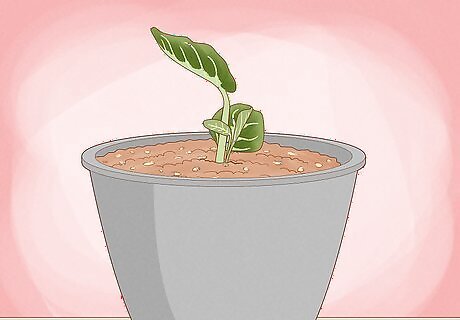
Wait and let your new plant grow! You’ll know the plant has established itself in the pot when it produces new growth. Be patient, as this may take some time.
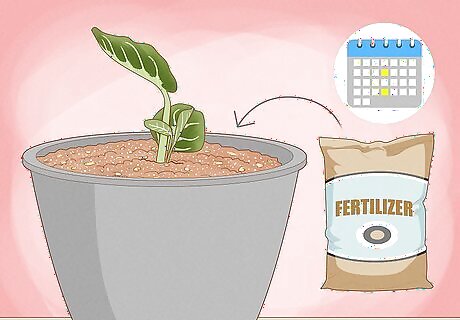
Fertilize your plant every 2 weeks. Use a balanced, water-soluble fertilizer diluted to half strength by mixing half of the instructed amount into the full amount of water. During fall and winter, only fertilize once a month.
Soil Propagation
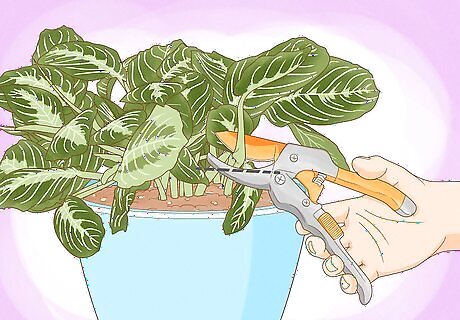
Take a cutting below the node. Look closely at your plant and feel the stems. Nodes are where new leaves and stems appear; they are typically thicker than the rest of the stem and a lighter shade of green. Select a node that can be the source of growth for a new prayer plant, then cut .5–1 inch (1.3–2.5 cm) below the node with sharp scissors or gardening shears. Sterilize your shears with rubbing alcohol, making sure they dry before use. When selecting a node to cut, try not to leave your existing prayer plant too bare, so look for a stem that is surrounded by other leafy stems or is growing out of the pot.
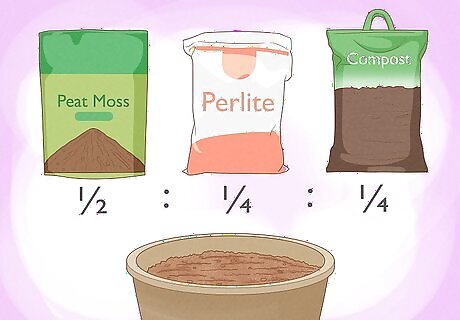
Fill a pot with soil to prepare. You can plant your cutting in a potting medium particularly suited for propagation. Fill a small pot with a mixture of peat moss, compost, and perlite or vermiculite. Wet the soil thoroughly. Create the mix with ½ peat moss, ¼ perlite or vermiculite, and ¼ compost. You can compost at home too, but be sure to only use finished compost in soil. LECA (lightweight expanded clay aggregate) is also an alternative propagation medium to try.
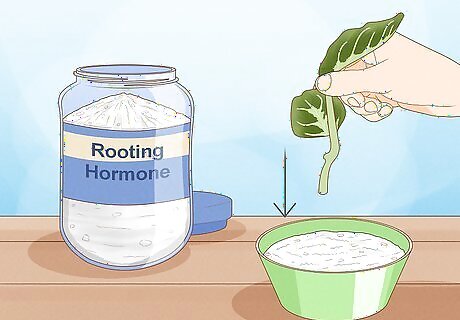
Dip the cutting in root hormone. A powdered rooting hormone helps the new cutting to establish roots once you place it in the pot. Apply the rooting hormone to the cut end of the stem.
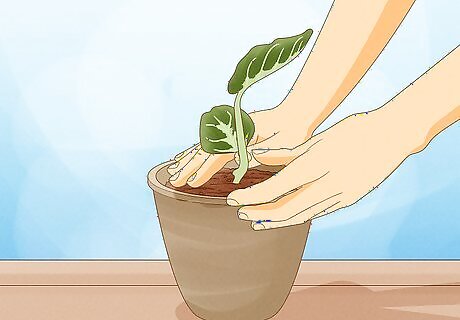
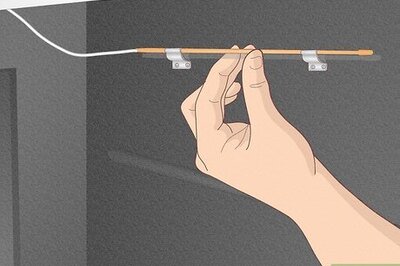
Plant the cutting. Place the cutting in the pot so that the node is completely covered, but none of the leaves are in contact with the soil. Be sure that the plant can stand upright. If it struggles to stand on its own, use green garden tape to attach the plant to a small stake planted in the soil 1–2 inches (2.5–5.1 cm) from the stem.You can create a makeshift stake with a piece of bamboo or an old chopstick.
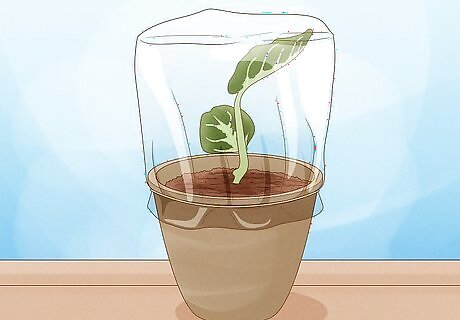
Cover your pot with a clear plastic bag. The bag helps to create a humid environment while the cutting develops. Make holes in the bag to allow some airflow through and keep the plastic away from the leaves. When you see new growth from your cutting, you’ll know that it has begun to establish itself.
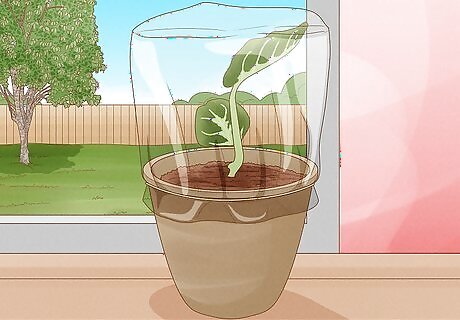
Provide plenty of indirect sunlight and water. Prayer plants will do best with bright conditions indoors so long as they don’t receive too much direct sunlight. Water heavily to maintain soil moistness during the spring and summer and less—just enough to keep the soil lightly moist—during fall and winter.
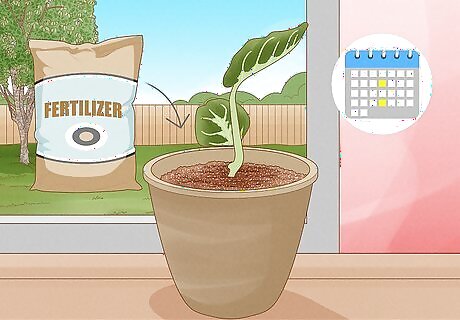
Fertilize your plant every 2 weeks. Use a balanced, water-soluble fertilizer diluted to half strength by mixing half of the instructed amount into the full amount of water. During fall and winter, only fertilize once a month.
Root Division
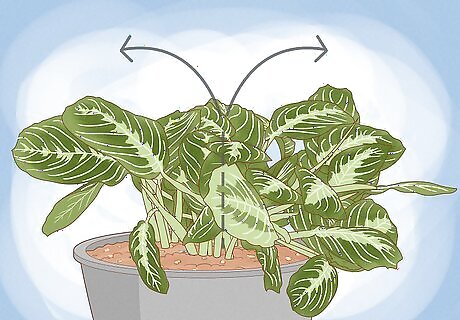
Propagate by division when repotting prayer plants. Root division is a useful method of propagation when repotting a prayer plant, especially if it has outgrown its pot. Spring is the ideal season for repotting and propagation by division. Summer is okay if necessary, but avoid repotting during fall and winter. Sometimes, related plants not of the maranta genus are also called prayer plants. These include Calatheas, Stromanthes, and Ctenanthes. If you’re caring for one of these plants, propagate by root division.
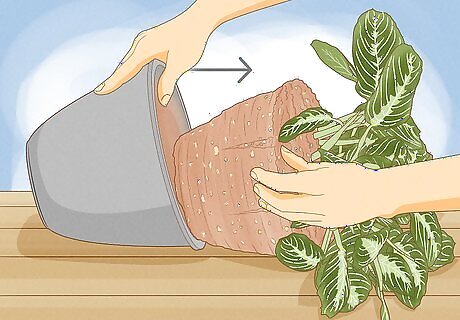
Remove the plant from its container. Use your hands to carefully remove soil from the roots so you can clearly see them.
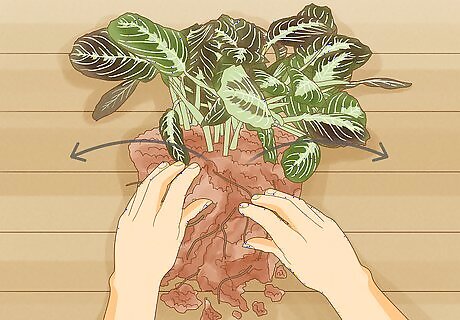
Divide the roots according to natural groupings. Look closely at your plant, particularly noting groups of roots that are connected to groups of stems. The best points of division create separate plants that each have solid root systems, stems, and leaves.
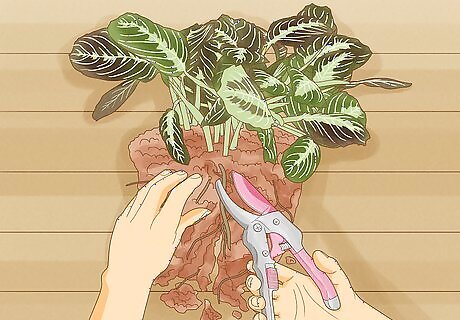
Separate the roots and stems with your hands. If they are tangled or difficult to separate, sterilize sharp scissors or gardening shears with rubbing alcohol (drying them before use), then cut the roots to separate them. While dividing the plant, check the roots for issues such as fungus or root rot. Cut away any roots that feel slimy or saturated in moisture or appear dark-colored rather than yellow or white.
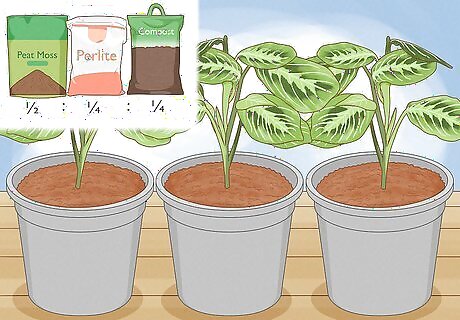
Repot each divided prayer plant. Place each plant in a separate pot with fresh soil. Attempt to do this quickly to avoid placing excessive stress on the plants. Give your newly divided plants added support by placing them in a soil mixture of ½ peat moss, ¼ compost, and ¼ perlite or vermiculite. You can compost at home too, but be sure that the compost is finished before using it in soil. Plants propagated by root division typically need less support than newly-planted cuttings, but give special attention to plants that need to be cut, as that causes stress.
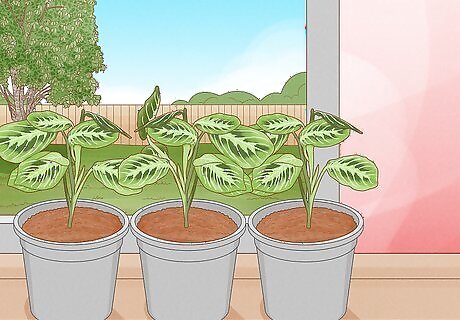
Provide plenty of indirect sunlight and water. Prayer plants will do best with bright conditions indoors so long as they don’t receive too much direct sunlight. Water heavily to maintain soil moistness during the spring and summer and less—just enough to keep the soil lightly moist—during fall and winter.
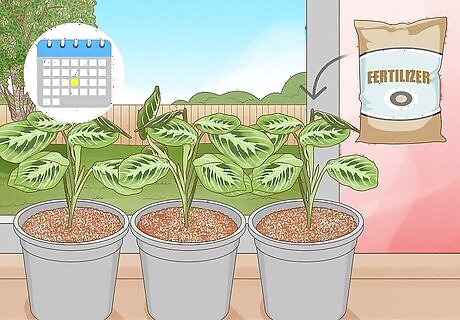
Fertilize your plant every 2 weeks. Use a balanced, water-soluble fertilizer diluted to half strength by mixing half of the instructed amount into the full amount of water. Only fertilize once a month in the fall and winter.




Comments
0 comment