views
Covering a Wall in Polaroids
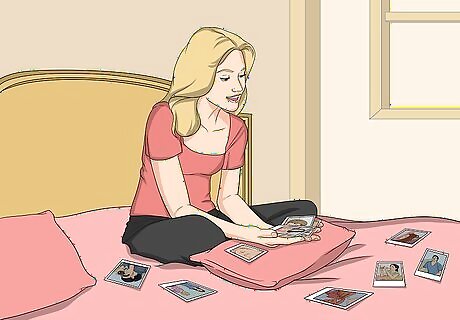
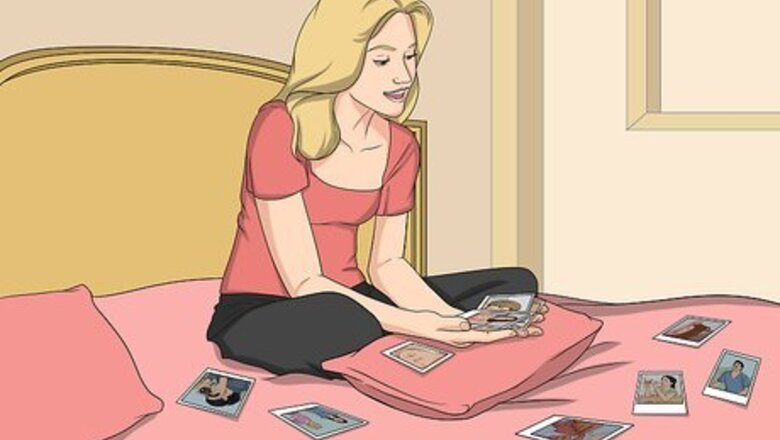
Choose enough Polaroids to make a large grid that will cover your wall. Decide how big you want the grid of pictures to be and make sure that the size you decide on will fit on the wall that you want to cover. Go through your Polaroid photos and pick out the photos you want to display as part of your Polaroid wall.Tip: It might help to lay out your Polaroid pictures on your bed or the floor, so you can visualize the grid and choose which photos to use. For example, you could make a grid that is 12 photos wide by 14 photos tall. For this, you would need to choose 168 Polaroids. If you don’t have enough Polaroids to completely cover your wall, that’s OK. You can just make a large grid that covers the middle of it, the top half of it, or one side of it. It’s totally up to you and the aesthetic you want to create. You can always add more Polaroids later on, too.
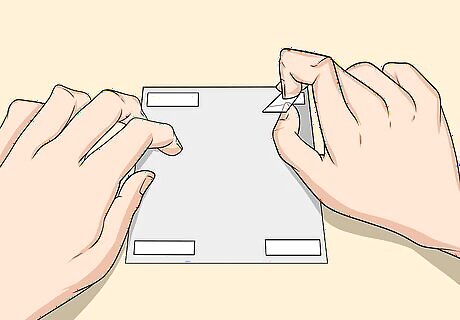
Stick 4 pieces of double-sided tape on the back of a Polaroid. Peel a piece of double-sided tape that is about 1 in (2.5 cm) long off of its roll. Stick it on the back of a Polaroid picture in 1 of the corners. Repeat this for each corner of the photo. If you don’t have double-sided tape, you can just use regular clear adhesive tape instead. Just double the tape back over itself, with the sticky side facing out, to create a small loop that is sticky on both sides.
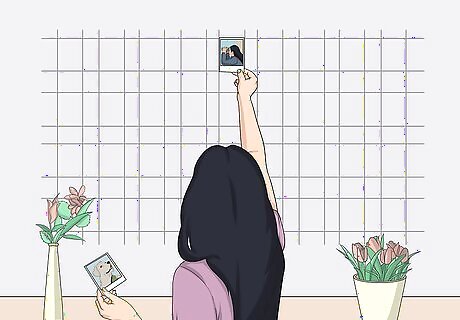
Press the Polaroid photo onto the wall where the top edge of your grid will be. Hold the picture up to the wall and make sure the top edge is straight. Press the photo against the wall and apply pressure to each corner to help the tape adhere to the wall. Always start at the top of your grid. That way, you can use the ceiling to help you align the first photo. Otherwise, you might end up with a crooked grid.
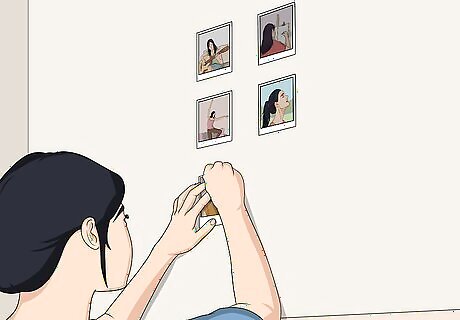
Repeat the process to stick photos below the first Polaroid to create a column. Choose all the pictures you want in your first column of Polaroids. Stick double-sided tape on the back of each photo, in all 4 corners, and stick the Polaroids one-by-one below the preceding photo until you complete the column. For example, if you decided that your grid is going to be 12 photos tall, stick 11 more pictures right under the first Polaroid. Try to put the edges of all your photos right up against each other, so you end up with a tight, neat grid.
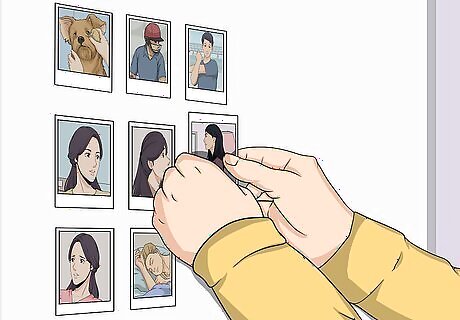
Create adjacent columns of Polaroids to make your grid of pictures. Stick another Polaroid at the top of the wall, right next to the first photo you placed. Fill in the wall below it with an equal number of photos next to the ones in the first column. Keep adding columns until your grid is the width that you want. For example, if you want your grid to be 14 photos wide, create 13 columns adjacent to the first one. If you have Polaroids of different sizes or orientations, make sure that all the photos in 1 row are the same size and orientation, so your grid will turn out even.
Displaying Polaroids in Creative Ways
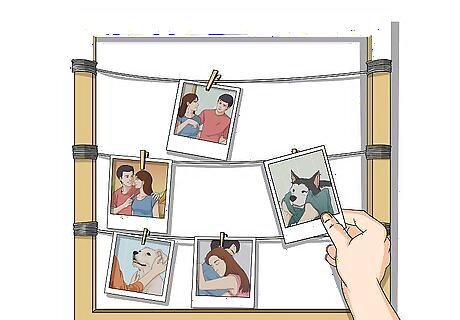
Make a photo garland frame to upcycle an old picture frame. Remove the glass and backing from a wood picture frame, if it has them, so you’re left with just the frame. Screw pairs of frame hanging eyelets into the inside vertical edges of the frame, across from one another, and tie a piece of string or wire between them. Clip your Polaroids to the string or wire using clothespins, then hang the frame on your wall.Tip: If you don’t have a frame to upcycle, you can also just string twine or picture wire across your wall and clip your Polaroids to it. Just fasten the wire or string to either side of your wall using nails, hooks, or eyelets. You could use 1 large frame that takes up a lot of your wall or use a smaller frame and mix it in with other framed art and pictures on your wall. Get creative to achieve the look that you want for your space. A cool thing about this way to hang Polaroid pictures is that you can keep the frame on your wall and swap out the pictures whenever you want. All you have to do is unclip a photo that you’re tired of and put a new one up.
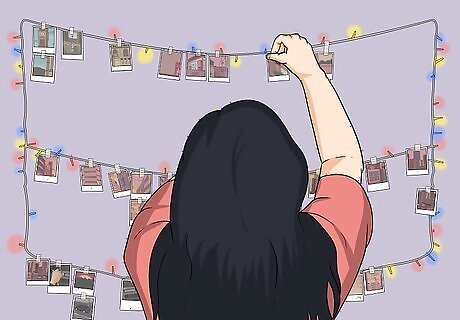
Clip Polaroids to string lights to create a boho fairy light garland. Hang string lights from your ceiling against the wall or side to side across your wall. Use clothespins to clip your Polaroids to the string light cables between the light bulbs. This creates a magical, cozy wall gallery for your Polaroids. You can turn off your main lights and relax in the dim glow of the fairy lights, all while admiring the photos you’ve taken and being reminded of the good memories.
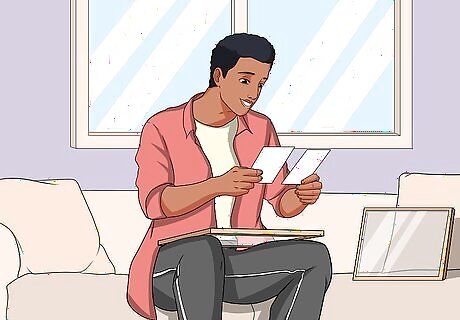
Use a glass picture frame to display Polaroid arrangements. Open up a glass picture frame and lay out multiple Polaroid pictures however you want to display them. Close the glass to sandwich the pictures in place, then hang the frame up on your wall. For example, you could use a bunch of overlapping photos to create a busy collage. On the other hand, you could space out just a few to create a more minimal look. It’s totally up to you, so do whatever you think looks best. You can even try sandwiching other things along with the Polaroids in the glass frame to give it a unique touch. For example, you could use dried leaves to give the framed photos an Autumn look.
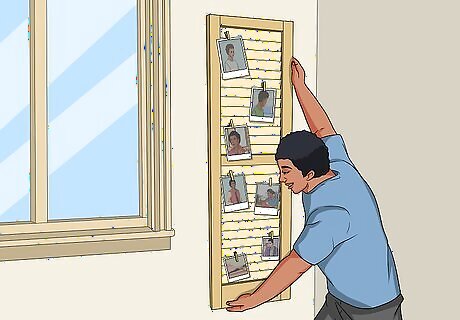
Put your Polaroids on an old wooden shutter for a shabby chic look. Use clothespins to clip photos to the slats of an old wooden shutter. Hang the shutter up on your wall to display the Polaroids. You could make 2 of these shutter galleries and hang them on your wall on either side of a window to make the shutters look like they actually belong to the window. If you don’t have clothespins, you could also use double-sided tape to stick the photos to the slats of the shutter.
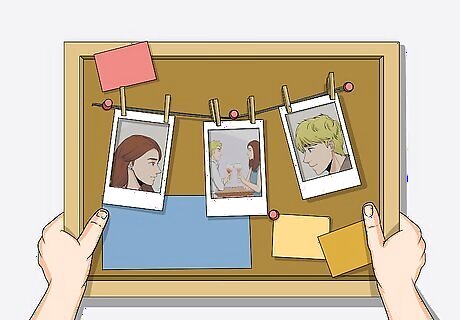
Pin Polaroids to a cork, foam, or magnetic board to create a useful decoration. Put a cork board, foam board, or magnetic board up on your wall. Use thumbtacks or another type of pin to stick your Polaroids to a cork board or foam board. Use magnetic clips to put your photos up on a magnetic board. These types of boards are great for spaces like home offices or even kitchens, so you can pin up things like work notes or recipes as well.

Stick Polaroids to your wall using colorful washi tape to add fun accents. Washi tape is a decorative paper masking tape that comes in all kinds of different colors and patterns. Place it across the corners or edges of your Polaroid photos and stick them anywhere you want on your wall. Washi tape is easy to remove without damaging the surface it is stuck to, so you don’t have to worry about damaging your photos or your wall.




Comments
0 comment