
views
Preparing a Home for Your Finch

Make sure your home is suitable for a finch. Before raising finches, think very carefully about every aspect of what this involves. Having a pet is a big responsibility. For instance, when you go away from home, you need to arrange care of the birds in your absence. Do you know of someone who is capable of caring for the birds whilst you are away? If you travel as part of your job and are regularly away, ask yourself if it's fair to leave such sociable birds alone and without your company for long periods of time. Ensure you have a safe environment for your bird. You need to consider practical matters, such as whether you are a smoker. Also consider if you like to burn scented candles in the house. Finches are very sensitive to atmospheric pollutants. Cigarette smoke in particular is an absolute no-no when you keep birds. The odors from scented candles gets onto the birds’ feathers, which they can find distressing. This results in frantic grooming activity to get rid of the smell. Consider if you or your family have any health issues. People with suppressed immune systems are at risk for picking up infections easily. These include the very young or old, people on chemotherapy or those with health conditions which suppress the immune system. Some birds carry diseases such as salmonella or chlamydia. Although the birds themselves are not ill, they could pose a possible risk to vulnerable people.
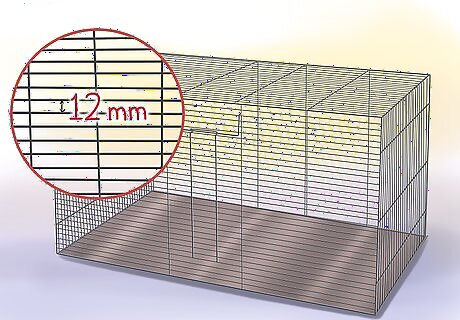
Obtain a finch cage. A finch cage is specially made for small birds. It has very small holes between the bars so that the birds can't escape. The bars must be less than 12 mm apart in order to stop the birds escaping. Canary cages or other larger holed cages are unsuitable for keeping finches. Visit your local pet store to find the proper cage. Aim for a cage that is long rather than tall (like a parrot cage), since zebra finches prefer to fly horizontally.
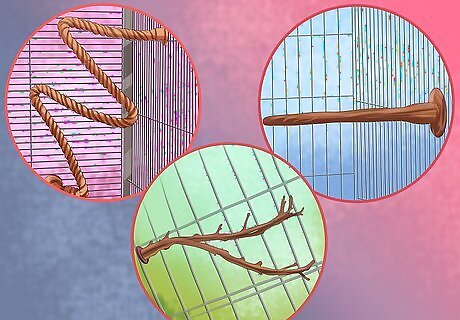
Put some perches in the cage. Perches placed at different heights in the cage will allow the birds to hop from one perch to another. Have perches of different diameters. The finch will need to use different leg muscles to stand on a smaller perch than on a larger perch. Don’t have too many perches in the cage. You don’t want your finch to hop so much from perch to perch that it never flies in the cage. Some types of perches include: branches, rope, plastic perches, natural plants, artificial plants, and clothesline perches.
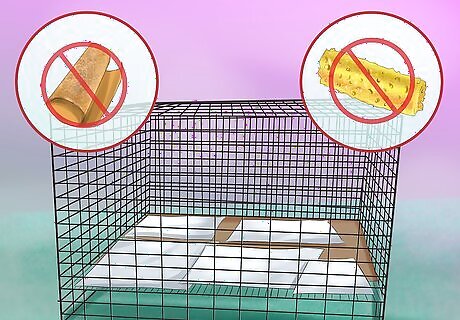
Line the bottom of the cage with newspaper. Use newspaper or used printer paper to line the bottom of the cage. This will catch droppings, spilled food and dropped water. Special cage lining paper is available but not necessary. It is typically expensive. Sandpaper should not feature in a bird's cage as it damages the bird's feet. Don’t use corn cobs, walnut shells, kitty litter or cedar shavings. These can be dangerous if the bird ingests them.
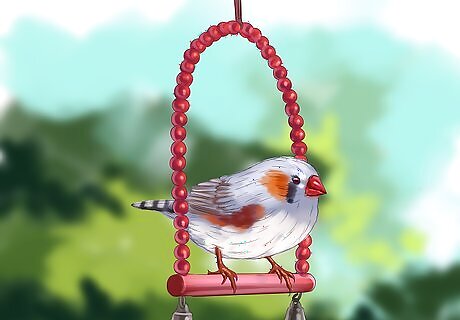
Try a swing or another bird toy. Experiment with bird toys and decorations to keep your bird occupied. Swings, bells and ladders are good choices. If you have one finch, try a mirror so the bird thinks it has company. But if you already have 2 or more birds, a male bird might think it’s looking at another male and be threatened.
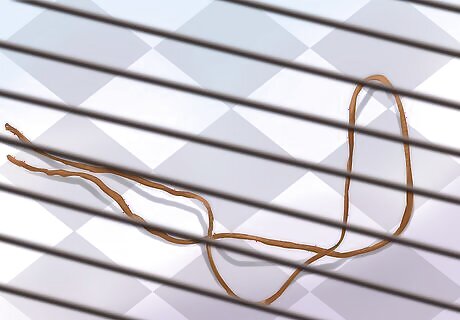
Don’t include any strings in the cage. Strings in cages can tangle around a bird, resulting in serious, or even fatal harm. This is the case with all birds, not just zebra finches.
Buying Finches
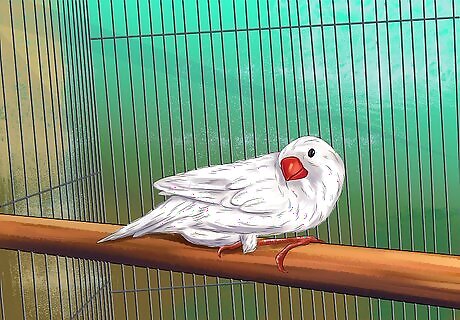
Look for a healthy bird. Go to a pet store or bird specialist. Pick out bright eyed, active, smooth feathered birds that are obviously healthy. Zebra finch breeders tend to have healthier birds than pet stores. One clue to good health is to examine the droppings in the cage. Healthy droppings have white and brown parts, and they are semi-formed. Any droppings that are completely liquid, yellow, or green are abnormal. Avoid buying birds in that cage.

Watch the birds breathing at rest. A normal respiratory rate is about one breath every two seconds. Sick birds often breathe very rapidly and their tail bobs up and down with the effort. They also tend to be fluffed up and sit resting on a perch or at the bottom of the cage. These birds are likely to be sick and are best avoided.
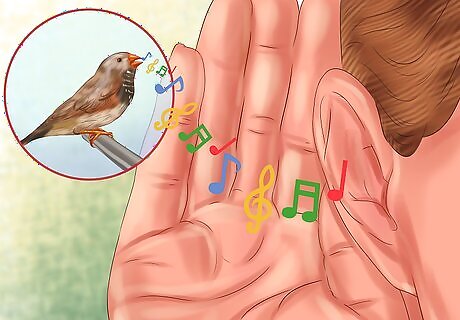
Listen to the bird singing. Zebra finches can be quite talkative, singing throughout the day. Make sure the singing is not an irritating sound for you.
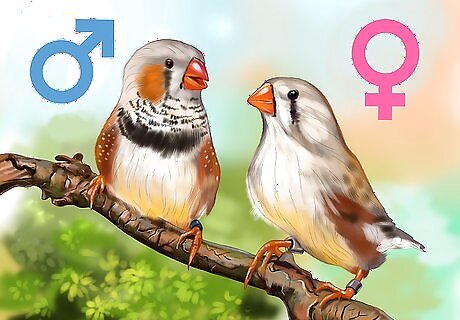
Decide on male or female birds. Male and female birds have different coloration. The males have more elaborate features, including orange patches on their cheeks, stripes on their throats, and white spots along their sides. Male beaks are bright red. Females are plainer in decoration, and are mostly gray. Females have orange beaks. Young birds are mostly gray in coloring, with black beaks. They will achieve their adult coloration when they are about 90 days old. Pairs of males or pairs of females can form very close bonds, and can be very happy together.
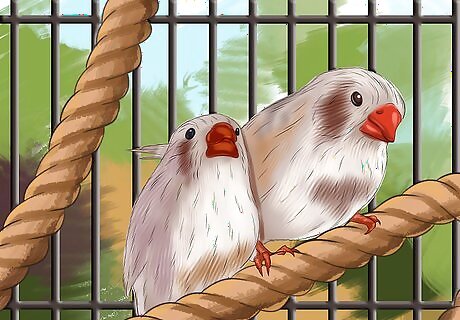
Get a pair of finches. Finches are very social birds and can benefit from having a companion in the cage. It is also necessary if you are planning to breed your finches. However, it is recommended to only have one pair per cage, to minimize fighting. If you may want a small colony of birds, make sure they have enough flight space. They should not be crowded. You will need multiple cages, you can set up an outdoor aviary.
Feeding Your Finch
Provide pellets as your finch's main source of food. Finches should be fed a diet of nutritious pellets as their main source of food. Feeding them seed mixes can lead to malnutrition because finches will select their favorites and avoid other seeds, so they will not get the proper balance of vitamins and minerals needed to thrive. Instead, offer your finch pellets as 75 to 80% of their daily diet. Seeds should be considered a treat item. Do not give your finch seeds as their main source of food.

Feed your finches some fruits and vegetables daily. Offer your finches a variety of fruits and vegetables. About 20 to 25% of your finches' diet should come from fruits and vegetables. Remove any untouched perishable food daily. Avoid avocado because it is toxic to finches.

Provide clean, fresh water daily. Give your finches two different areas to drink water. Try an open dish, which is the type that typically comes with the cage. Also use a clear drinker, which is a bottle that attaches to the side of the cage. This type has a spout or mini-dish at the bottom that the birds can drink from. This will train the finches to drink from different types of water sources. This is important in case you give your birds to someone else. If the new owner doesn’t use the same type of water dispenser that you used, the bird may not know how to drink. It can easily become dehydrated in this case. Change the water every day to ensure that it is clean and fresh.

Provide goodies like cuttle-bones. Cuttle-bones are taken from cuttlefish and provide minerals like iron and calcium for your bird. Your bird will dig his beak into the soft side of the cuttlebone to get the calcium. This action will also keep his beak in good shape.
Taking Care of Your Finches
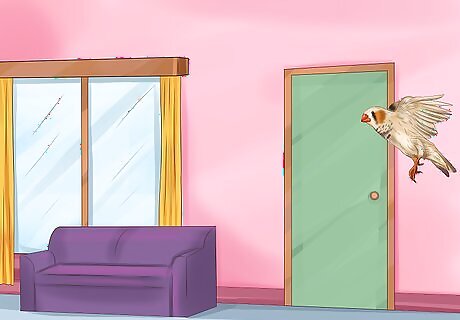
Allow your finches to fly freely around the room. Even when they live in a large indoor cage, the birds still need daily exercise in the form of freely flying in a room. Do this once the birds are used to their cage and its location. Be sure to close all windows and doors before letting the birds out of the cage. An alternative is a large outdoor aviary in a sheltered spot, where the birds can fly free. Make sure the birds have boxes and sheltered areas where they can roost and sleep at night. Also, make sure that they are not exposed to direct rain or harsh winds. If you live in a harsh climate, an indoor cage might be the better option.
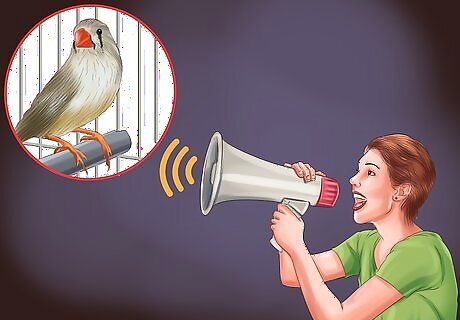
Don’t make sudden movements or noises around your finches. Most finches are very excitable and do not do well with sudden movements or noises. Zebra finches are pretty hardy in this regard. But you should still treat them with care by providing a calm environment for them.
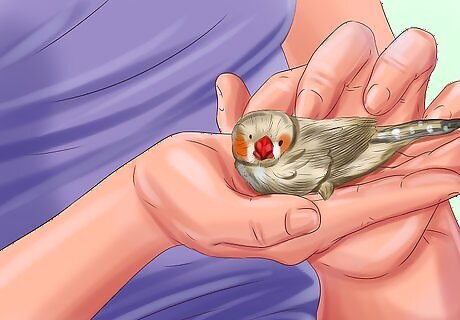
Take care if handling your zebra finch. Zebra finches are very delicate. Give the bird time to get used to you before you hold it. Then you can gradually build up the amount of time you hold the bird. Always handle with care and handle very lightly.
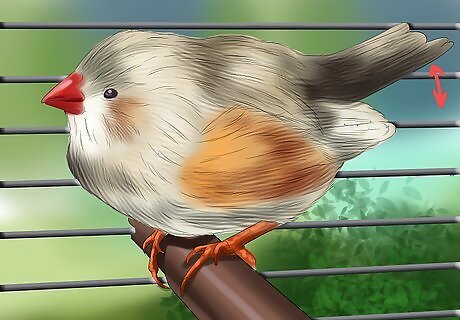
Watch out for illness or a change in behavior. If your finch gets injured or sick, place it in a separate cage in a warm room. Call your vet immediately. Signs of ill health include being withdrawn, being fluffed up, resting more than usual, breathing more rapidly, tail bobbing, loss of voice, weight loss, liquid droppings, and lack of appetite.
Breeding Your Finches
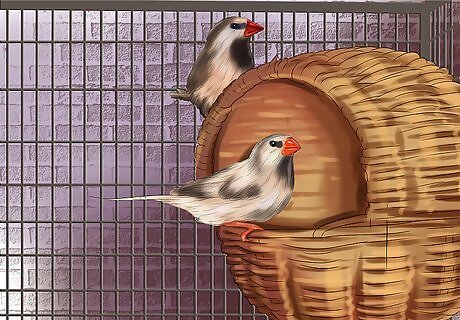
Provide nesting material only if you want your birds to breed. Zebra finches are physically mature enough to start breeding from around 3 months of age. But it is advisable to wait until the finches are more mature at 6 months of age before breeding. If you have the space to keep several birds, its fine to keep more hens than cocks. But if you are using indoor cages, then one pair of finches (one of either sex) in the same cage works best. A happy male zebra finch uses a special song to woo the female, and will "bounce" on the perch to impress her.

Make sure your cage is large enough. The mother finch will lay around 8 eggs. This means that when the eggs hatch, there may be 10 birds all in the same space. If it is cramped, they will be stressed. This can result in poor health or even fatalities.
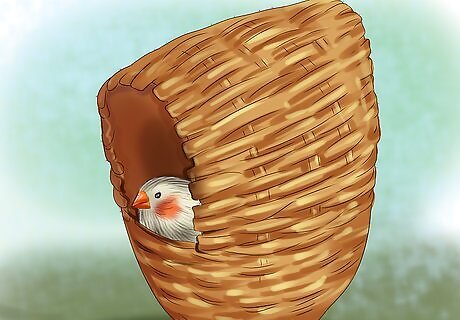
Provide a nesting area. Provide several clean, new nests so that your zebra finches can choose the one they want to raise their family in. Zebra finches like an enclosed nest box with a single entrance hole. Zebra finches prefer wicker nest boxes. These types of nests are not great for disinfecting afterwards, however. If you opt for wicker, consider it as a single-use box. Throw it out after each clutch of eggs and replace it with a new one. Check out your local pet store for suitable nests. The nest box should contain a substrate that is warm and comfortable. Dried grass (hay) works well. Use caution with man-made substrates made of cotton (such as those sold for hamster bedding). These contain fibers which could get tangled around your birds’ legs or necks.

Place the nest box as high as possible. Zebra finches want to feel safe while nesting. Consider attaching the nesting box to the side of the cage as near to the top as possible (rather than resting on the floor of the cage).
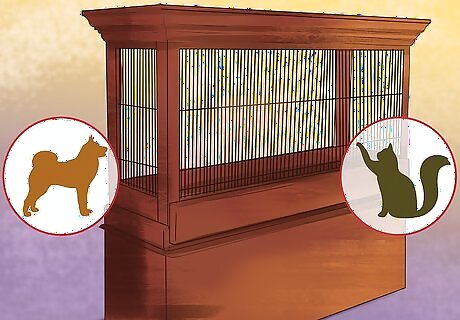
Keep the cage in a quiet place. Your finch cage should be situated in a quiet place in your house. You don’t want the nesting birds to feel threatened by potential predators, such as the house cat or dog.
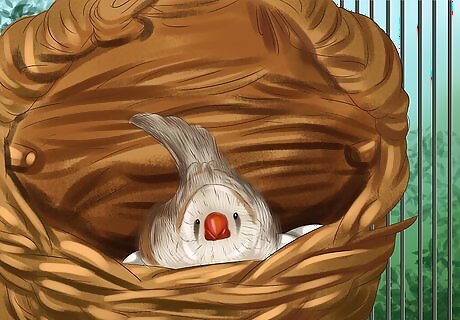
Monitor the eggs. Take inventory of the number of eggs that have been laid without disturbing the nest. The mother will lay a clutch of about 8 eggs, at a rate of about one egg per day. The female bird starts to incubate the eggs as soon as they are laid, but both birds will take turns in keeping the eggs warm. The eggs will hatch after about 2 weeks.

Remove infertile eggs. If three weeks have passed and the eggs have not hatched, they are infertile. Remove them quickly. Then the mother will lay new fresh eggs. It is impossible to distinguish new eggs from the infertile ones, so it’s important to keep them separate. Separate the mating pair between clutches. Make sure to give your birds a rest before the breed again.

Watch the chicks develop. After 21 days, the chicks will leave the nest to explore the rest of the cage. They also start to eat on their own at around 4 weeks of age. After 6 weeks, they will develop their adult plumage and colors. Most Zebras are very good parents. They won't need any help from you.

Separate the chicks from the parents after 6 weeks. When their adult colors start to show in the plumage, the chicks should be moved to a separate cage. Talk to your local bird store about selling the chicks. The pet store may also allow you to trade the birds for seed and supplies.

Identify the chicks with leg bands. If you intend to breed birds regularly, then identify the chicks by using permanent bands on their legs. Use a color-coded system so you can identify who their parents are. This avoids accidental inbreeding of closely related birds in the future. These bands should be put on the right leg once the bird is around 8 days old. There are specific bird ringing kits available from specialist avian shops, or you can find them online.


Comments
0 comment