views
Finding a Replacement Zipper
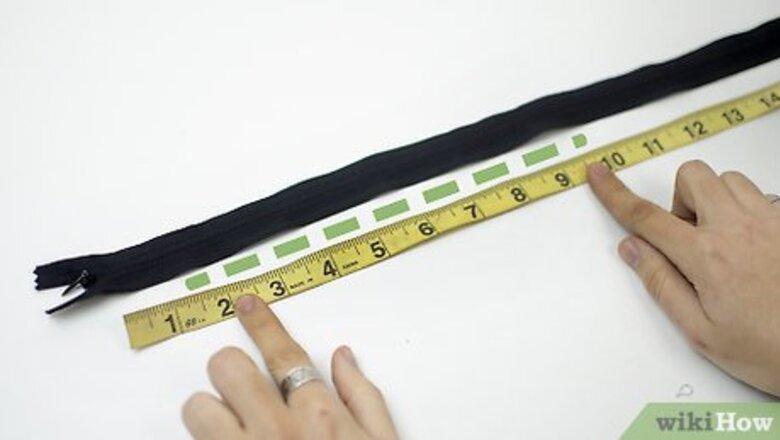
Measure the zipper. If a zipper has lost its shape or its teeth are missing, you have to replace the zipper. It is important to choose a zipper that is the same size as your old zipper. This will ensure that your zipper will fit your item. Measure your old zipper before you head out to buy a new one.
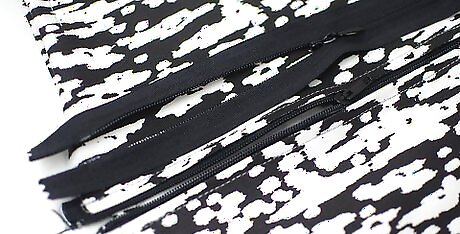
Choose a zipper that is the same color and style as the old one. Along with choosing a zipper of the same length, it is also important to pick a zipper that is the same color and style as the old one. Bring your old zipper with you or take a picture of it to help you find the best match.
Shorten the zipper if needed. The best way to shorten a zipper is to use a pair of strong scissors to cut across the bottom of the zipper. Identify how much you need to shorten the zipper and then mark your zipper fabric. Cut of the excess zipper by cutting straight across the zipper fabric and teeth. Make sure to install a new zipper pull stop if you shorten the zipper. A zipper pull stop goes at the bottom of your zipper and prevents the zipper pull from coming off when you unzip the zipper. You can get zipper pull stops in craft stores. They look like small rectangles with prongs extending from the sides. To install a new zipper pull stop, push the prongs into the fabric right below the last zipper teeth. Then, close the prongs on the backside with pliers. If needed, install a zipper pull stop on each side of the zipper so that you can still open it all the way.
Removing the Old Zipper
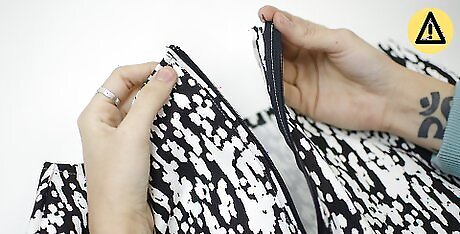
Note how the old zipper is positioned before you remove it. Before you remove the old zipper, look at how it is sewn into the item. It is important to sew your new zipper in the same way. For example, is the zipper material visible or hidden? Does the zipper material peak out from behind the raw edges of the item fabric a certain amount? If so, how much? Take note of anything you notice and take measurements as well. Record what you find to help you as you sew the new zipper into place.
Use a seam ripper to cut the stitches holding the zipper in place. Hold the seam ripper in one hand and the edge of your zipper fabric in the other and locate the first stitch. Insert the long end of the seam ripper into the space between the zipper fabric and item fabric. When you do this, you should notice the thread separate. Keep repeating this with all of the threads holding your zipper in place. A seam ripper is the best tool for removing an old zipper because it allows you to cut the stitches holding the zipper in place without damaging your fabric. A seam ripper blade looks like a crescent, and it is designed this way so that you can easily catch the stitches and cut them without damaging your fabric. The seam ripper cuts the threads with the sharp area in the middle of the crescent.
Pull gently on the zipper fabric as you go. To loosen up threads for cutting, make sure to tug gently at the zipper fabric as you go. This will separate the zipper fabric from the item fabric and widen the gap between them. Having more space between the two fabrics will make it easier to get at the threads with your seam ripper.
Remove any stray threads. After you have cut all of the threads holding the old zipper and your item together, put the zipper aside and then remove the severed threads with your fingers. It is important to clear these away before you sew the new zipper in place or they may get snagged in the sewing machine.
Sewing the New Zipper Into Place
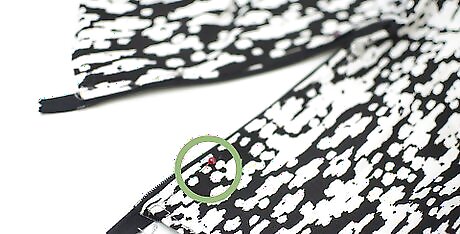
Position your new zipper. Use your notes on how the old zipper was positioned to help you position the new zipper and then pin it into place. For example, if you found that the zipper was attached so that the raw edges of the fabric were hidden, then you will need to attach the new zipper the same way. If you are not sure, then you can attach the zipper in the standard way. Unzip the zipper and then line up the raw edges of one side of the zipper fabric with one side of the item fabric so that the zipper pull is facing towards the item fabric. Make sure that the raw edges of the zipper are lined up with the raw edges of the fabric and pin the zipper into place. Do the same thing for the other side of your zipper.
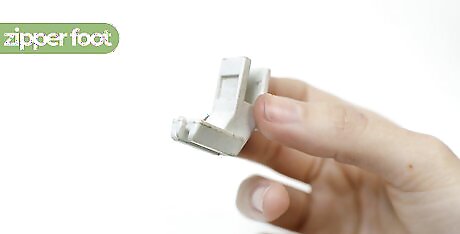
Install a zipper foot if you have one. A zipper foot is optional, but it is helpful for sewing zippers into place. It has notches on the side that allow you to get as close as possible to your zipper without sewing into the teeth. If you have a zipper foot, remove your universal foot and install the zipper foot now. Check your machine’s manual for instructions on how to remove/install a foot. Your machine may have a lever that releases the foot or you may have to use a small screwdriver (often included with newer sewing machines) to unscrew the universal foot and screw in the zipper foot.
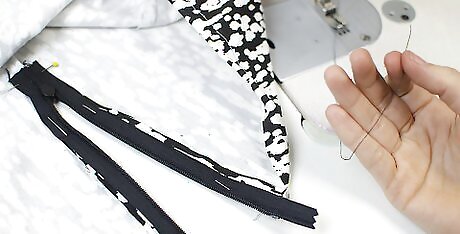
Thread your machine with a matching color thread. It is important to use a thread that will match your zipper and item. Try to use the same color thread that was used to sew in the old zipper. If you cannot find a perfect match, then get a thread that matches your zipper and fabric as closely as possible.
Lower the presser foot. When you are ready to sew, lower the presser foot near the top edge of your zipper fabric and item fabric. Line up the presser foot so that the edge is even with the edge of your zipper. This will help to ensure that you get an even line down the zipper as you sew.
Sew a straight stitch along the edges. When everything is lined up, set your machine to the straight stitch setting and start sewing along the edge of the zipper. Sew down to the bottom edge of the zipper and then back up the length of the zipper to ensure that it is secure. Repeat this on the other side of the zipper. Remove the pins as you sew.
Trim off any loose threads. After sewing your zipper into place, make sure that you trim away any excess threads. You will likely have a few after you finish sewing. Trim the threads as close to the zipper as possible for a clean finish.


Comments
0 comment