
views
- Label the bag’s contents and packaging date with a permanent marker, then fill it with your items, leaving about 3–4 in (7.6–10.2 cm) of space at the top.
- Place an oxygen absorber packet inside the bag with the items. Add more oxygen absorbers to larger bags.
- Run a medium-hot clothes iron or hair straightener quickly and carefully across the top 1 in (2.5 cm) of the bag 1-2 times, until it’s sealed.
- Alternatively, place the open end of the Mylar bag into an impulse or vacuum sealer, and run the sealing function as normal.
Label the bag.
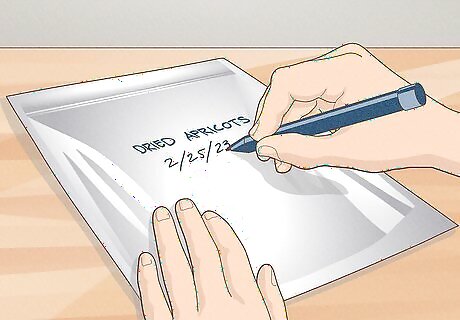
Note what’s in the bag with a permanent marker. Before you fill the Mylar bag, use a permanent marker to indicate what’s in the bag. Write the bag’s contents, the date it was sealed, and any other information you think might come in handy, like what you intend to use the contents for. Use neat, clear handwriting. Write directly on the outside of the bag, in a location that can be easily identified and read later.
Fill the bag.
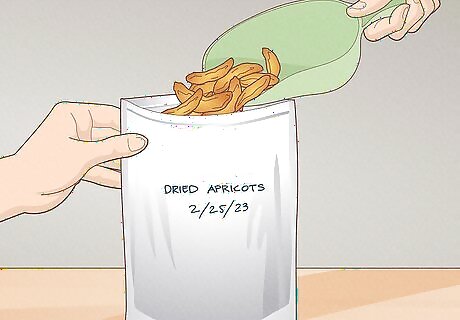
Stand the bag on-end and fill it with your items. Use one hand to support the bag and keep it open. Then, fill the bag most of the way full with your food or other items, leaving about 3–4 in (7.6–10.2 cm) of space at the top so that the bag can be easily closed and sealed. For added stability while filling, place the bag in a bucket to keep it upright. Only fill the the bag with a single type of food item—mixing and matching different kinds of food can alter each item’s expiration date.
Toss in some oxygen absorbers.
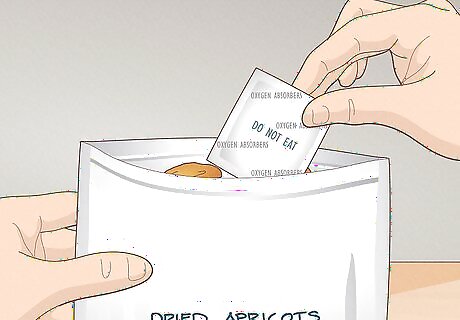
Add oxygen absorbers according to the bag’s size. Your Mylar bags most likely came with oxygen absorbers included, which are sized by cubic centimeter (cc). Place as many oxygen absorbers as needed on top of the bag’s items. You can’t have too many absorbers, but you can have too few, so be generous! Some common bag dimensions and the number of oxygen absorbers needed are: 0.5 US pt (240 mL) bag: 50cc 1 US pt (470 mL) bag: 100cc 1 US qt (950 mL) bag: 300cc 1 US gal (3.8 L) bag: 500cc 5 US gal (19 L) bag: 1500cc Oxygen absorbers are small packets of various materials (often enzymes or food-safe chemicals) that remove oxygen from the surrounding air to preserve food products.
Heat-seal the Mylar bag.
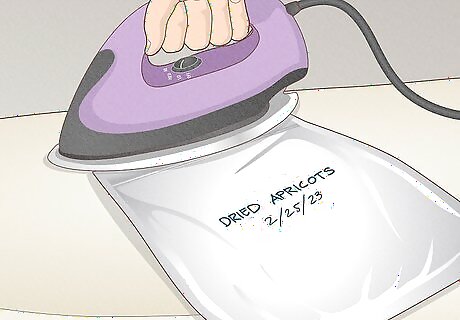
Use a clothes iron, hair straightener, or vacuum sealer to seal the bag. Lay the bag flat on its side on an ironing board and use your free hand to gently squeeze out any excess air. Then use one of the following methods to seal it: Set a clothes iron to medium-high heat and give it about 5 minutes to heat up. Once the iron is hot, quickly and carefully run the tip of the iron over the top 1 in (2.5 cm) of the bag once. Clamp a hot hair straightener across the open end of the bag, overlapping the edge by about 1 in (2.5 cm). Quickly and carefully slide the iron across the length of the bag to seal it. Place the Mylar bag about 1 in (2.5 cm) into a vacuum sealer’s opening. Then, run a “seal” command, according to the included or online manual.
Store the bags.
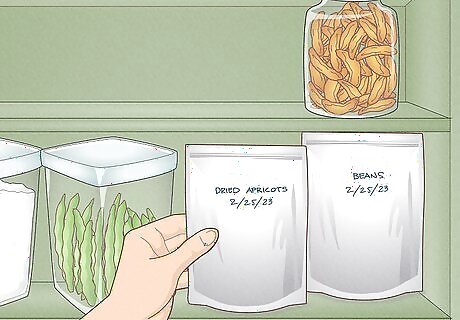
Store your Mylar bags on a cool shelf or in a plastic bucket. Let the oxygen absorbers do their thing for about 6-12 hours. Then, keep the bags somewhere cool and dry, like a closet or cupboard. Refer to the chart below for common storage time: Dried fruits and veggies: 1 year. Keep any dried fruits in dark condition and below 60 °F (16 °C) for up to one year, or freeze-dried fruits for up to about 20 years. Dried dairy products: 4 years Wheat and other dry grains: 5 years Dried beans: 10 years Sugars: indefinitely


Comments
0 comment