views
Preparing to Set Up
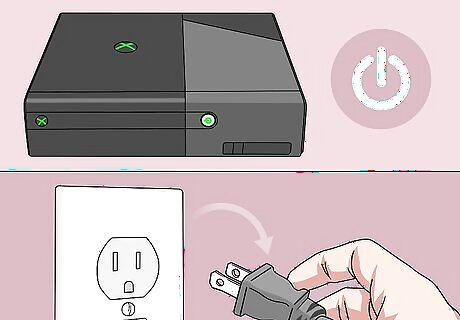
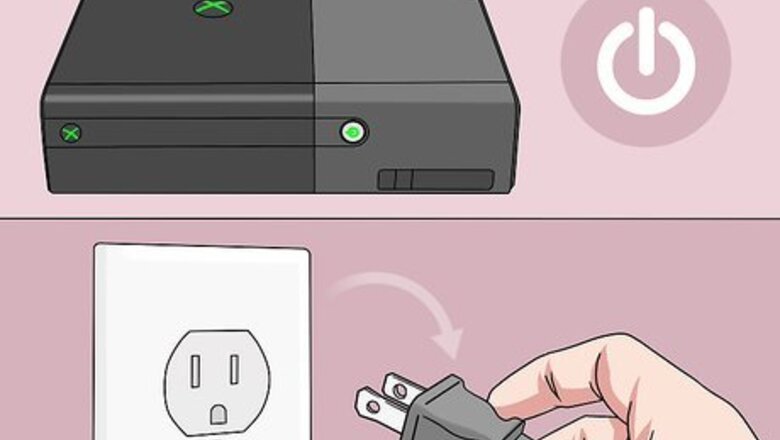
Unplug your Xbox 360. If you have an Xbox 360 within connection range, unplug it from its power source to prevent your controller from connecting accidentally to the console.
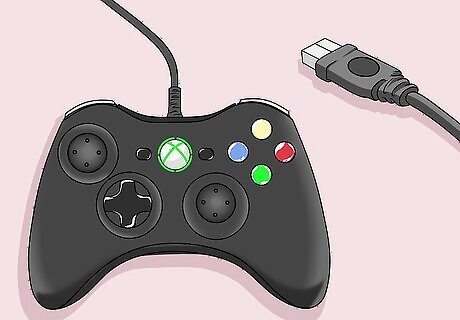
Make sure that you have a wired controller. In order to use an Xbox 360 controller on Project64 without an adapter, the controller must use a non-removable wire as its power source. You cannot use a "plug and charge" cable here. If you want to use a wireless controller, you'll have to buy a Microsoft Xbox 360 Wireless Gaming Receiver unit. If so, make sure that the receiver is from Microsoft and not a third-party retailer.
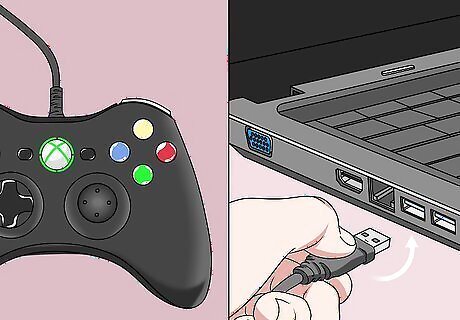
Plug into the computer your controller. The end of the controller's wire should fit into one of your computer's USB ports. If you're using a wireless receiver, plug the receiver into a USB port and look for a green light on the receiver. The receiver must be plugged into a "powered" USB port, so try a different USB port if the receiver's light doesn't show up.
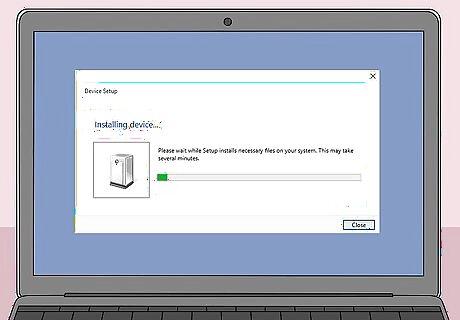
Wait for the drivers to finish downloading. Upon plugging in your controller or receiver, Windows will automatically look for and download software to help your computer use the controller. This should only take a few minutes, after which point you'll receive a notification that your controller is ready to use. You will need an Internet connection for this process to start.
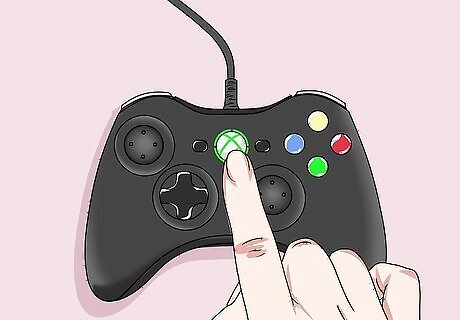
Connect your controller. Skip this step if you're using a wired controller. Press the circular Connect button on the wireless receiver, then turn on the controller by pressing and holding the Guide button, which is the Xbox logo in the middle of the controller, and press the "Connect" button on the front of the controller. Once the controller's Guide button stops blinking, your controller is connected to the computer.
Setting up the Controller
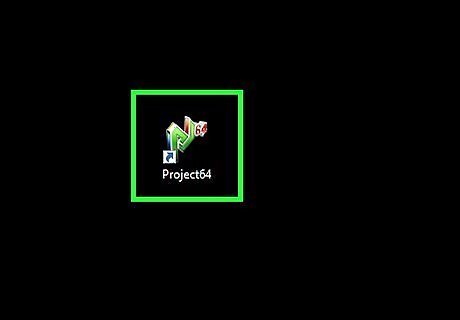
Open Project64. Double-click the Project64 app icon, which resembles a green, stylized "PJ" next to a small, red "64" icon.
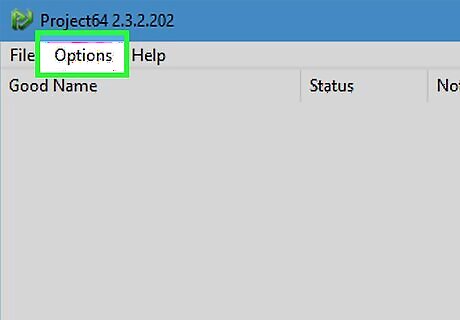
Click Options. This tab is at the top of the window. A drop-down menu will appear.
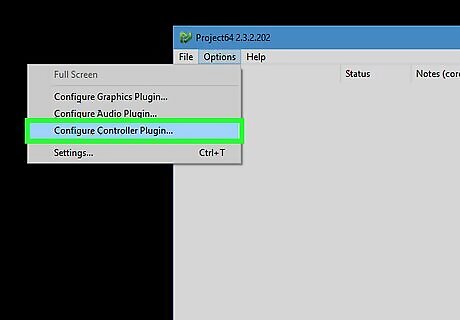
Click Configure Controller Plugin…. It's near the bottom of the drop-down menu. Doing so opens the controller settings window.
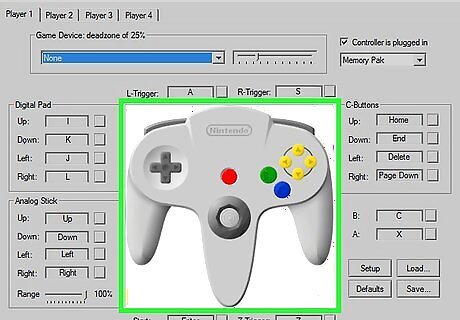
Look for a controller's image. If you see a large image of a controller in the middle of the page, your controller is showing up on Project64; if not, try restarting Project64. If restarting Project64 doesn't work, restart your computer and then try to connect again.
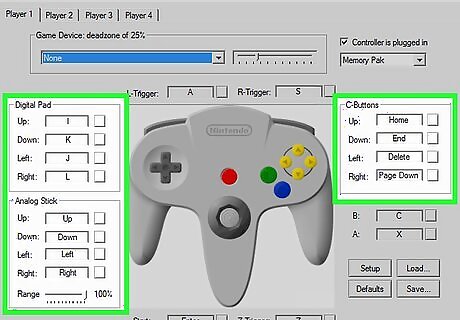
Change the controls. To map an action to a different button on the controller, click the action's name to the left of the keyboard button, then press the button that you want to use for that action on your controller.
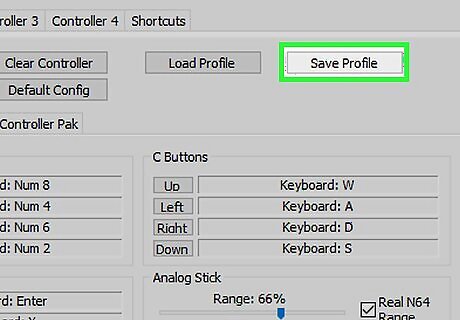
Save your controller configuration. Click Save Profile at the top of the window, enter a name for the configuration, and click Save. You'll be able to load the saved settings by re-opening the Configure Controller Plugin... menu, clicking Load Profile, and double-clicking the saved settings file. It's helpful to save your controller's profile as something identifying (e.g., the name of the game with which you want to use the controller's specific controls).








Comments
0 comment