views
Trying Easy Stretches
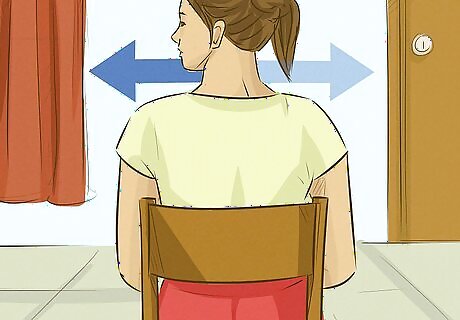
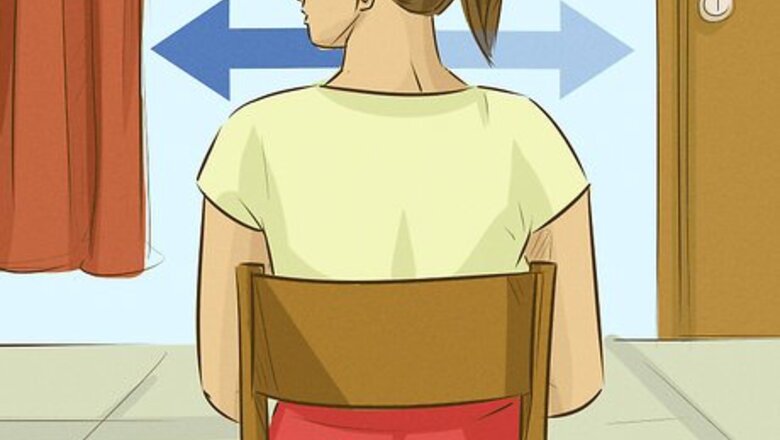
Turn your head to the left and the right. Sit or stand up with your back and head straight. Gently turn your head all the way to the right so it's parallel with your shoulder. Move back to the center. Repeat the motion to the right again. Do the same motion to the left, and repeat it again. Use a slow and gentle motion. Don't jerk to the left or right. You don't need to hold the position. The movement releases tension in your muscles and may loosen up your joints.
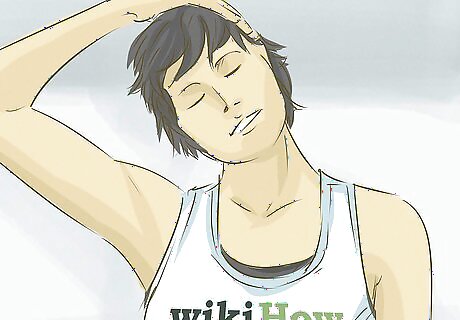
Stretch your neck to either side. In a seated or standing position, tilt your head to the left, keeping your nose facing forward. Place your left hand over your ear and lightly apply pressure. Use your right hand to reach behind your back from underneath. Touch your shoulder blade to ensure you're keeping it down and to the back. Hold the position for 30 seconds. Then, do the same in the other direction, tilting to the right. Deepen this stretch by anchoring your free hand. For instance, sit on your right hand, then use your left hand to pull your head to the left. When tilting your head, don't bring it all the way down to your shoulder.
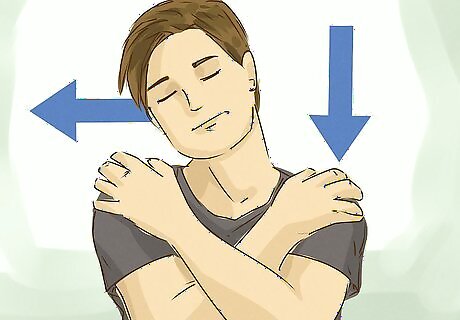
Give yourself a bear hug. Stand up straight. Reach your left arm across your chest and hold your right shoulder. Do the opposite with your right arm. Press down on your left shoulder with your right hand. As you do, lean your head to the right and forward to stretch out the muscle. Hold the position for 30 seconds. Repeat the process on the other side. Apply downward pressure on the right shoulder with your left hand, and lean your head to the left and forward. Hold for 30 seconds.
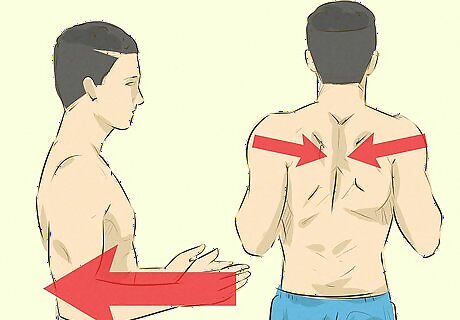
Pretend to hold a pencil between your shoulders. Stand up straight. Hold your shoulder blades back and together like you're trying to keep a pencil there. After pulling back, press down with your shoulders, pushing them into your ribs. Hold this position for a few seconds, then start at the beginning again. Do it several times in a row to stretch your muscles.
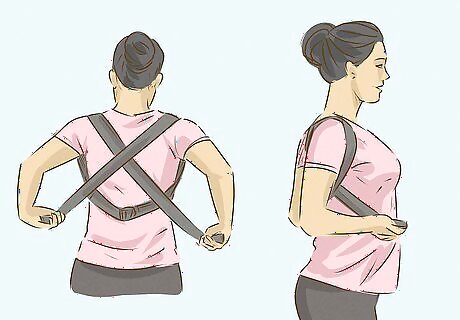
Wrap a wide, long belt around your back to release the tension. You can use a yoga belt or attach 2 regular belts together. Wrap it around the middle of your back, just under your upper back. Take the 2 ends in front, and toss them over the respective shoulders; the one coming out from the right should go over your right shoulder. In back again, move each end across your back and back to the front. Gently pull to tighten the straps across your stomach. As you do, you'll help relax and release your trapezius muscles. You can also buckle the belt once you have the 2 ends back in front. Tighten it as much as feels comfortable, and leave it on as long as you'd like.
Using Self-Massaging Techniques
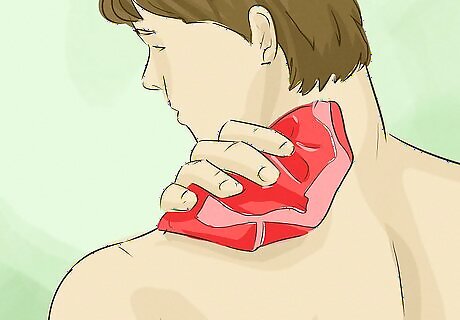
Heat the area with dry or wet heat. Try putting a heating pad over the muscle for about 20 minutes to heat it. Alternatively, try taking a warm shower or bath and immersing your shoulder muscles for 5-10 minutes. You can also make your own heating pad with things you have at home.
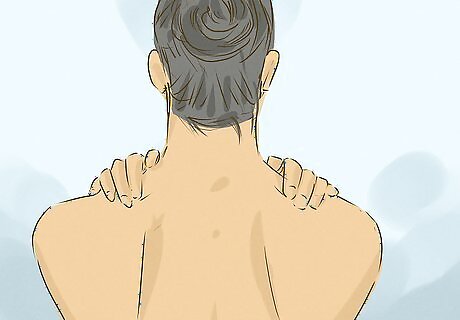
Knead each side of your neck with the opposite hand. Cross your left arm in front of your chest to bring your hand up to your right shoulder. With a kneading motion, rub the muscle behind the shoulder, much like kneading dough. Bring your arm slowly down the right shoulder, kneading as you go. Apply enough pressure that you can feel it, but not so much that it hurts. Repeat the process on the other side. You can repeat both shoulders 2-3 times if you want.
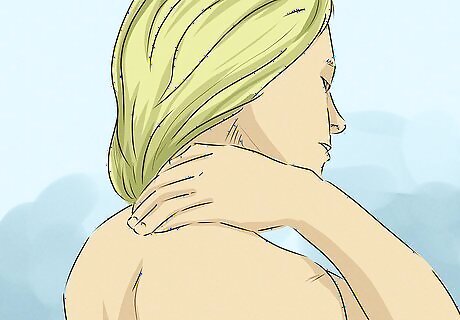
Rub out your knots and trigger points with your fingertips. Press down on the area that's triggering your pain with your fingertips. Push down enough so you feel it, and then hold for up to a minute. You should feel it start to release the tension. The typical trigger points are in the middle of your spine just above where your shoulder blades meet or to the right or left of your spine where your neck meets your shoulder in the back. Alternatively, if you're having trouble reaching the area with your fingertips, use a pressure tool, such as a Backnobber, which is a long, curved stick with knobs on the end for massaging your own back. These give you the added length to apply pressure on various parts of your back.
Making Lifestyle Changes to Provide Relief
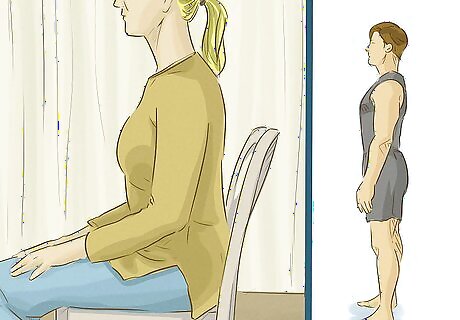
Sit and stand up straight during the day. As you do, bring your shoulders down, and make sure your head is back. Imagine a string is lifting your body, keeping you upright. Good posture will help take some of the strain off your trapezius muscles. Also, avoid activities that make you hunch one or both shoulders, like holding a phone in one shoulder.
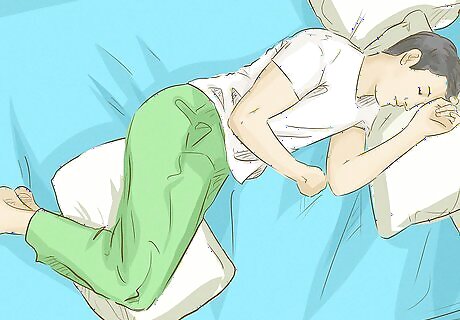
Sleep on your side to keep your head straight. If you sleep on your stomach, your head is always turned to one side, putting strain on the trapezius muscles. Try to sleep on your side, instead, which doesn't turn your head to the side. You can also sleep on your back but only if your head doesn't fall to one side or the other.
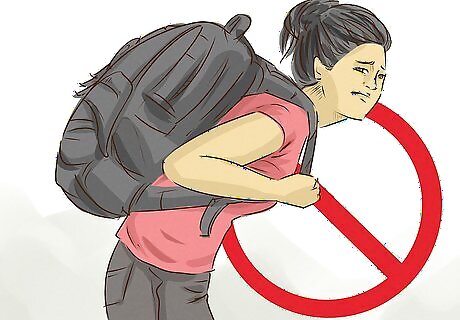
Skip carrying a heavy backpack or shoulder bag. A heavy bag can strain your trapezius muscles. Instead, try a belt purse, and only carry what you absolutely must. If you need to carry a bigger bag, try a rolling briefcase. If you must carry a shoulder bag, make sure you switch off shoulders. Similarly, too-tight bra straps can put excess pressure on your trapezius muscles. Make sure to get fitted properly for a bra.
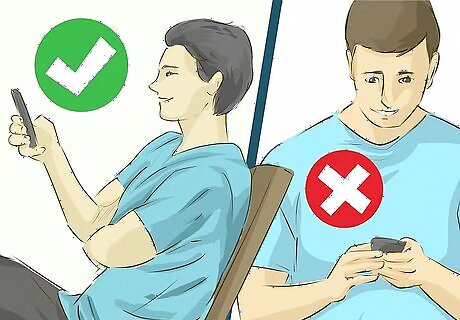
Elevate your electronics so you don't slump over. Slumping over can cause soreness in your trapezius muscles, and if you're on your smartphone or computer, you may find yourself slumping a lot. To fix the issue, move the device so it's eye level. That may mean that you're holding your smartphone up in front of you, but that's better than slumping over. If you work at a desk, try getting an elevated stand for your screen or laptop to bring it up to eye level or higher.
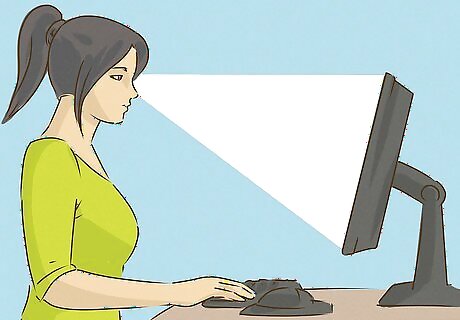
Adjust your keyboard and armrests to the correct height. Work in a chair with armrests, as the weight of your arms can put strain on your muscles after a while. Also, make sure your keyboard is even with your arms when you're sitting up straight with your elbows at a right angle. You shouldn't have to lift your arms up to type. If you need to lower your keyboard, try a keyboard shelf.


Comments
0 comment