views
Determining Your Leader Length
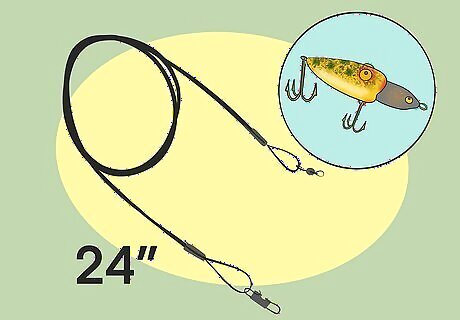
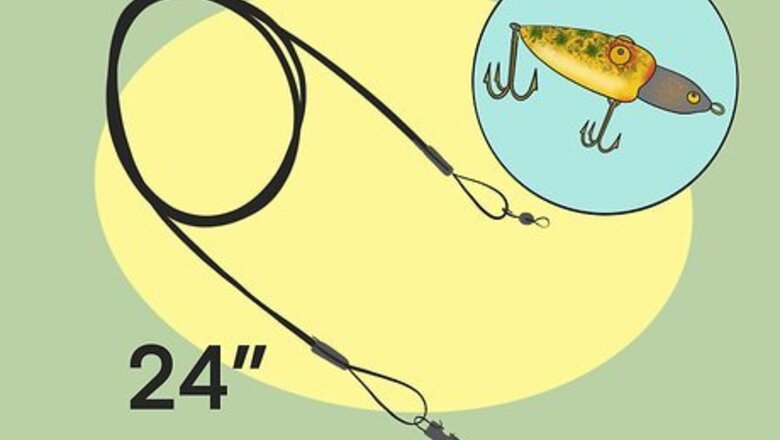
Use a 24 in (61 cm) leader if you have an artificial lure. Using a shorter leader with artificial lures means the knot doesn't have to go through your rod guides. The friction from casting over and over again will weaken any knot if it continually rubs up against the rod guide.
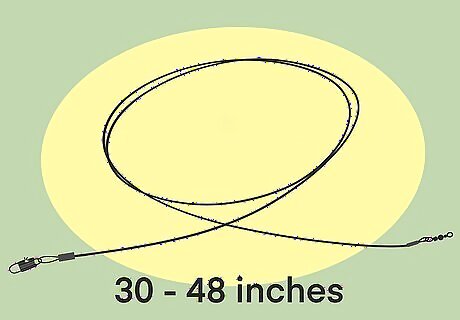
Try a 30–48 in (76–122 cm) leader for live bait. When you use live bait, you won't cast nearly as much as you would with an artificial lure. As such, you can increase your leader length by anywhere from 6–12 inches (15–30 cm). Anything above 30 inches (76 cm) is a solid length for your leader when live-baiting.
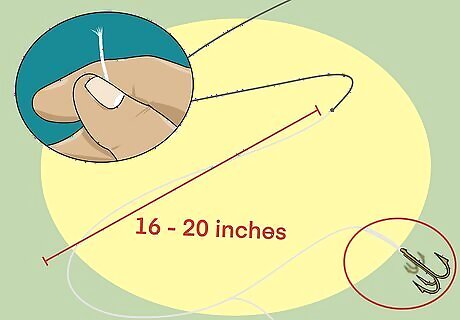
Shorten the leader to 16–20 in (41–51 cm) if the line is frayed. Feel free to re-tie your line to make it shorter if fish have frayed the line or you need to switch lures. You can let the leader get as short as 16 inches (41 cm) depending on the clarity of the water.Tip: The length of your leader should correspond to the water conditions, not the length of your rod. The clearer the water, the longer you want your leader to be. It is easier to cast shorter leaders, especially in the wind.
Connecting the Leader with the Main Line
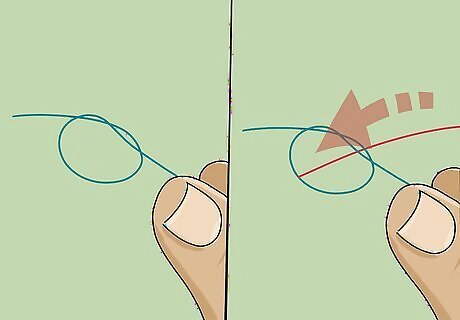
Tie an overhand knot with your leader line but don't tighten it. Create a loop and push the working end of the leader line through the loop with your thumb. Keep that loop wide enough so that the end of the mainline can come through the knot. You'll need a leader line that's at least 50 pounds (23 kg) to avoid breaking the mainline during casting.
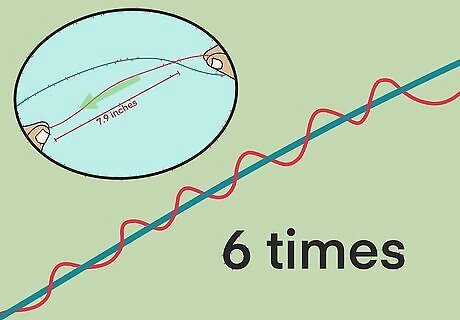
Bring about 7.9 inches (20 cm) of mainline through the overhand knot. This connects the leader line and the mainline and creates a loop. Once you've made a loop near that overhand knot, hold it with your forefinger and thumb. Wrap the loose end of the mainline about 6 times around the leader and put the loose end of the mainline through the loop. For additional security, put the mainline around the leader line twice.
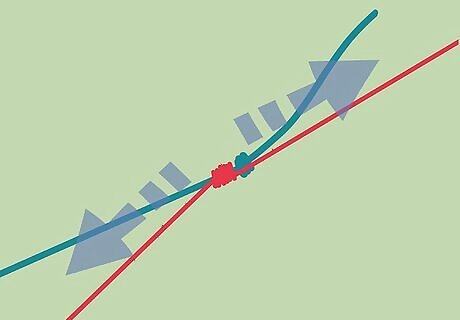
Pull on the mainline behind the overhand knot to secure the connection. Do this gently to remove any slack and bring the coils neatly into position. Then, pull the mainline behind the overhand knot to tighten up the coils. Pull the loose end of the mainline to ensure the coils are tight and then give the overhand knot on the leader an extra pull to make it tighter. The finished knot should look neat and the mainline coils should be close together. This minimizes any chance of slippage.Tip: Before you pull tight to secure the knot, wet it with saliva to get the fit as tight as possible.
Tying the Lure or Hook to the Leader
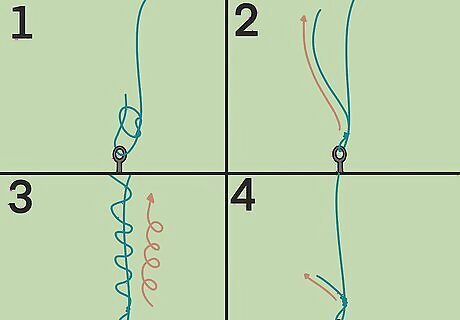
Tie a loop knot so you don't constrain the lure or hook. Make an overhand knot with your leader line and leave 4 inches (10 cm) of the leader line on the side that's going into the lure. Thread the leader line onto the lure and bring the line through the original loop made by the overhand knot. Pull the leader line until the knot is touching the top of the lure. Then, wrap the short end of the leader line around the long end of the line 4 times. Bring the rest of the short end of the line through the loop above the lure and pull tight to secure. This is the most important aspect of tying a lure or hook to the leader. A loop knot allows the bait to have as much action as possible, giving you a better chance to catch fish.
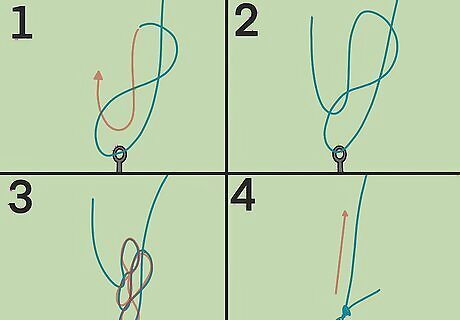
Use a snug knot if the leader and mainline have similar breaking strengths. Thread the leader line through the eye of your hook or lure and twist the leader line behind itself to create a loop. Bring the short end of the leader line through that loop and hold the short end of the line with your right thumb and index finger to create a second loop. The 2 loops should look like a figure-8 or infinity sign. Thread the leader line through that second loop twice by wrapping the line around itself. Pull tight until the loops are gone and the knot is right above the hook. This knot is also known as an “Orvis” knot. It is good to use this knot when your bait doesn't require much action.Tip: This knot has a higher breaking strength than other knots because it generates more friction along the surface area of the hook eye.
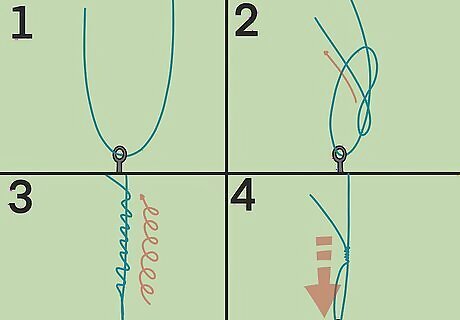
Try a Uni knot for a braided fishing line. Bring the braided line through the eye of the hook twice and pull tight. Make the shorter end of your line 6–8 inches (15–20 cm) and fold half of it back toward the hook to create a loop. Take the rest of the short end of the line and wrap it 10-12 times around the part of the line that makes up the top of the loop. Pull on the line to tighten the loop. It's recommended you bring braided line through the eye of the hook twice because it is slipperier than other line materials. Make sure your braided line never hits the bottom of the eye of the hook. There are ridges at the bottom of the hook's eye that could damage the material.


Comments
0 comment