views
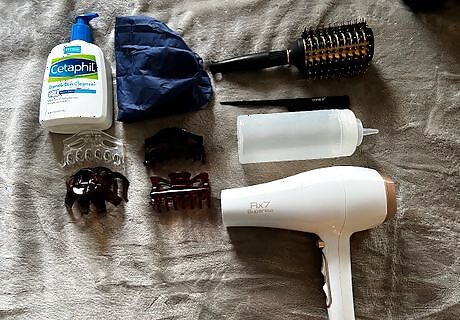
Collect all necessary items for the treatment. When treating lice with Cetaphil, there are a few helpful items that should be used: Several hair sectioning clips Plastic squeeze bottle Large towel or apron Disposable gloves (optional) One 16 ounce bottle of Cetaphil over-the-counter facewash (may use generic store brand; if hair is very long, two bottles may be required) One shower cap Hair dryer Brush suitable for blow drying hair Fine-tooth comb (A fine tooth comb is needed in order to coat every strand. Certain hair types require wider combs, but try to find the smallest teeth possible that will work with your hair.) Shampoo and conditioner
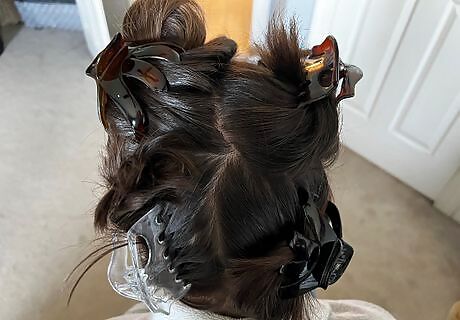
Prepare the supplies and subject. It is important to have all the necessary items on hand before starting the treatment process. Go through the list of items to make sure they are all there. Tie an apron or towel around the subject's shoulders. Cetaphil can be quite messy, so this is important for staying clean when applying the substance. Section the hair off using hair clips. It is recommended to start from the bottom and work to the top of the head. This will ensure that every strand of hair has been thoroughly coated with Cetaphil. If desired, put on a pair of disposable gloves to avoid contact with the Cetaphil and lice. Fill the squeeze bottle with Cetaphil. Once the supplies and the person are prepared, start the treatment process.
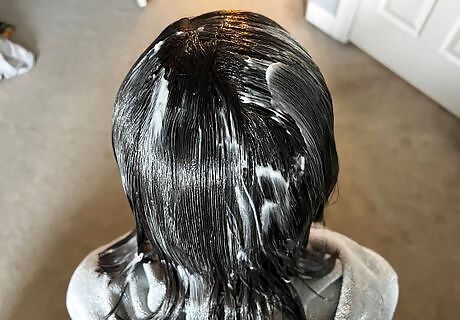
Apply the Cetaphil to the head. Start applying Cetaphil at the base of the head from the squeeze bottle. Apply the tip of the bottle to the scalp and squeeze out a generous amount across the roots of the section you are working with. Use your hands to rub the Cetaphil through the hair. Then use the fine-tooth comb to comb the Cetaphil through the hair. The most important idea is to cover every strand of hair with the substance. You want the hair to be dripping with the Cetaphil. Let down another section of hair from the clip. Continue this saturation process to the top of the head. After completion, check the head one last time for any spots that might have been missed. Comb out any excess Cetaphil once the head has been fully saturated. This will allow the hair to dry more easily.
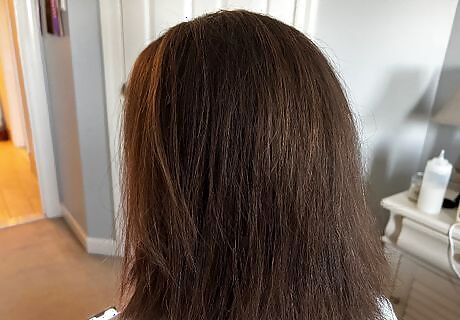
Blow dry the hair until the Cetaphil is completely dry. This step is vital to success in treatment. Blow drying the hair shrink wraps the lice, while the coating clogs their airways and suffocates them. Beware that this is a lengthy part of the process. Because there is so much substance and weight on the hair, expect it to take up to three times as long as normal blow drying. The subject could watch a movie or read a book during this process. If needed, you may take a break from drying the hair, as long as it is fully dried before going to sleep. Sitting under a stationary dryer is also acceptable as long as the hair is thoroughly dried.
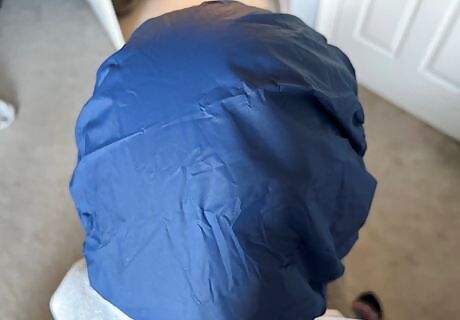
Cover the hair with a shower cap. A shower cap is helpful for keeping the Cetaphil from flaking off onto other items such as blankets, sheets, or clothing. In addition to this, it helps keep the scalp warm and dry as the suffocation process continues.
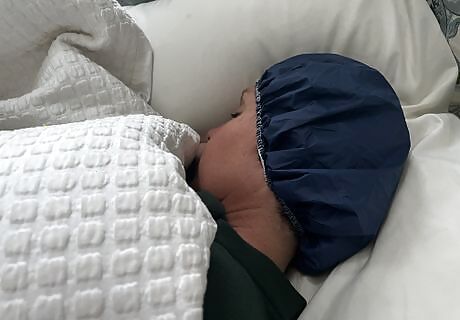
Sleep with the Cetaphil overnight. The lice are not killed immediately upon the application of Cetaphil, as lice can hold their breath for some period of time. Because of this, it is necessary to sleep with the dried mixture over night to ensure the maximum level of treatment. If rinsed too early, some lice could still be alive.
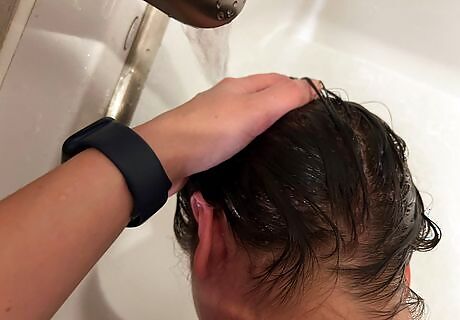
Rinse and wash the Cetaphil from the hair. After waking up, remove the shower cap and rinse the treatment from the subject’s hair. Make sure that all of the Cetaphil comes out. Shampoo and condition the hair to make sure that all the Cetaphil has been removed. Brush and towel dry the hair in preparation for the next step.
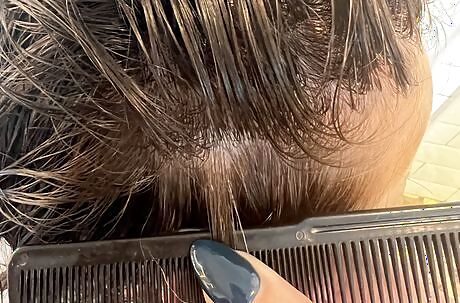
Comb through the hair for nits. After completing the treatment process, it is important to comb out as many nits as possible. Nits are the eggs that have been laid by adult lice. They are most commonly found around the scalp at the root of a hair strand (Please note this step is optional, but may be necessary in a school setting that requires nit free hair to return to class. It is optional because the subsequent treatments will take care of any nits that hatch). If you choose to remove the eggs, take a nit comb (or fine tooth comb) and begin working through the hair. The nits tend to stick to the hair strand so it may take a couple tries before pulling it out. Take a few strands of hair and look at the roots and scalp to find any nits. Depending on how thorough one wants to be, it may take a substantial amount of time.
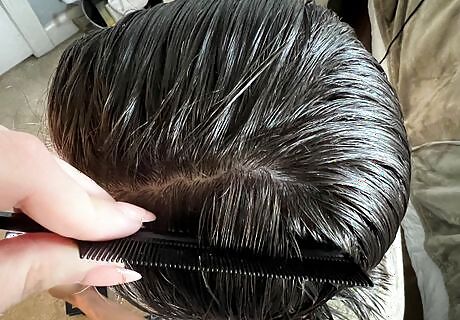
Check the hair for any left-over live lice. It is highly unlikely there will be many, if any, lice left alive. However, it is possible that a couple are still there. It is important to remove them from the head. If any live lice are left after the treatment, the success could be decreased as there is a greater chance for new eggs to be laid.
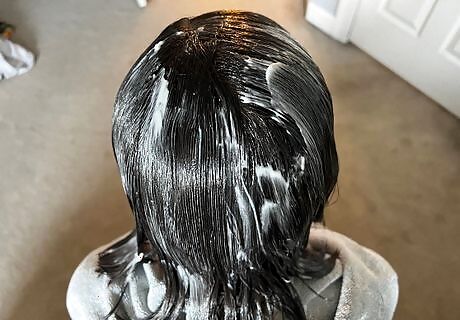
Repeat this process in one week. Any left-over nits from before will have hatched. However, they will not have had a chance to mature into egg-laying lice. It is vital that you do not repeat these steps before or after seven days. It must be an exact week as most eggs have hatched but have not fully developed, and cannot lay new eggs. Repeat the Cetaphil and blow-drying process after one week and the following week after that to ensure any new lice are killed. In other words, you will complete this process a total of three times over the span of three consecutive weeks.


Comments
0 comment