views
Unclogging Drains and Toilets with a Plunger
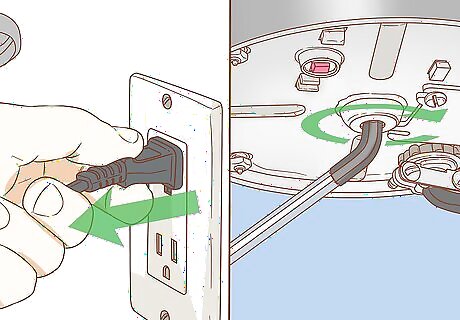
Check the garbage disposal if you're in the kitchen. Before plunging a kitchen sink, see if the clog is in the garbage disposal; if it's not draining on that side, that's your problem. You can plunge that side first to see if it clears the area, but you may need to unplug the garbage disposal and turn the blades manually to clear the disposal. To turn the blades manually, make sure the disposal is unplugged, then insert an Allen wrench into the bottom of the disposal. Turn it clockwise to help get the blades moving. If you have a dishwasher, clamp off the drainage hose right near the disposal. It's a flexible hose, so the clamp will keep the gross water from going into the dishwasher.
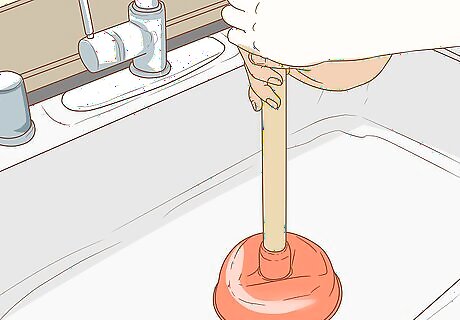
Place the plunger over the drain. Make sure the mouth of the plunger completely covers the hole. This part of the plunger should be making contact with the basin all around the plunger. In a sink or tub, you can rub the edge of the plunger with petroleum jelly to get a better seal. You likely want to keep a dedicated plunger for drains and a separate one for toilets. In the toilet, make sure you're covering the hole in the bottom of the bowl when plunging. Don't use a plunger immediately after using a chemical drain cleaner. You may get serious burns if the chemicals splash on your skin.
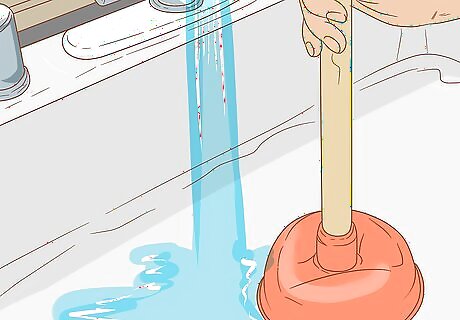
Fill the area with a few inches of water. If you're in the bathtub, shower, or sink, turn on the faucet. In the toilet, remove the tank cover at the top and lift up the rubber flapper to release some water into the toilet bowl. The water will help you get a better seal. When you put the plunger over the drain, move the head of the plunger around so that it fills with water. That way, you push water down the drain instead of air. If you're working on a kitchen sink, use a gloved hand to hold a cloth over the opposite drain. That will make your plunging more effective.
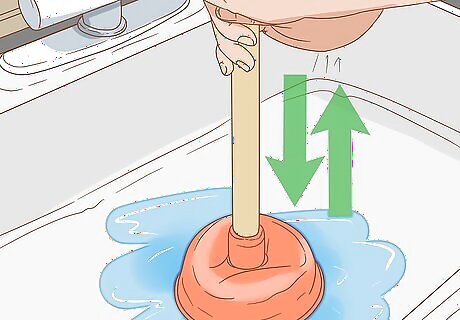
Work the handle of the plunger up and down with force. This movement will create suction and hopefully move the clog. At this point, don't pull so hard that you break the seal. You want the seal to stay in place as you plunge the drain/toilet bowl. If you don't have a plunger, use your toilet brush instead. Stick the brush into the drain so you can push and pull it like you would with a plunger.
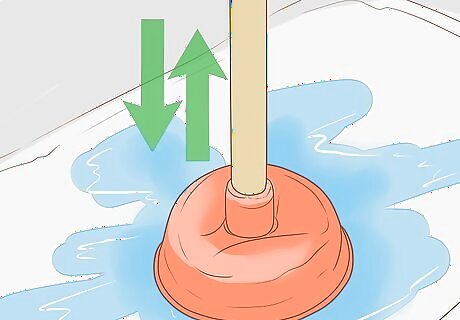
Yank up hard when you hear noises or feel like the pressure is changing. When you think you've mostly got the clog moved, yank up on the plunger quickly, pulling it off the drain to hopefully push the clog down further. It's okay if you're not sure. You can always yank up and then repeat the process of plunging the drain by reapplying the plunger. The final yank may help to move the clog down the drain.
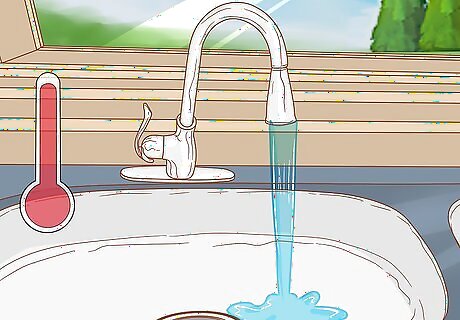
Test the drain and repeat as needed. Turn on the hot water to help clear out any remnants. If the drain is still clogged, you can plunge the sink again to see if it works. Try this process 2-3 times before moving on to another tactic.
Snaking the Drain in a Sink, Tub, or Shower
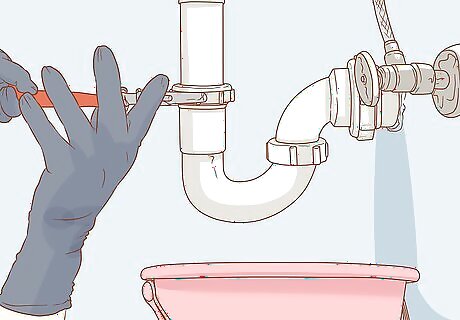
Remove the standing water and the P-trap if you're unclogging a sink. Wear rubber gloves for this process. If you have standing water in the sink, start by scooping it out with a cup and bucket. To find the P-trap, look beneath your sink for a curved pipe attached to the drain. Place a bucket or pan under P-trap to catch any water that comes out. To remove the trap, use a pair of slip-joint pliers to take off the slip nuts connecting the pipes. If your pipes are plastic, be careful not to snap them. If the pipes are metal, the slip nuts may be difficult to remove. Remove the slip nut between the P-trap and the trap arm, the pipe that leads into the wall first. Then grab the P-trap and pull it away from the other pipes.
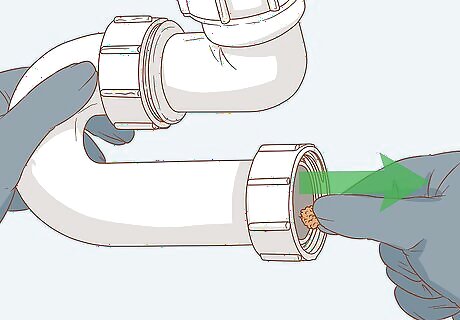
Clear clogs from the P-trap if your drain has one. If your P-trap is clogged, pull the clog out with your gloved fingers. Look in the trap arm, too, and see if it has a clog. Remove that clog as well if it has one. Rinse the P-trap out with water and reattach it. If the P-trap wasn't the source of the clog, leave it off to access the drain. Now is a good time to replace any of these joints or pipes if they look thin or broken. You'll save yourself trouble in the future.
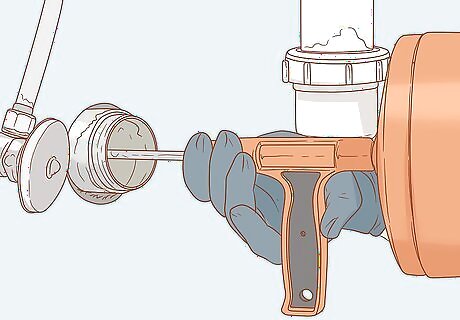
Insert the snake into whatever type of drain you're auguring. Turn the set screw to the left at the tip of the snake so you can feed out the end of it. Grab the end of the snake and pull it out about 0.5 feet (15 cm). Push the end of the snake into the drain. With a sink, you can run the snake into the drain stub-out, which is an open pipe on the back wall under the sink. In a tub, take off the overflow plate, which is the hole between the drain and the faucet. Feed the snake into that hole. In a shower, remove any drain caps and run it down the drain.
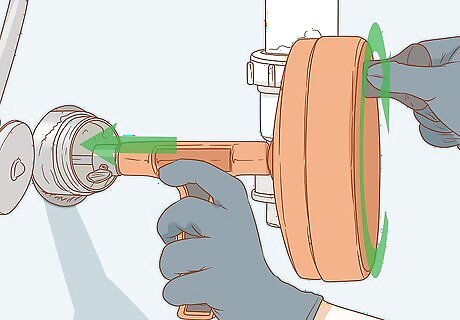
Feed the snake into the drain until it stops. Use the hand crank at the back of the snake to feed the snake out. Eventually, you'll feel it stop, which means you've hit the clog. Crank the snake until you feel the tip of the snake just push through the obstruction. The tension in the cable will drop when this happens. The snake will go around corners as needed.
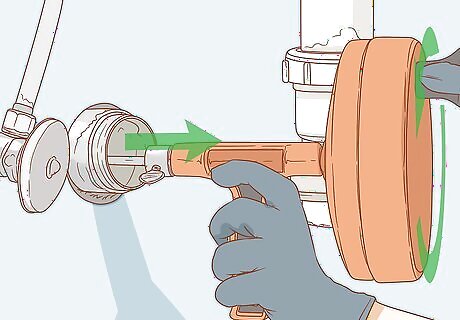
Turn the crank on the snake counterclockwise to pull the snake out of the drain. Once you've pushed through the clog, the end of the snake will attach itself to it. As you pull the snake out, you'll also pull out the clog. The cable will be filthy so make sure you have rags and a bucket handy to clean up the mess.
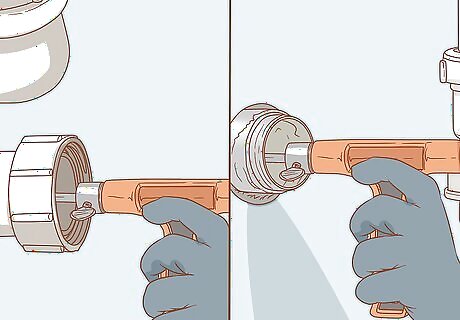
Repeat this process until you don't feel a clog anymore. Keep snaking the drain and pulling out the clog until you don't hit clogs anymore. When you're sure the clog is gone, reattach the drain traps and flush the drain with warm water to clean out any excess debris. You can also flush the drain using baking soda and vinegar to keep your drain smelling fresh and remove any remaining build up. Pour 0.5 cup (90 g) of baking soda down the drain followed by 0.5 cups (120 mL) of white vinegar. Plug the drain (or both drains if you're working in a kitchen sink with 2 drains) and wait a few minutes before flushing with warm water.
Using Commercial Clog Removers on Sinks and Tubs
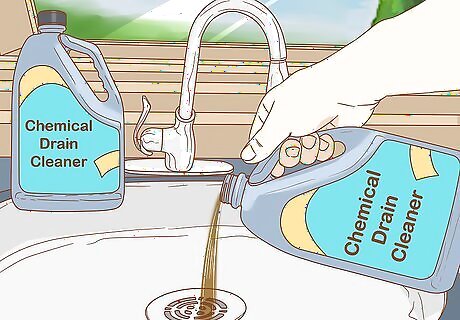
Pour a chemical drain cleaner down the drain if it's draining slowly. You can find this type of drain cleaner at most home improvement stores and big box stores. Read the directions before using the cleaner. Typically, though, you pour the bottle down the drain and let it work to clear the clog. Don't use a drain cleaner on a clog that's not draining at all. Make sure you buy a drain cleaner that is compatible with your system. If you have a septic tank, you will need to find drain cleaner that is suitable for septic systems. Read the labels to find an appropriate cleaner. If you're worried about a drain cleaner hurting your pipes, reach for an enzymatic cleaner instead of a chemical one. It will be labeled as biodegradable. They won't declog the drain as fast, but they'll treat your pipes better.
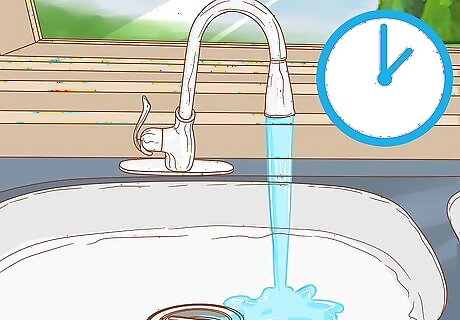
Flush the drain out with water after the appropriate amount of time. Most drain cleaners only recommend leaving them in there a certain amount of time. Leaving one in there for longer could lead to damaged pipes. Keep an eye on the time and rinse it out when it suggests. Don't try to plunge a drain after using a chemical declogger, as you could be splashed by the chemical.
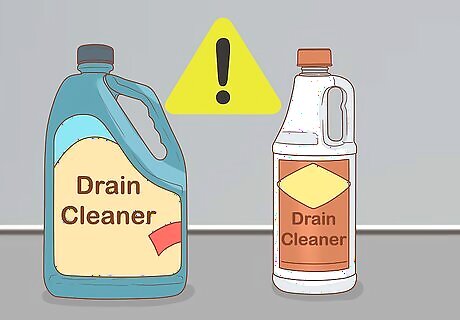
Never mix more than one type of declogger. Different decloggers make use of different chemicals. If you mix them, you could create toxic fumes that could be very dangerous to you. It could also create holes in your pipes, making the problem worse. Also, don't pour any other chemicals down the drain on top of a drain cleaner and clog. Even something like bleach could cause toxic fumes.
Adding Baking Soda and Vinegar to Bathtubs and Sinks
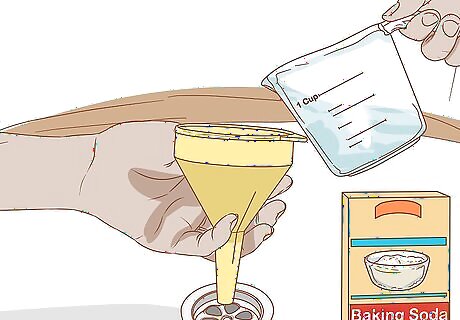
Tip 1 cup (180 g) of baking soda into a dry drain. The amount is approximate but make sure you get at least that much. If you need to, use a funnel to make sure it goes in the drain. This works best in a dry sink and drain. You can wipe out the sink with a towel.
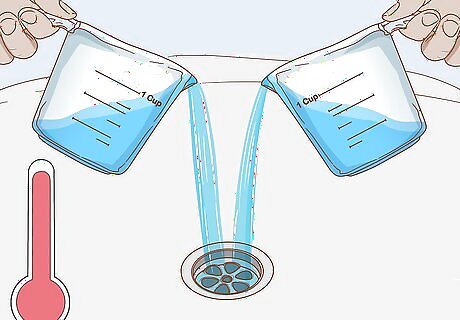
Pour 2 cups (470 mL) of boiling hot water down the drain. The hot water will help the baking soda reach the clog. Plus, it will help break up the clog, particularly if it's grease- or fat-based. You can use more than 2 cups (470 mL) if it seems to be helping. Wait a few minutes before moving on.
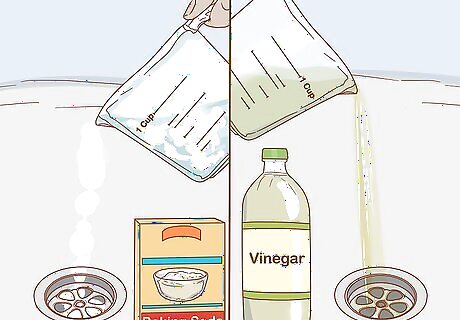
Add 1 more cup (180 g) of baking soda, then 1 cup (240 mL) of vinegar. Pour the baking soda down the drain. As soon as you pour in the vinegar, cover the drain with a plug so that the foam goes down instead of coming up. You'll hear gurgling noises from the vinegar chemically reacting with the baking soda. Use plain distilled white vinegar.
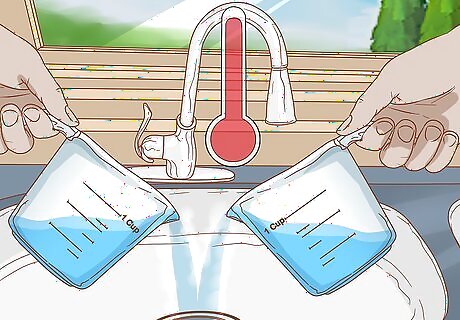
Pour more boiling water down the drain to clear it out. Once you hear the gurgling stop, pull the plug out. Add another 2 to 4 cups (470 to 950 mL) of boiling water. The water will clear out the debris, along with the baking soda and vinegar.
Working on a Toilet with a Closet Augur
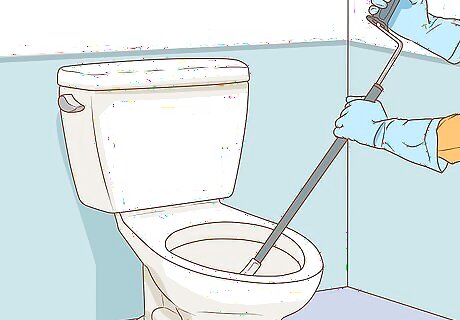
Push the end of the auger tip into the drain facing up. The closet auger will have a long stick-like handle with the snake coil coming out of one end. Put the snake end of the auger into the toilet, pushing it into the drain. The curve should face the drain, whether yours drains to the front or back.
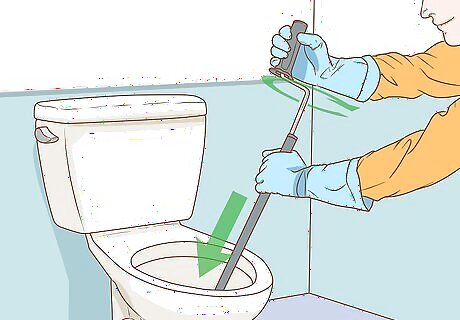
Crank the handle to feed the snake into the drain. Grab hold of the handle just under the crank with one hand. Use your other hand to turn the crank to the right. That will begin to feed the snake into the toilet. You'll be able to feel the snake going around the curves in the toilet drain. Crank the snake until it is completely unspooled.
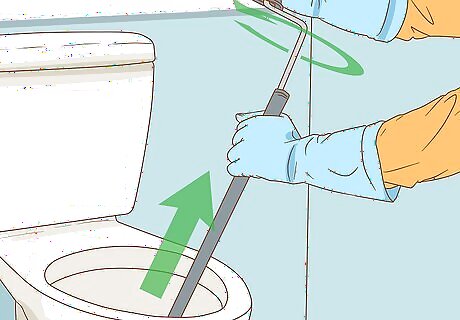
Retract the snake when you're done cranking. The augur will be completely unspooled at about 3 feet (0.91 m). Turn the handle the other way to spool the snake back into the handle. The augur should break up or pull out any clogs. Have a bucket and rags ready to get rid of any mess that comes up the drain.
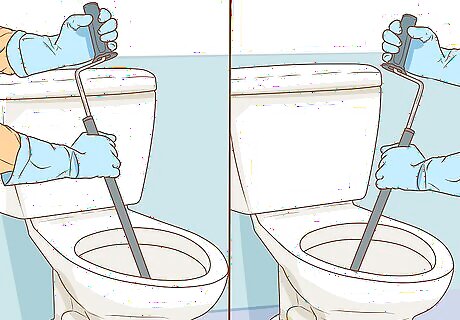
Repeat to the left and right if it's still blocked. Check to see if water will go down the toilet. Lift the flapper bulb inside the tank at the top to let some water into the bowl. If the water won't drain, try moving the snake slightly to the left in the drain and running it again. Do the same to the right.


Comments
0 comment