
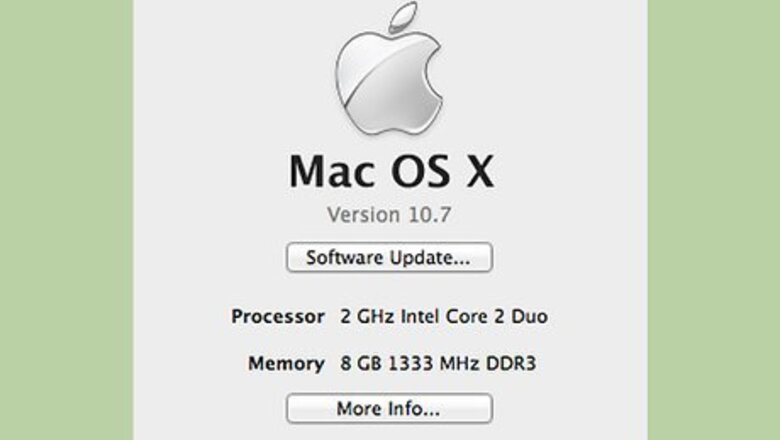
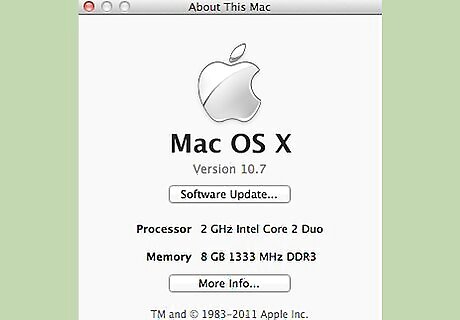
Make sure your computer is compatible with OS X Mavericks. The model must have at least 2 GB of memory, 8 GB of hard disk space, Mac OS X Snow Leopard 10.6.8 or higher and must be one of these models: iMac (Mid 2007 or newer) MacBook (Late 2008 Aluminium, or Early 2009 or newer) MacBook Pro (Late 2007 or newer) MacBook Air (Late 2008 or newer) Mac Mini (Early 2009 or newer) Mac Pro (Early 2008 or newer) Xserve (Early 2009)
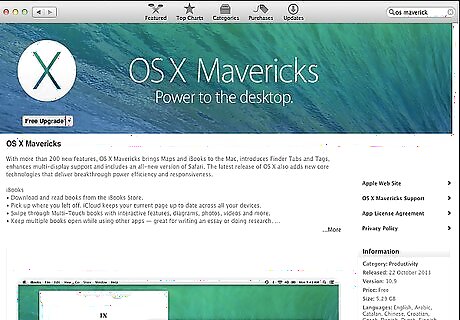
Go to the App Store. Search for "OS X Mavericks" and click on the first result that appears and hit the download button. OS X Mavericks is the first free software update for Macs from Apple, so the download should be free. Enter your password and wait for the download to finish.
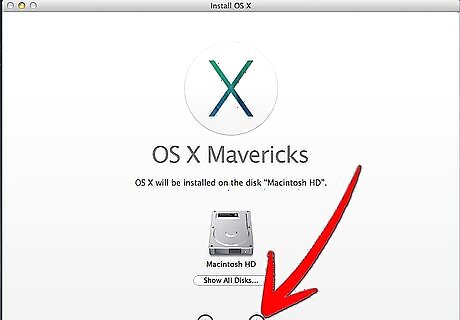
Install the software. Your computer will tell you that it needs to shutdown to install the update; click "Yes". Select your Hard Disk as the location to where you want Mavericks to be installed. Then an X in a circle should come up and it will start installing Mavericks onto your computer.

Wait for the installation to be complete. Now go to your User and open it; you now have OS X Mavericks running on your computer!


Comments
0 comment