
Setting Up your Store
Open Shopify on your iPhone or iPad. It’s the green money bag icon typically found on the home screen. If you haven’t yet installed Shopify, download it now from the App Store.
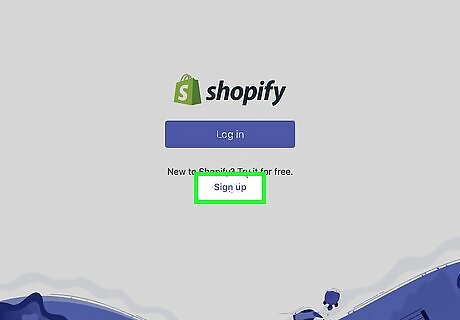
Create an account. Tap Sign up to create your account. You’ll need to provide your email address, create a password, and specify a name for your store. Once you complete the process, you’ll arrive to the Home tab. If you already have a Shopify account, tap Log in to sign in now. This brings you to the Home tab.
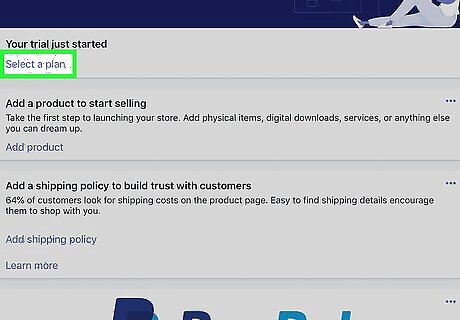
Tap Select a plan to select a Shopify plan. Shopify comes with a 14-day trial period, which is free (no credit card required). Plans range from $29 to $299 per month US. Prices vary by location. Tap on a plan to learn about what it offers, then tap Choose this plan to sign up.
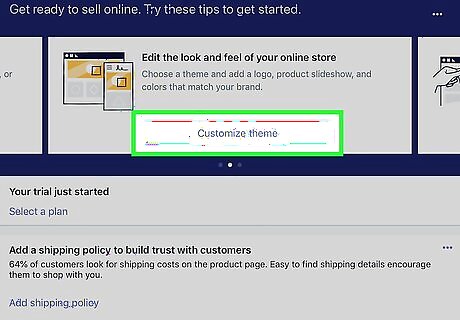
Tap Customize theme to choose a look for your store. This section allows you to select or upload themes for the different sections of your store. There are even some free options.
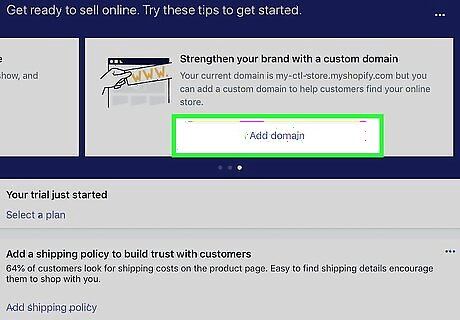
Tap Add domain to link your domain to your store. Tap Buy new domain to purchase a brand new domain through Shopify. Tap Connect existing domain to learn how to redirect your existing domain to your store.

Set up your payment method. Here’s how to get started accepting payments: Tap the Store icon at the bottom-right corner of the screen. Tap Payments under “Store Settings.” Tap Add a provider under “Accept credit cards.” Tap Shopify Payments. Tap Continue. Tap Complete account setup. Enter your bank details. Tap Complete account setup.
Managing Products

Tap the Products tab. It’s the third icon at the bottom of the screen. This is where you can add and manage the things you sell.
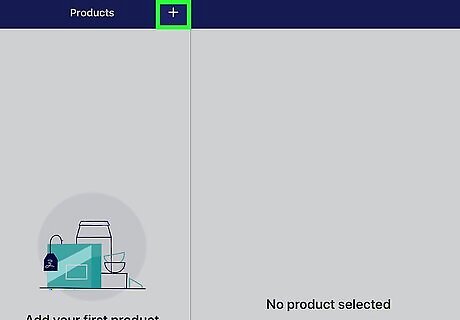
Tap +. It’s at the top-right corner of the screen.
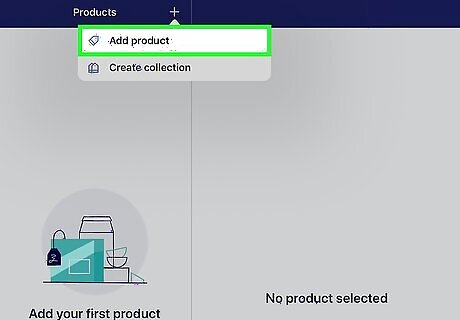
Tap Add product.
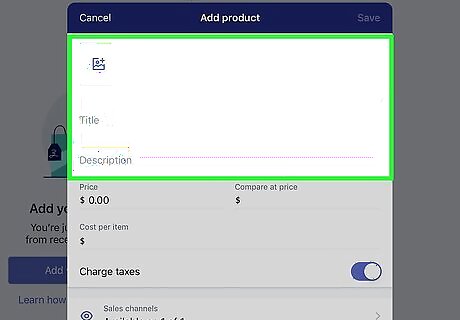
Enter your product’s name and details. You’ll want to include a description, images, price, and shipping information at the minimum.
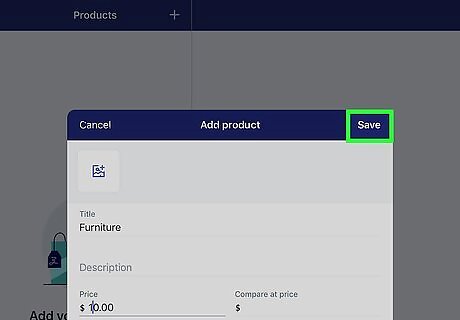
Tap Save. This product is now added to the store. To save time when adding new products, you can duplicate existing products. To do this in the Products tab, tap the item you want to duplicate, tap ⋯ at the top-right corner, then tap Duplicate Product. Modify the product as needed on this screen.

Edit an existing product. To change the details of the product (including its description, price, and photo), tap the item on the Products tab, then edit any details you wish. Tap Save when you’re finished.
Managing Orders
Tap the Orders tab. It’s the second icon at the bottom of Shopify. This is where you’ll find the status of your orders.
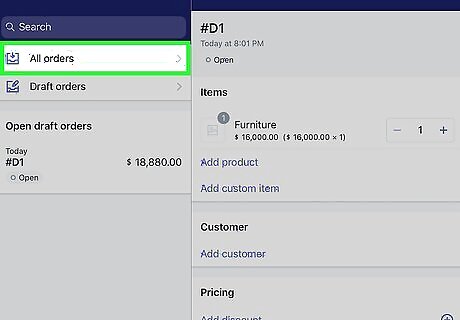
Tap View all next to “Orders to fulfill” to see all orders.
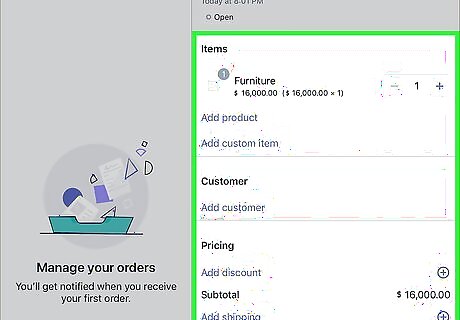
Fulfill an order. If you haven’t yet fulfilled an order, it’ll say “Unfulfilled.” Here’s how to fulfill it: Tap the order. A list of items in the order will appear. Tap Fulfill item(s). Select the items you’re fulfilling. Tap Continue. You’ll have the option to add a tracking number, scan a barcode, and enter additional details. Tap Mark fulfilled.
Managing Customers

Tap the Store tab. It’s at the bottom-right corner of the screen. This is where you can add, manage, and contact the people who shop at your store. When someone makes a purchase, their information will appear in this list automatically.
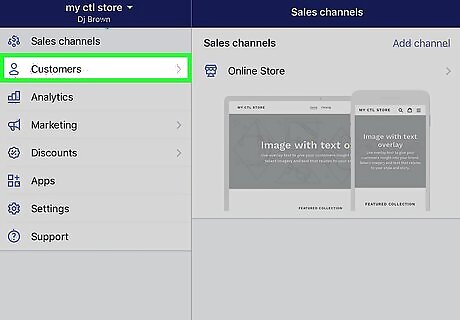
Add a customer. Adding customer profiles is a great way to keep track of your customers’ purchases. Here’s how to do it: Tap Customers. Tap + Enter the customer’s information, such as their name, phone number, and email address. Enable the options that apply to your customer. Tap Save.

Edit a customer. To update a customer’s information, tap their name on the Customers screen, make your edits, then tap Save.
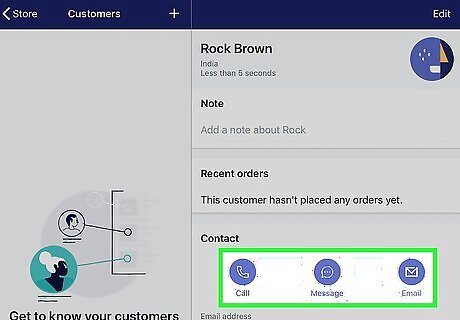
Contact a customer. Tap the customer, tap their email address, then write your message. When you’re finished, tap Review email to check it over, then tap Send notification.
Creating Discount Codes

Tap the Store tab. It’s at the bottom-right corner of Shopify.
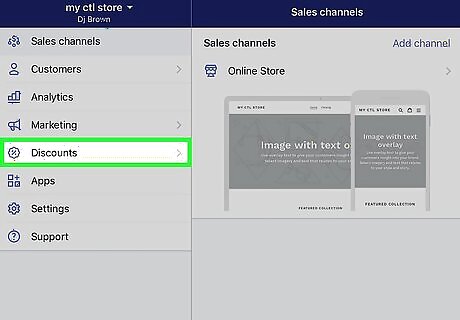
Tap Discounts.
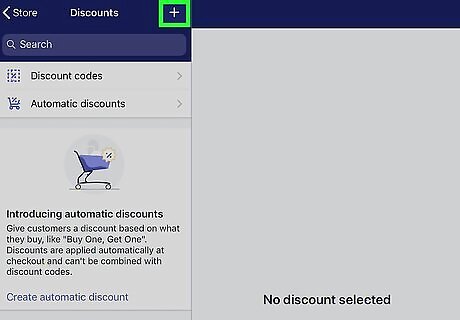
Tap +. This creates a new discount.
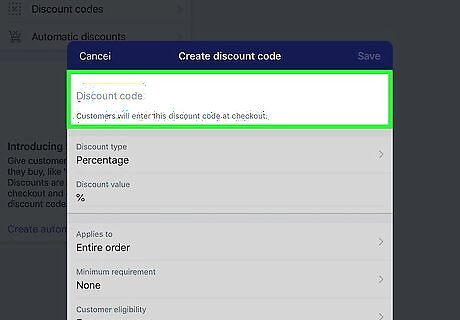
Enter a discount code. This is the code customers will need to type to get the discount. To select a random code, tap Generate code.
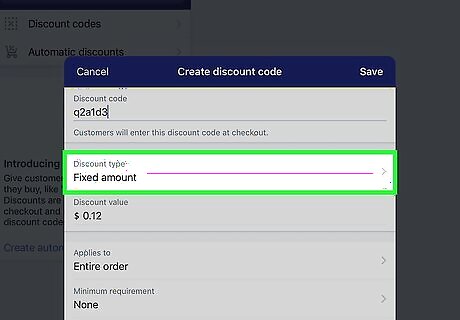
Select the discount amount. To set a percentage off, tap Percentage under “Discount type,” then select the desired percentage.
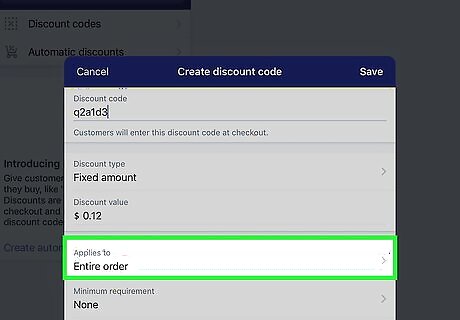
Set your discount preferences. Scroll down and go through the options to ensure that the discount only applies to the items it should. Tap Usage Limits to set how many times this discount can be used. Tap Active dates to set a date range for which the discount will be active.
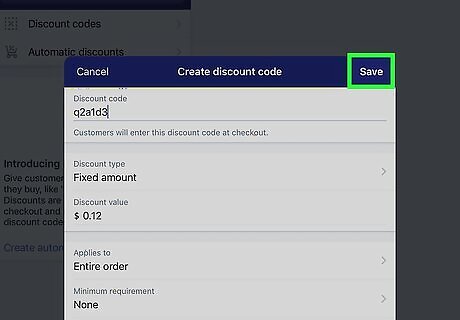
Tap Save. The discount code is now active for the selected dates.
Check Your Store’s Analytics

Tap the Store icon. It’s at the bottom-right corner of the screen. Shopify keeps track of various analytics pertaining to your store, including visits and sales reports. You can always check them out in the app.
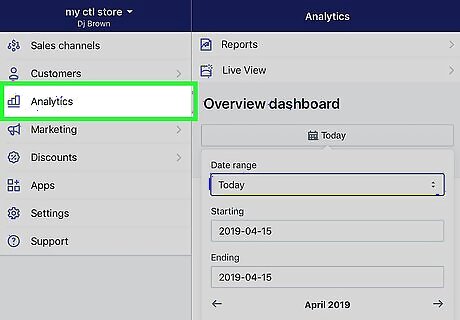
Tap Analytics. This opens the overview dashboard, which shows visitor information for the current date.
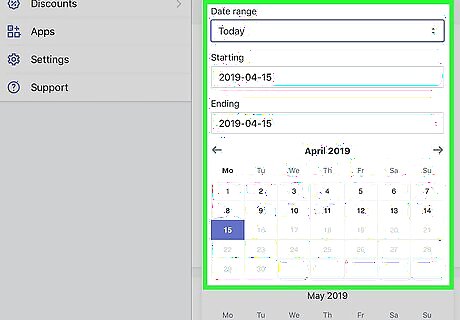
Select a date range. Tap Date to select the dates for which you want to see data. The dashboard will update with an overview of the selected dates.
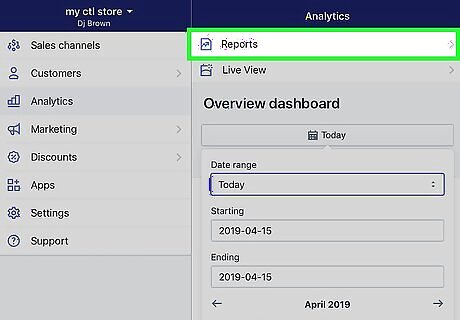
View your reports. On the Analytics tab, tap Reports to see a list of report types. To check sales reports for certain dates, tap Show All under “Sales,” then select your desired report. To see customer reports, select the type of report you want to see under the “Customers” header.
Using Shopify Apps

Tap the Store tab. It’s at the bottom-right corner of the screen. Apps should be added from the Shopify App Store when you’re using a computer.
Tap Apps. If you’ve installed any Shopify apps, they’ll appear here.
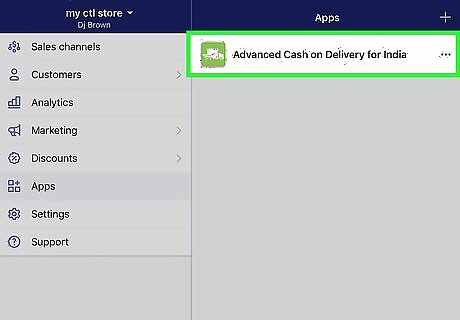
Tap an app to open it.

View an app’s options. Once you have the app open, tap ⋯ at the top-right corner of the screen to edit its details.
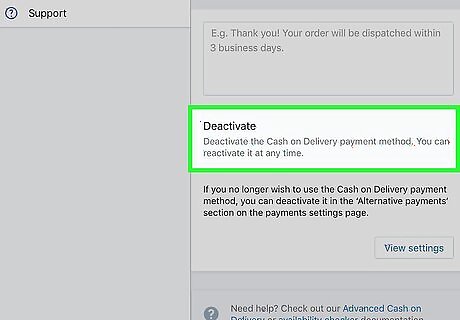
Remove an app. To delete an app from Shopify, swipe the app to the left in the App list, then tap Remove.
Managing your Store’s Settings and Staff

Tap the Store tab. It’s at the bottom-right corner of the screen.
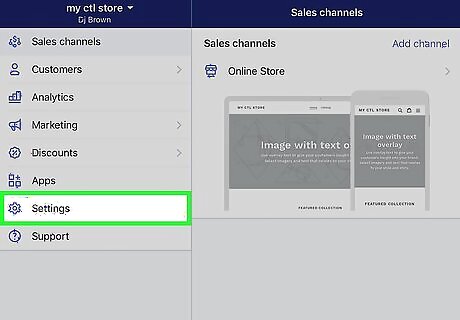
Tap Settings. This displays a list of options you can control from your phone or tablet.
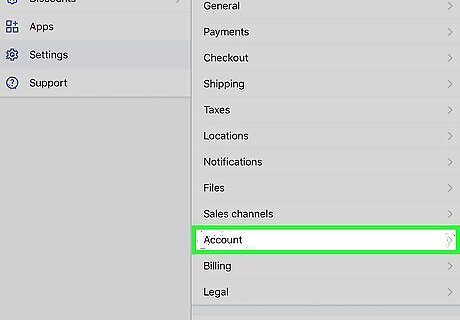
Create a staff account. Here’s how: Tap Account on the Settings screen. Tap Accounts and permissions under “Staff accounts.” Enter the details for the staff member, including their email address. Tap Send invite. The person will then tap or click the link to complete the setup process. To manage the account after it’s set up, tap the staff member’s name on this page, then select your desired option.
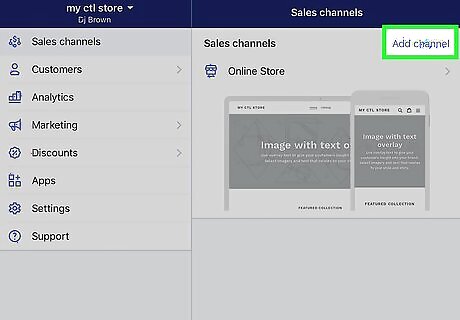
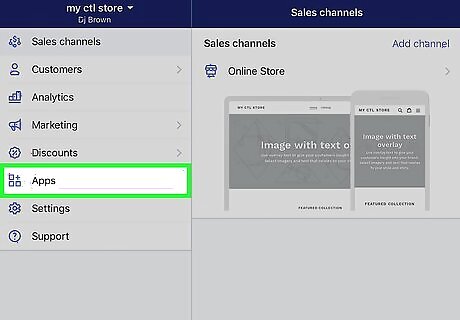
Link another sales channel to your store. If you sell your products elsewhere, you can link them to Shopify. Here’s how: Tap the Store tab. Tap Add channel under “Sales Channel.” Select the channel. Tap Add channel.


Comments
0 comment