

To change the default paper size for printing, click the Apple menu → click System Preferences → click Printers & Scanners → click the Default Paper Size menu and choose your new size.
- To change the default paper printing size, go to "System Settings/Preferences > Printers & Scanners > Default Paper Size" and make your changes.
- If you want to make a custom page size for something you're printing, go to "File > Print > Show Details > Paper size > Manage Custom Sizes > +" and create the new page size.
- The default paper size will automatically change all your pages to that size while adding a custom page size in your app will only print that custom sizing once.
Setting a Paper Size
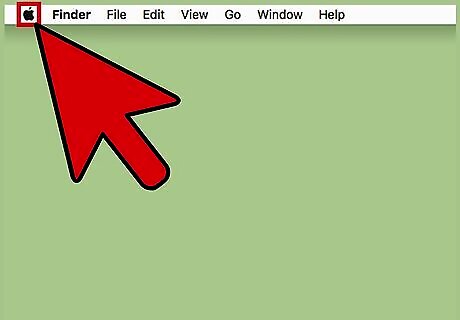
Click the Apple menu.
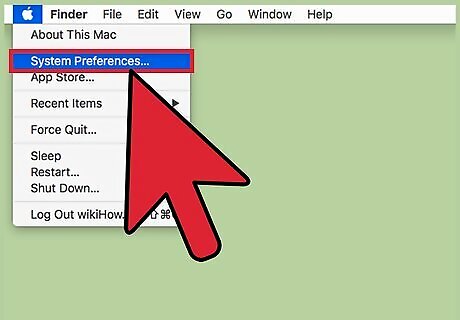
Click System Preferences. If a submenu opens instead, click the Show All button at the top of the window.
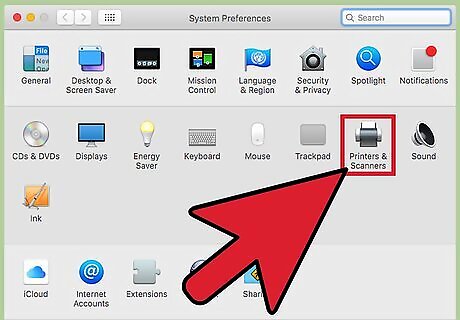
Click Printers & Scanners.
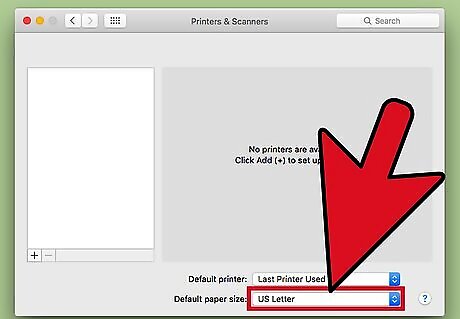
Click the Default Paper Size menu.
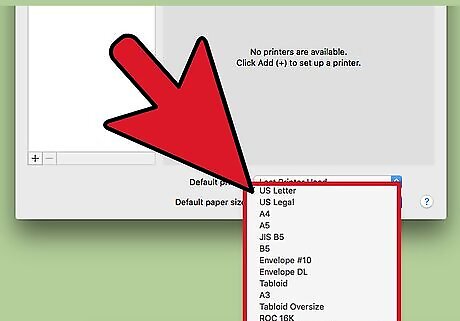
Click the paper size that you want to set as default.
Creating a Custom Paper Size
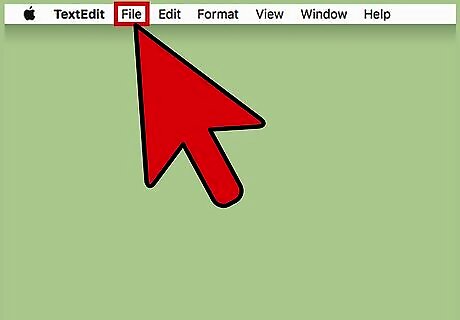
Click the File menu in any app that can print. You'll need to open the system Print window to set a custom paper size.
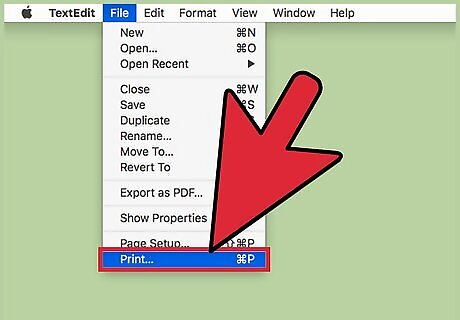
Click Print.
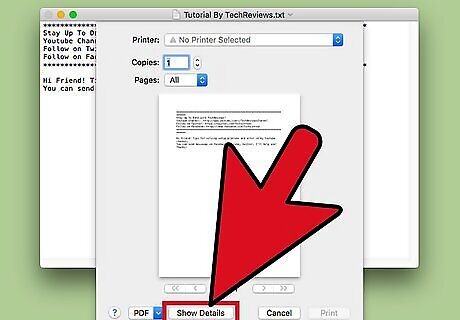
Click Show Details.

Click the Paper Size menu.

Click Manage Custom Sizes.
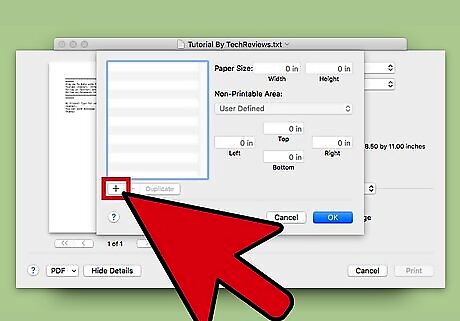
Click the + button.
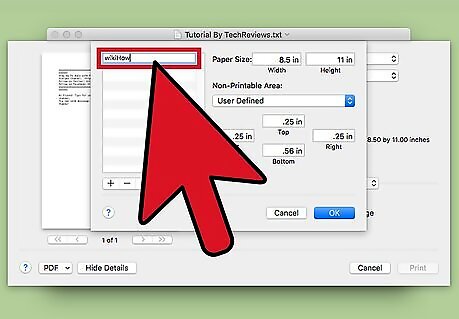
Type a name for the custom size.
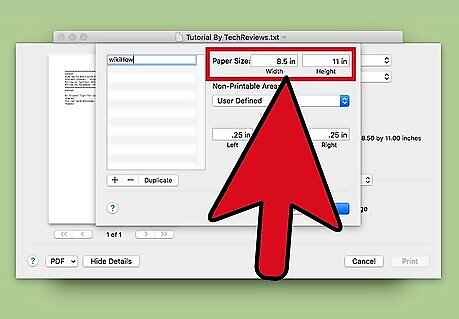
Type the paper dimensions.
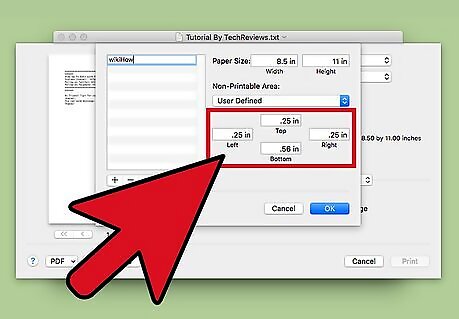
Type the non-printable area dimensions.
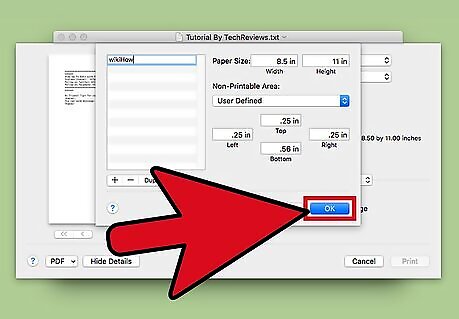
Click OK.
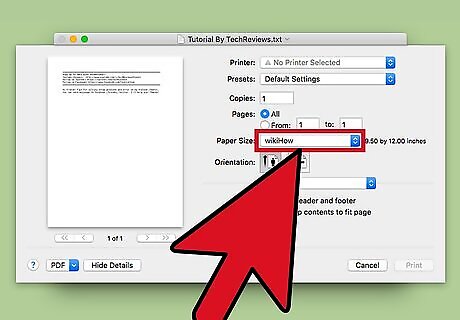
Select your new size using the method above. Your new custom size will appear at the bottom of the Default Paper Size menu.


Comments
0 comment