views
If you’re looking for how to adjust soft-close hinges on cabinets, we’ve got you covered!
- First, find the adjustment holes on the side of the hinge near the top. Push a nail or the metal tension rod that came with the hinge into the rightmost hole.
- Push the rod to the left and pull out the metal tension pin in the rightmost hole with a pair of needlenose pliers.
- Insert the pin in the next hole to the right to increase tension on the hinge or in the hole to the left to reduce the tension.
- Repeat the steps on the other hinges on your door. Open the door to make sure it closes completely without slamming.
Repositioning the Tension Pins
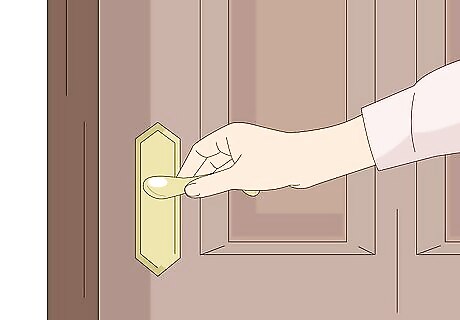
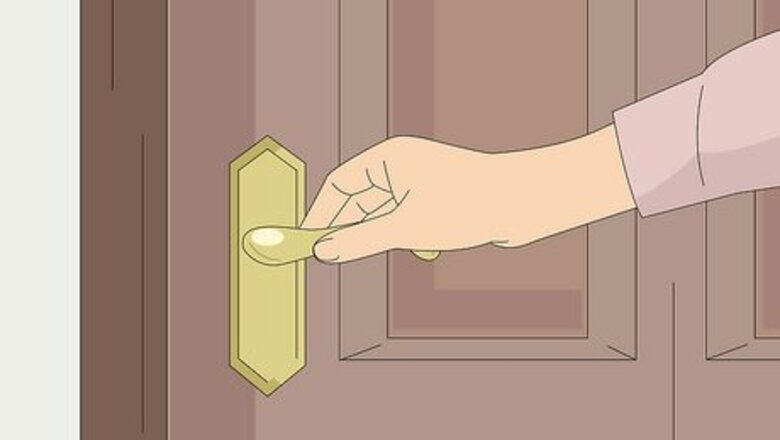
Shut the door so you don’t damage the hinges. Close your door completely so it’s latched closed. Lock the door if you’re able to so no one accidentally opens it while you’re adjusting the hinges. Otherwise, just let other people know that you’re making adjustments so they avoid using the door. Install the hinges before you make your adjustments since it can be difficult to put them in after changing the tension.
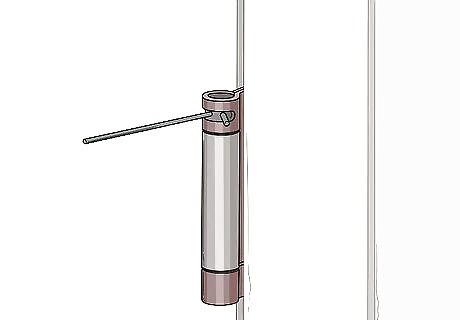
Insert a tension rod or nail into the rightmost hole on hinge's side. Self-closing hinges come with a small metal tension rod for making adjustments, but a nail will work if you don’t have the rod anymore. Look on the side of the hinge near the top for a horizontal adjustment slot that has a line of holes inside. Find the hole that’s furthest to the right in the slot, and push the rod into it. If you only see one hole on the side of the hinge, check the top of the hinge for a hex-shaped hole. Insert a hex wrench into the top hole instead of the hole on the side.
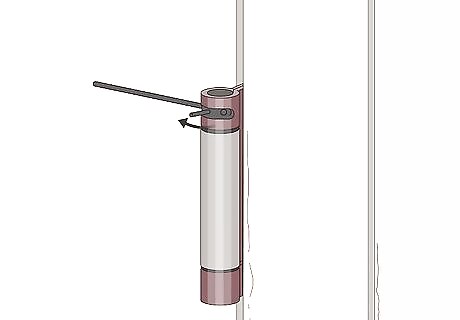
Push the rod to the left to access the tension pin. Push the rod or nail clockwise around the hinge until it touches the left side of the adjustment slot. As you turn the rod, look for the metal tension pin inside one of the holes on the right side of the slot. Keep holding the rod against the left side of the slot so it doesn’t snap back. If you just installed the hinges, they won’t have tension pins put in yet. Check the packaging that your hinges came in for the tension pins. If your hinge didn’t come with any, get replacement pins. If you’re using a hex wrench, turn it clockwise to access the tension pin. Wear work gloves or hold the tension rod with a pair of needlenose pliers if it hurts to hold it with your bare hands.
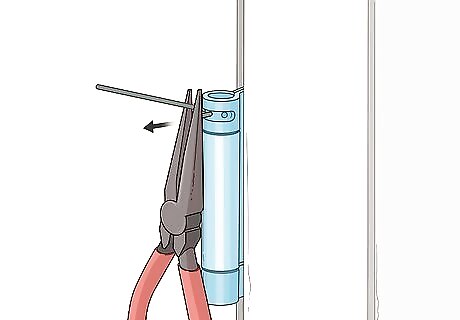
Remove the tension pin with needlenose pliers. While you’re holding the tension rod against the left side of the slot, grip the end of the tension pin with a pair of needlenose pliers. Pull the pin straight out from the hinge. Keep gripping the pin with the pliers since you’ll reinsert it in a different hole right away. If you don’t want your door to automatically close anymore, taking the tension pins out of the hinges will completely disengage them.
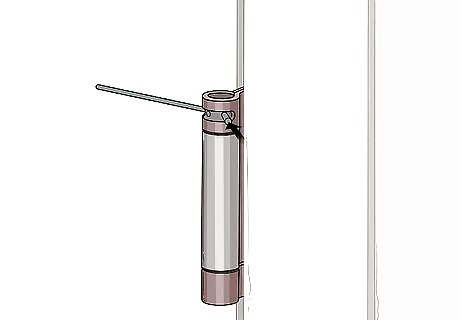
Move the pin in the next hole to the right to make the door close faster. Keep the tension rod against the left side and locate the hole to the right of the pin’s original position. Slide the pin into the hole and push it in until it’s flush with the edge of the adjustment slot. Slowly move the tension rod counterclockwise so the pin presses against the right side of the slot. Only adjust the hinge by 1 hole at a time so you don’t add too much tension at once. If this is the first time you’re installing the tension pins, try placing it in the first hole after the tension rod to get started. You’ll always be able to increase the tension later on.
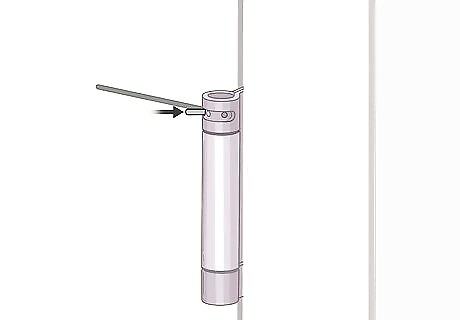
Place the pin left of its original position to make the door shut slower. If your hinge closes too fast, find the hole just to the left of where the tension pin was originally located. Put the pin into the hole as far as possible until it’s flush. Then move the tension rod to the right to secure the pin in place. If the tension rod is in the hole where you want to insert the pin, start by reinserting the pin in its original position and move the tension rod to the right. Pull the tension rod out and move it over to the next hole to its left. Then, push the rod to the left so you’re able to take out and move the pin. You can't reduce tension any lower if you just installed new hinges without pins. Hinges without pins won't have any tension and work like standard hinges.
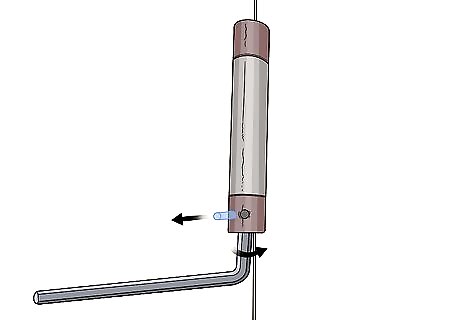
Change the position of the pins on the other spring hinges on your door. If your door has 3 hinges total, usually the middle and bottom hinges are self-closing. For 4-hinged doors, the 2 middle hinges are spring-loaded. Repeat the process you just did on the first hinge by inserting the tension rod and removing the pin. Insert the pin into the same hole that you did as the first self-closing hinge so they have the same tension levels.
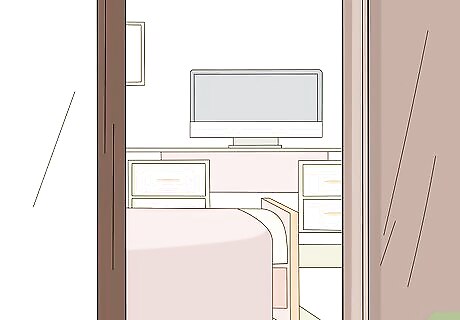
Open the door to test if it closes completely without slamming. Pull the door open as far as possible and let go of it. The tension on the springs inside the hinges will make the door move back toward the frame. If the door closes but doesn’t latch completely shut, then move the pins 1 more hole to the right to increase the tension. If the door closes too quickly or slams shut, then move the pins 1 hole to the left to loosen the hinges. If you want the door to open 180 degrees, then avoid going past the third hole. If the door only opens to a 90-degree angle, then avoid going past the fourth hole. Putting the pin any further could cause your door to slam and damage the springs inside the self-closing hinges.
Changing Tension with a Hex Wrench
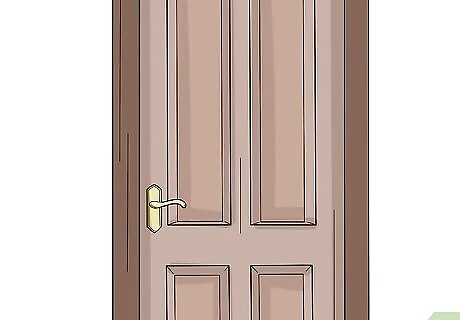
Close the door completely. Stand on the side of the door where you’re able to access the hinges. Shut your door so it latches, and lock it if you can to ensure no one opens it while you’re working. If you can’t lock the door, then tell other people in your home to avoid using the door while you’re making your adjustments. Avoid working on your hinges while the door is open since they will have tension and could get damaged.
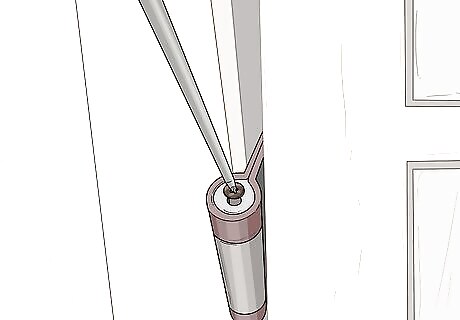
Unscrew the locking screw from the top of the hinge. Check the top of the hinge for a locking screw, which protects the hinge’s tension from easily being tampered with. If you see a screw, insert a screwdriver and rotate it counterclockwise to loosen it. Set the screw aside in a place where you won’t lose it. Some self-closing door hinges only have a hex-shaped hole on top without a screw. If you see a hole but no screw, just skip this step. If you don’t see a locking screw on top, check the bottom of the hinge since it may have been installed upside-down.
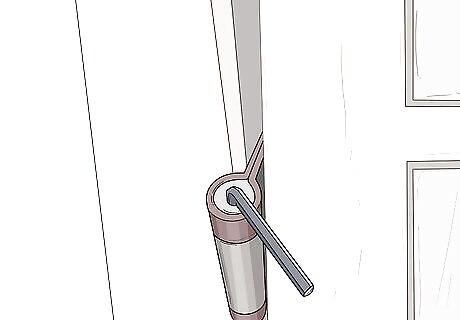
Insert a hex wrench into the hole on top of the hinge. Push the short end of a hex wrench into the top of the hinge. If the wrench freely spins inside the hole, rotate it and push down until it clicks into place. Keep the long end of the wrench pointed at a 45-degree angle to the door so you have a full range of motion when you’re making your adjustments. Many self-closing hinges come with a hex wrench when you buy them.
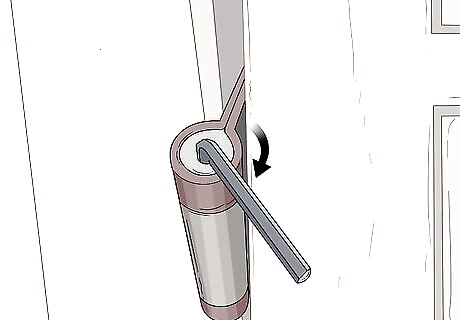
Turn the wrench clockwise by 1 click to make the door close faster. Press the wrench down firmly to engage the locking mechanism inside the hinge. Rotate the wrench a quarter-turn clockwise until you hear it click into the new position. Only adjust the hinge by 1 position at a time so you don’t overtighten or break the spring inside. If the hinge doesn’t rotate any further clockwise, then the hinge already has the maximum amount of tension. If your door still doesn’t close, then you may need to replace one of the other hinges with a self-closing one.
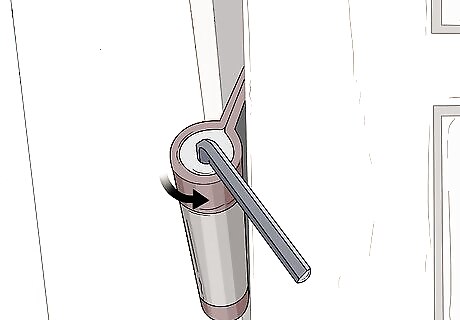
Rotate the wrench counterclockwise if the door slams closed. Push down on the wrench so the locking mechanism in the hinge rotates freely. Move the long arm of the wrench counterclockwise slowly until you hear it click into the next position, which is usually a quarter-turn. Lift the wrench up to secure the locking mechanism. If the long arm of the wrench bumps into the door or jamb when you turn it, pull the wrench out of the hole and reposition the handle.Tip: If you want to completely disengage the hinge so it doesn’t automatically close, turn the locking mechanism counterclockwise as far as possible.
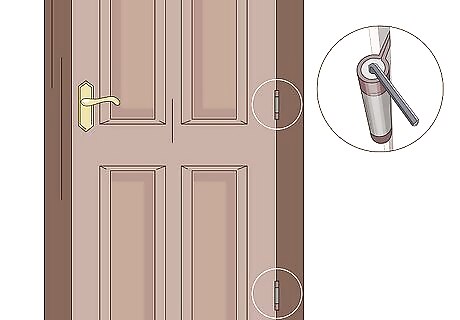
Adjust the other self-closing hinges on the door to the same tension. Check for other self-closing hinges on your door, which are usually the bottom 2 or middle 2 hinges. If you tightened the first hinge, turn the other hinges clockwise by the same amount. Otherwise, turn the wrench counterclockwise to relieve tension from the other hinges.
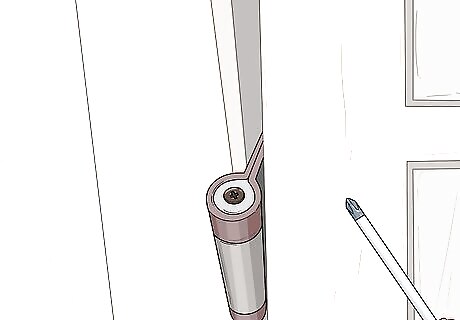
Open the door to test if it closes without slamming. Pull the door open as far as possible and let go of it. Pay attention to how fast the door closes and if it latches shut. If it closes quickly and slams shut, loosen the tension in the hinges by 1 click until it closes by itself quietly. If the door doesn’t close far enough to latch, then tighten the hinge by 1 more position. Only test the door after adjusting both hinges since you could damage or break them if they’re mismatched.
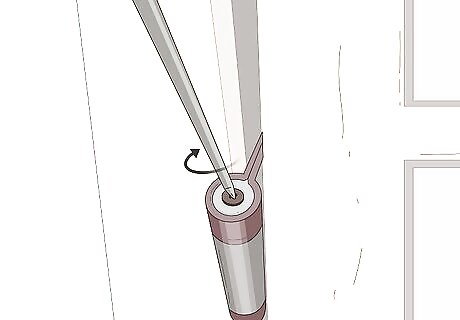
Reinstall the locking screws on the hinges. Place the screws back inside the holes on top of the hinges. Turn them clockwise with a screwdriver until the heads are flush with the top edge.


Comments
0 comment