views
- Put chopped citrus peels, lukewarm water, brown sugar, and yeast in a plastic bottle.
- Let the enzyme cleaner ferment in a warm room for at least 1 month. Shake the bottle and open it daily to release gas buildup.
- Strain out the citrus peels and transfer your enzyme cleaner into an airtight container.
- Use the cleaner diluted with water as an all-purpose cleaner or apply it undiluted to remove stains.
Mixing the Cleaner
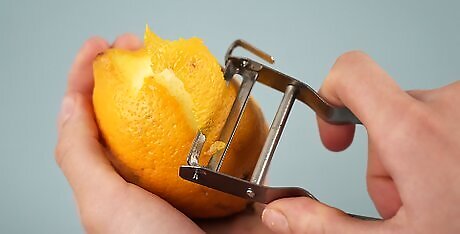
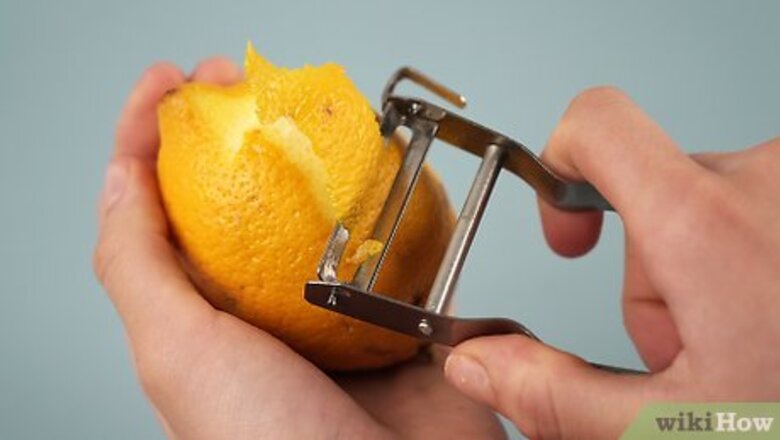
Wash and chop 2 cups (300 g) of fresh citrus peel. Peels or rinds from lemons, limes, grapefruit, oranges, and pineapples all work great for making an enzyme cleaner. Use a peeler to take the peel off the fruit, and rinse it under running water. Scrub the outside with a vegetable brush to remove any dirt, and pat the peels dry with a clean towel. Then, carefully chop the peels into ⁄2 in (1.3 cm) cubes with a sharp knife. Avoid using peels that look dried out or rotted. Dried peels won’t contain enough citrus oil for cleaning, and rotten ones will cause the mixture to mold.
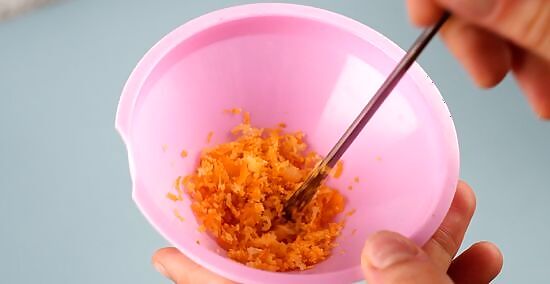
Put the peels, sugar, water, and yeast in a large bottle. Insert a wide-mouthed funnel into the mouth of a clean 2 L (0.53 US gal) plastic soda bottle. Add the chunks of citrus peel in one handful at a time. Then, add ½ cup (100 g) of brown sugar, 1 teaspoon (3 g) of yeast, and 4¼ cups (1 L) of lukewarm water. Screw the bottle cap on tightly, and shake the bottle until all the sugar dissolves. Alternatively, use a blender to combine all of the ingredients until they have an even consistency.
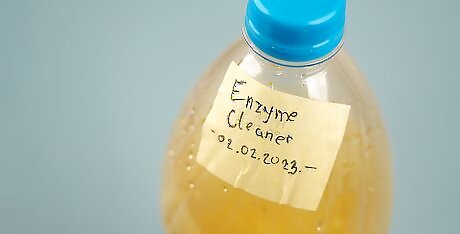
Label and date the bottle of cleaner. Use a marker to write “enzyme cleaner” clearly on the bottle so no one mistakes it for a drink. Then, include the date you added everything to the container so it’s easier to track how long you’ve let it ferment.
Fermenting the Cleaner
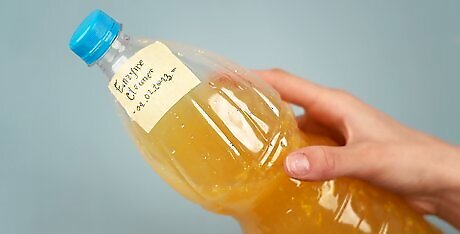
Store the bottle in a warm spot. Keep the bottle on your countertop away from direct sunlight or on top of your refrigerator while the yeast and peels ferment. After about 1 month, your cleaner is strong enough to start using around your home.
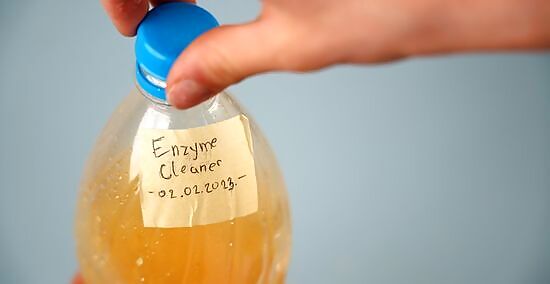
Unscrew the cap to vent gas buildup 2–3 times a day. As the yeast eats the sugar, it produces alcohol and carbon dioxide that build up inside the bottle. Take the top off the bottle and gently squeeze the excess gas out before tightening the cap again. Screw the cap back on. Vent the bottle a few times daily for the first 2 weeks. After that, open the bottle every other day instead. If you forget to vent the bottle, gas could build up and cause the bottle to break. Make sure the cap is screwed on tight when you aren’t venting the bottle since yeast needs an oxygen-free environment to ferment properly. Oxygen will also allow bacteria and mold to grow in the mixture.
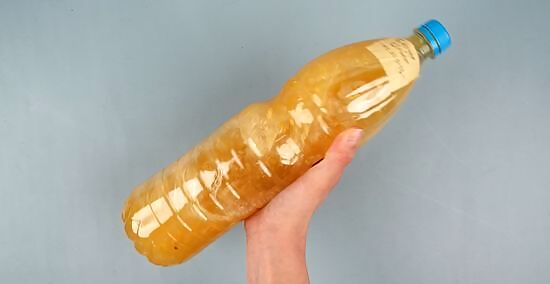
Shake the bottle every day to mix the cleaner. Over time, the citrus peels will sink to the bottom. After you finish venting the gasses for the day, screw the lid back on and shake the mixture gently to stir up the contents. It’s normal for white build-up to form inside of the container. That just means your citrus peels are fermenting properly.
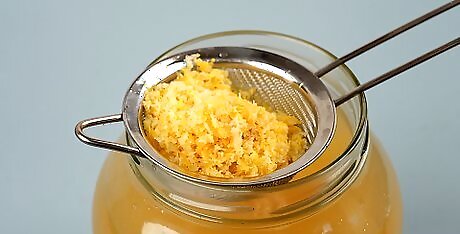
Strain the fruit peels out of the cleaner after 1 month of fermenting. Wait until the mixture is opaque, which means it’s ready to use and strain. Put a strainer over a large bowl. Then, pour the mixture through the strainer to separate the solid peels from the actual cleaning solution. Throw away the citrus peels once you’re finished straining them. If you blended the fruit peels into the water, make sure you use a fine-mesh strainer so none of the peel pieces are left in the liquid. Leave the enzyme cleaner in the bottle for up to 3 months for an even stronger solution.
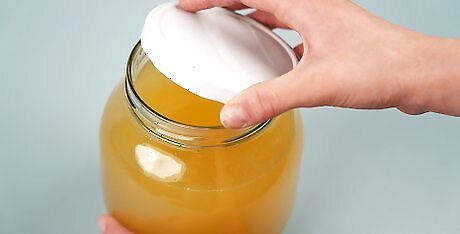
Pour your cleaner back in the bottle to store it. Rinse out the bottle you used to ferment the cleaner and put a funnel in the spout. Pour your homemade enzymatic cleaner back into the bottle. Seal the cap on the bottle so it’s completely airtight. Exposing the mixture to oxygen causes it to lose its potency, and it won’t clean as effectively. To have some cleaner easily on hand, put some in a spray bottle and keep the rest in a larger bottle near your other cleaners. Your enzyme cleaner will keep indefinitely as long as you keep the bottle sealed in between uses. If you notice any black mold growth in the liquid, toss it out.
Using DIY Enzyme Cleaner
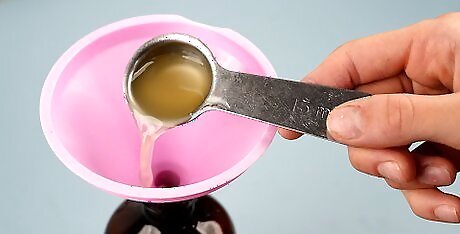
Mix 1 part cleaner with 20 parts water for delicate jobs. Mix your cleaner and water in a spray bottle, and shake it up until they’re combined. Try this mixture for washing cars, cleaning fruits and vegetables, mopping floors, or for other jobs around the house that don’t require a super-powered cleaner.
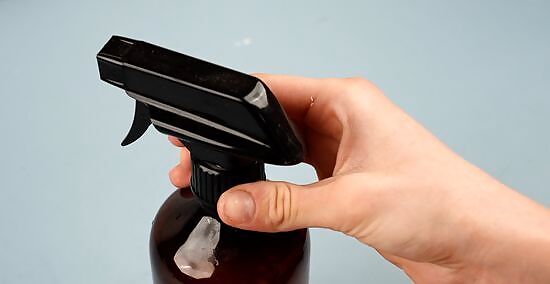
Make an all-purpose cleaner with 1 part cleaner and 4 parts water. Combine the ingredients in a spray bottle so it’s easier to apply. Spray the surface that you’re cleaning with the homemade enzyme cleaner and let it sit for a few minutes before wiping it up. Use your all-purpose cleaner for your bathrooms, carpets, kitchens, minor stains, and anything else you need to clean around your home. For an even stronger cleaner, try mixing the enzyme solution with vinegar instead.
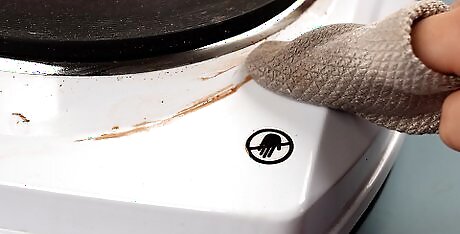
Use the cleaner undiluted for the toughest jobs. For cleaning pet urine, stubborn stains, caked-on grime, and built-up dirt, apply the homemade enzyme cleaner directly to the affected surface. Let the cleaner sit for a couple minutes, and then wipe the area with a damp sponge or cloth. Enzyme cleaners are great for cutting grease around your kitchen and garage. Try undiluted cleaner for removing scale and lime buildup on things like dishwashers, kettles, shower heads, and other appliances.
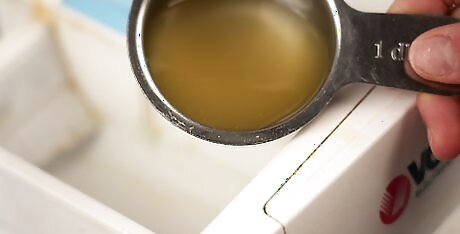
Add ⁄2 cup (120 ml) of cleaner to your laundry to fight set-in stains. Add the enzyme cleaner to your load of laundry along with your regular detergent. Set and run your washing machine to the normal cycle and let it run for added power at breaking apart dirt and stains. Homemade enzyme cleaner also works as a fabric softener.


Comments
0 comment