views
X
Research source
, and has great potential to further grow your blog's audience. In this article we'll go over everything you need to know to get started with using Pinterest for your blog to boost your traffic.
- Sign up for a free Pinterest Business account to get access to a variety of features, including a number of metrics and analytics for your content.
- Create high-quality, eye-catching images for your pins that include text, so users can get a gist of what your pin is about before clicking.
- Focus on creating quality pins that you can post consistently, as the lifespan of pins is much longer than other social media sites.
Getting Started

Sign up for a Pinterest Business account. If you want to get the most out of Pinterest for your blog, a free Pinterest Business account is the best first step. Pinterest Business accounts have access to robust analytics as well as the ability to claim your website, add widgets, and create Rich Pins. Rich Pins automatically sync information from your website, so if something changes on your blog, it will change on the pin. You can create recipe, article, and product Rich Pins.

Set your blog up for success. Before you start pinning, set your blog up with plugins and resources to seamlessly enter the Pinterest landscape. Use a plugin like Social Snap, Novashare, or Monarch to allow your users to share your content from your blog website to Pinterest, and to monitor how your visitors are sharing and viewing your content. These plugins all have different features and price points, so select the one that works best for your needs. Get a scheduling tool like SocialPilot, Loomly, or Later. Staying consistent is key, and using a scheduling tool can help you post pins without having to remember to do so. Like the plugins, these tools have different features and price points, so see which one works best for you.
Formatting Pins
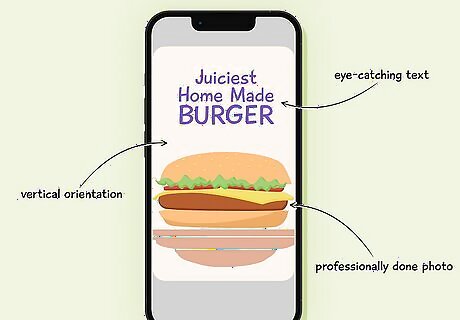
Create captivating images for your pins. As Pinterest focuses a lot on images, adding a showstopper picture to your pin will help increase the likelihood a user will pin your post—or better yet, visit your blog. You can use an image editor like Canva or Photoshop to create awesome pin images. A great Pinterest image should have the following: A vertical orientation. Vertical images work much better on Pinterest, especially since many Pinterest users are on mobile devices. A vertical image takes up more space on the screen which jumps out at the user, but make sure your image isn't too long, or it may make users scroll past in frustration. High-quality, colorful, and detailed imagery. Photos that are professionally done (or appear professionally done) will attract more users. Pay attention to composition, color balance, and subject matter. According to research data done by Curalate in 2013, Pinterest users prefer images with vibrant colors, and warm colors like red, orange, and brown get more repins than Pins with blue images. Pinners also like detailed images with very little whitespace, and don't like images that have faces in them. Text. Adding text to your image can instantly convey what your pin is about without the user having to click. Make sure to keep the text on your image short, relevant, and eye-catching. Make sure the text is legible (i.e. don't use bright yellow text on a light-colored image), and add a background behind your text if it's impossible to read otherwise.

Add relevant copy to your pins. Each pin should have a short description. This could be a stand-out quote from your blog article or simply the introduction. Use keywords that relate to your SEO strategy for your blog, and include sensory language and a call to action to entice readers to click.
Make Your Pins Easy to Find

Use keywords in your pin title and description. While pins often gain traction through simply being recommended to other users, you should still include keywords in the text portion of your pin. Include keywords from your article title and body, as well as other relevant keywords (such as synonyms or buzzwords, as long as they relate to what your pin is about). If you can't find a way to fit a key word into your description, consider adding hashtags at the end of your pin description like on Instagram or Twitter/X. While hashtags won't add a consistent influx of traffic to your pins, they can help add a short boost of exposure. Add keywords to image alt text while maintaining accessibility. Alt text should always be written in a way that allows those who use assistive technology to understand what an image conveys without having to see it, but you can use this space to enter keywords that relate to what the image is about. However, make sure you're following alt text best practices while doing so.
Creating and Joining Boards
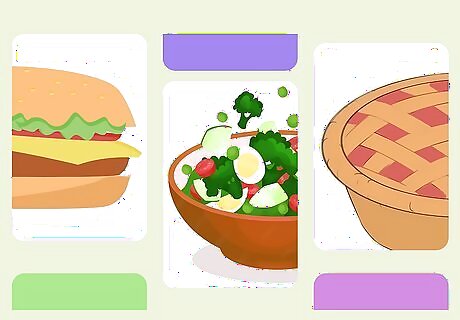
Create boards that relate to your blog. The people that follow you are likely following because they like the content that you post. If you stray too far from that focus, users may get confused or wonder why they're following you if you post a lot of unrelated content. Use your own marketing and SEO research from your blog to determine what types of boards would work best for your Pinterest.
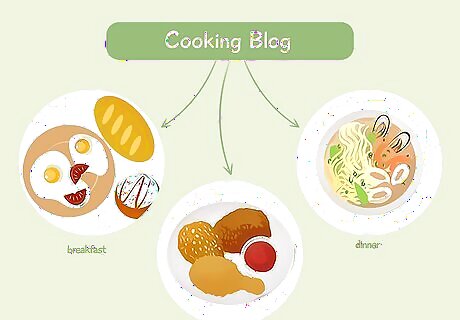
Take advantage of sub-boards. Pinterest boards can have sub-boards, so you can group content together in a more organized way. For example, if you have a cooking blog, you could have a single board for each type of recipe (i.e. breakfast, lunch, dinner, dessert, drinks) and then have sub-boards that organize these recipes more granularly (i.e. vegetarian/vegan, healthy, chocolate, beef, soup, etc.).
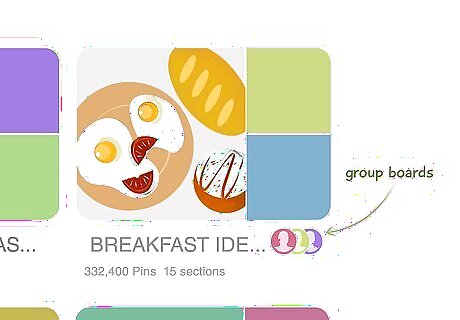
Join group boards that align with your blog's purpose. Pinterest has group boards that allow any group member to add pins to that board. If you're looking to jumpstart your Pinterest, this can be a great way to get your content out in front of a lot of people. You can find Pinterest group boards on Pingroupie. Each group board may have different requirements for being added, so make sure to check out the boards you're interested in for details.
Be Interactive & Engaging
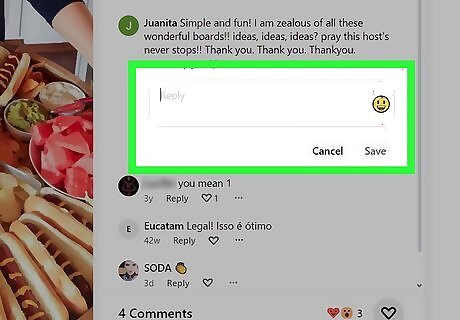
Engage with your followers. Reply to comments on your pins (especially if the user has a question or concern), follow your followers back, and repin their pins if they align with your Pinterest's focus. You can also create and pin interactive content, such as contests, polls, or challenges. This allows you to engage with your followers in a way they might not be able to engage with you on your blog.
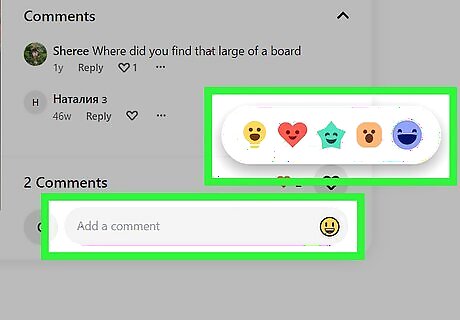
Interact with people who don't follow you. While engaging with your followers is important, they may not always come to you. Cast a wide net and start commenting and interacting with Pinterest content from people who don't follow you, be it industry leaders or other users that share content that fits within your Pinterest's focus.
Stay Consistent & On Schedule

Stay consistent with your brand voice. While you can always get inspiration from other Pinterest users, make sure your pins maintain your unique voice. Your followers are following you because they like the content you post, and changing your brand voice constantly can be confusing or off putting.

Know when to post your pins. While most Pinterest users visit the site only once a week there are still good and bad times to post on Pinterest, according to research completed by CoSchedule in 2023. In general, users tend to look at Pinterest in the evening hours, so posting earlier in the day may not get your pin noticed. The best dates and times to post on Pinterest are as follows: Best times: 8 p.m., 4 p.m., 9 p.m., 3 p.m., and 2 p.m. Best days: Sunday, Monday, Tuesday

Keep to a schedule. While there are optimal days and times to post on Pinterest, being consistent and keeping to a schedule will help you stay dependable for your followers. Unlike other social media sites, pins have longevity, so you can post pins less often on a consistent schedule (which allows you to focus on creating the best-quality pins to increase their chance at engagement).


Comments
0 comment