views
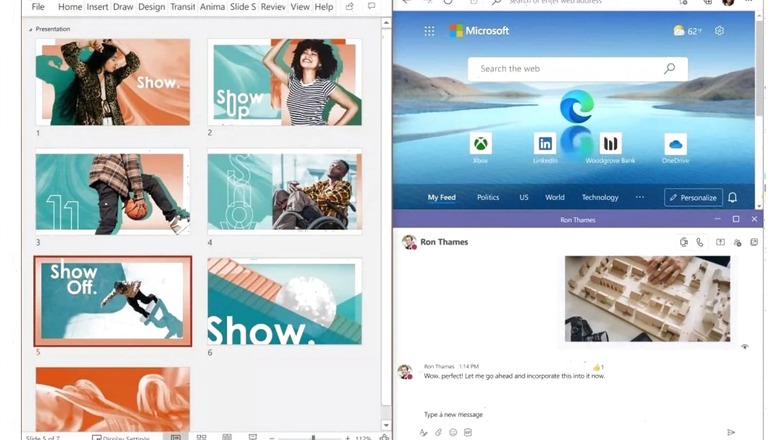
Multitasking is getting a serious update with Windows 11 that rolls out as a free update later this year. Much in line with how Apple macOS offers a bunch of such functionality for Mac users. That would be great news for many users who may have the habit of working with multiple windows open on their screen. This is called Snap Layouts in Windows 11. As the name suggests, it is about snapping your active windows and apps in different layouts and is a time-saving option compared to the usual process of minimising one window every time you need to switch to another.
Snap Layouts In Windows 11
Using Windows 11 Snap Layouts is a very simple process. The tool is integrated into the operating system, therefore users don’t need to download or configure the feature. Depending on your screen size, the Snap Layout options vary, however, the overall operation of the tool is the same for everyone.
Step 1 – Open the window of File Explorer.
Step 2 – Hover the cursor, in the top right corner, over the Maximize window icon.
Step 3 – The Snap Layouts will appear and now, depending on your window configuration, you can select a Snap Layout.
Step 4 – The first window will move into position, select the other windows for the other Snap Layout zones.
You can use these Snap Layouts with your keyboard too. Place the cursor in the window you want to Snap and press Win + Arrow Key in the direction you want to position it. Once you move the first window, the Snap dialog will appear in the empty space.
Read all the Latest News, Breaking News and Assembly Elections Live Updates here.


Comments
0 comment