views
When to Propagate Spider Plants
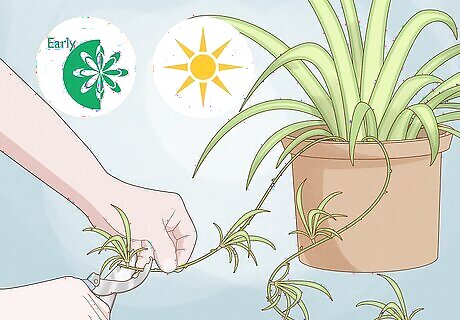
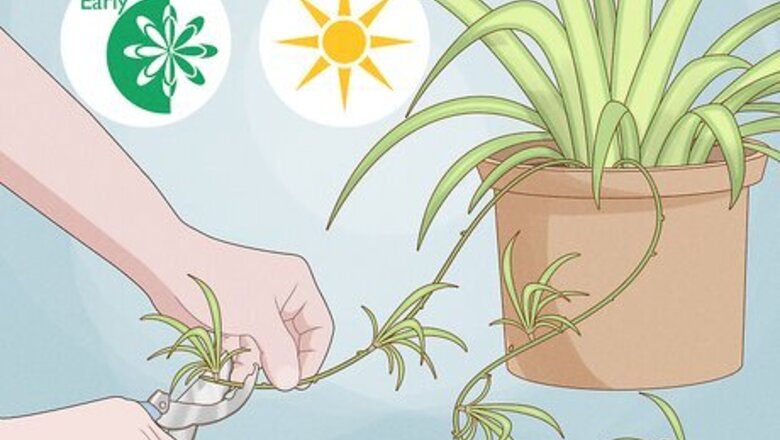
Propagate spider plants in the spring or summer. For best results, propagate your spider plant when it is actively growing, rather than when it's dormant. The babies will develop roots faster when it's warmer, as well.
Where to Cut the Spider Plant for Propagation
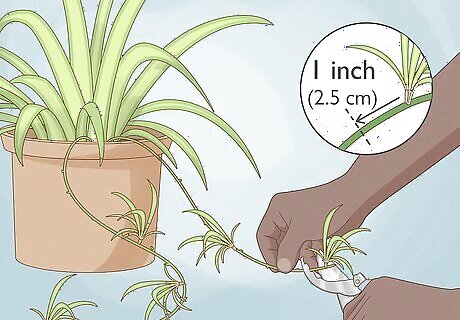
Snip the stem about 1 inch (2.5 cm) below the spiderette. Whether you'll be rooting the baby in soil, water, or a moist paper towel, make sure to preserve the knob-like protrusion growing at its base. Cut the stem of the plant below the protrusion so the baby can develop roots.
Propagating Baby Spider Plants in Soil
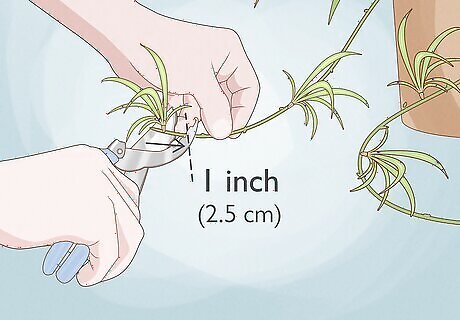
Cut the baby spider plants from the tip of the stems. Look for baby spider plants growing from the tips of the long, green stems that shoot out of the plant. Then, grab a pair of clean scissors or gardening shears and snip off the baby spider plant about 1 inch (2.5 cm) from the base of the stem. Note: Make sure the baby spider plant has a knob-like protrusion growing at its base before cutting it. This means the plant is developing roots. Some plants might already have roots! Baby spider plants look like miniature versions of the full-grown plant. They’re commonly called plantlets or spiderettes. Each baby spider plant you propagate will grow into a full-sized spider plant. Propagating spider plants in soil is the easiest method and tends to produce plants that have stronger, healthier roots.
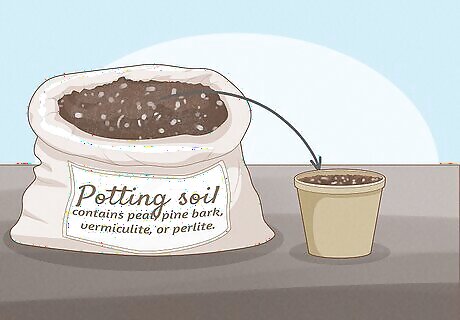
Fill a nursery pot with well-draining potting soil. Baby spider plants can grow in a wide variety of soils, but an all-purpose potting mix that’s well-draining is the best choice. Simply fill a small pot that has drainage holes with the soil. Look for soils that contain peat, pine bark, vermiculite, or perlite to help improve drainage.
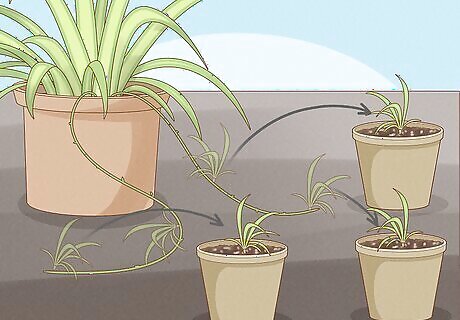
Plant each baby spider plant in its own pot. Dig a shallow hole in the center of the potting soil with your finger or a pencil. Then, insert the baby spider plant inside so only its base is covered by soil. Fill in the hole and gently pack the surrounding soil down so the baby spider plant remains upright. If you’re planting your baby spider plants in larger pots, you can add 2 to 3 babies in a single container.
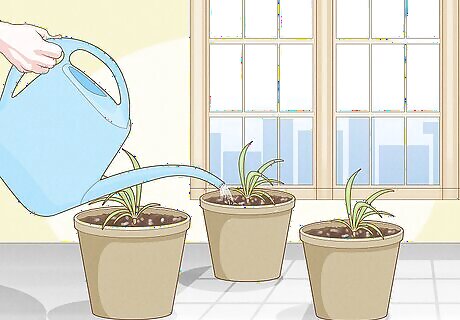
Water the baby spider plants and set them in indirect light. Pour water over the soil until it drains out of the holes in the pot. Then, place the baby spider plants in a spot that receives bright, indirect light, like a sunny windowsill. Spider plants need lots of light to grow but don’t do well in direct light, as it can burn their leaves. If the pots are on trays, dump out the excess water. This keeps the baby plants from sitting in water, which can cause root rot. Note: Water your baby spider plant with distilled water or rainwater if your tap water is treated with fluoride. Spider plants are sensitive to fluoride and can grow unhealthy when they receive a lot of it.
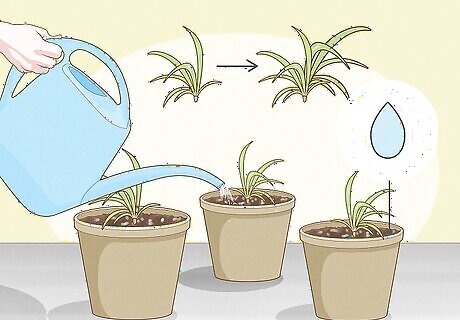
Keep the soil moist until you see new growth. Baby spider plants need a lot of moisture to establish their roots in the soil. Simply stick your finger in the soil daily and water the plants if the soil feels dry. You’ll know the roots are established when your plants start to grow bigger or sprout new leaves. There will also be resistance if you lightly pull on the leaves. It generally takes 1 month for baby spider plants to establish roots. Let the soil dry out between watering when the roots are developed.
Propagating Baby Spider Plants in Water
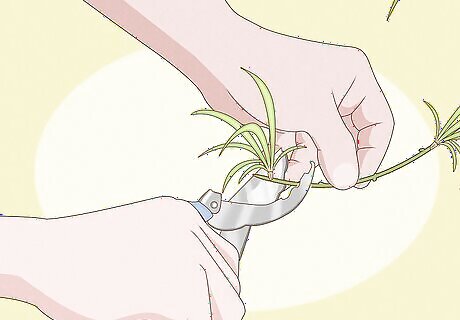
Snip off the baby spider plants on the plant’s stems. Look at the tips of the stems growing out of your spider plant for baby plants. Then, examine the baby spider plants to ensure they have a knob-like bulge underneath their leaves. Simply grab a pair of scissors or gardening shears and cut off the baby plant. Baby spider plants that have a knob-like protrusion mean their roots are already developing. Choosing plants without a knob can be more difficult to propagate. Propagating baby spider plants in water is a quick way to root them that also allows you to watch their progress. The plants can get shocked when they’re planted in soil because their roots are weaker, but they typically bounce back.

Set the baby spider plant in a small jar of distilled water. Fill a small jar, glass, or vase with distilled water or rainwater. Then, place the baby spider plants inside, making sure only the knob-like base is covered with the water. Leaving any leaves in the water can cause them to rot and harm the plant. Snip off some of the lower leaves, as needed, so they don’t rest in the water and rot. Spider plants don’t like fluoridated water and can grow unhealthy when they receive a lot of water treated with fluoride.
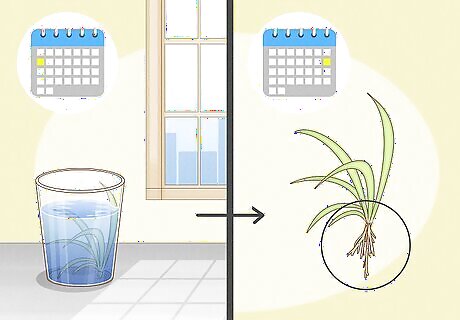
Place the baby spider plants in indirect sun and watch them grow roots. Set your baby spider plants in a sunny spot that receives bright, indirect light. Then, wait and watch for roots to start growing after about 1 week. Check on the water level daily to ensure the base of the plants are covered in water. If the water grows cloudy or murky, replace the container with fresh water.
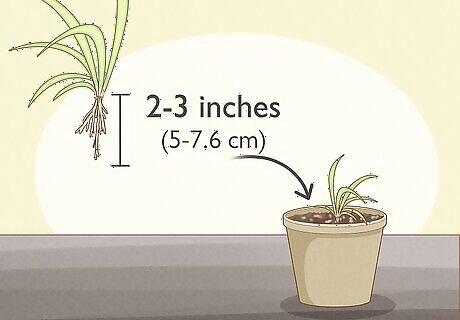
Plant the baby plant in soil when its roots are 2-3 inches (5-7.6 cm) long. After about 1 month, your baby spider plants should have long enough roots to plant them. Just fill a small nursery pot that has drainage holes with well-draining potting soil. Poke a hole in the center with your finger and add a baby plant. Then, fill the hole and lightly pack the soil around the plant. Water the baby spider plant thoroughly after planting it. Set the baby spider plants back in the spot that receives bright, indirect light after planting them.
Propagating Baby Spider Plants with a Paper Towel
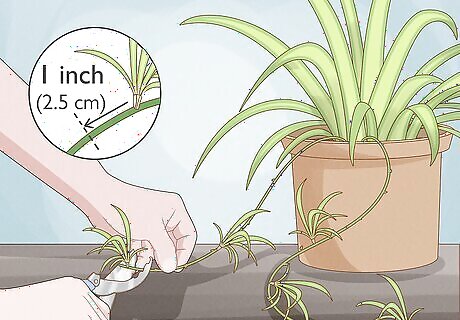
Remove the baby spider plants from the tips of the stems. Find baby spider plants growing from the tips of the mother plant’s stems. Just make sure the baby plants have knob-like protrusions growing at their base. Then, cut off the baby plants about 1 inch (2.5 cm) from the base of the stem using clean scissors or shears.
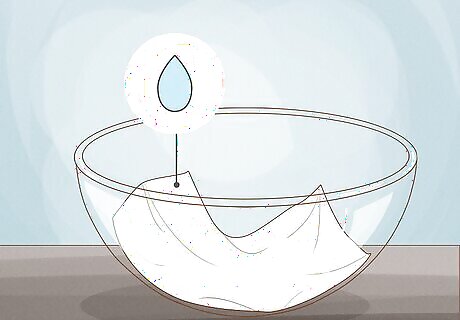
Dampen a paper towel and lay it inside a bowl. Wet a paper towel with distilled water and squeeze out the excess moisture. Then, place the paper towel inside a small bowl or plate.
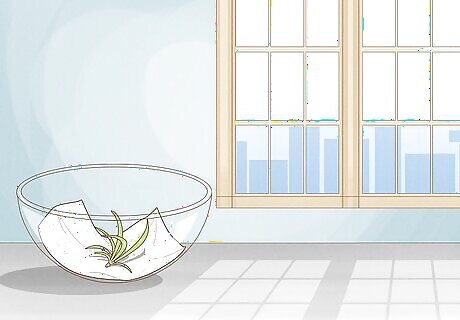
Set the baby plants on top of the towel and put it in indirect light. Rest the baby spider plants directly on top of the paper towel. Then, place the plants in a spot that gets bright, indirect light. The damp towel gives the plants enough moisture to grow their roots.
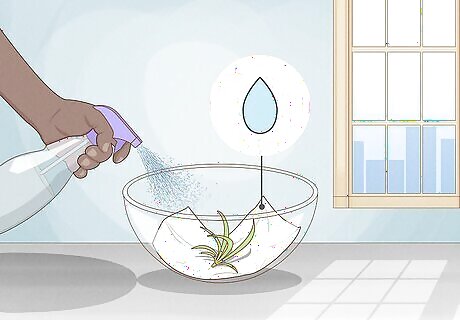
Keep the paper towel moist and watch for roots after a few weeks. Check on the paper towel several times a day to ensure it is still damp. If it starts to feel dry, use a spray bottle full of distilled water to moisten the towel. After about 1 week, your baby spider plants will start to grow roots.
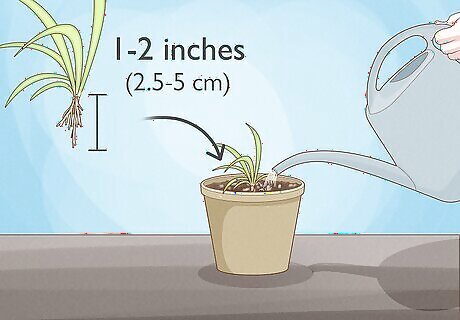
Plant the baby plants when the roots are 1-2 inches (2.5-5 cm) long. After about 2 weeks to 1 month, your baby spider plants’ roots are long enough to plant. Fill a small pot that has drainage holes with well-draining soil mix and poke a hole in the center. Insert the baby spider plant and fill the hole with soil. Water the baby spider plants after planting them. Place the baby plants back in the spot that gets bright, indirect light.
Propagating Baby Spider Plants While Attached to the Mother Plant

Fill a small pot with a soilless growing medium, like compost. Grab a small nursery pot that has drainage holes and fill it with a soilless potting mix. For instance, fill it with compost, bark, perlite, or sphagnum moss. When your baby spider plant is still attached to the stem, it receives all of the mother plant’s nutrients. So, this is a low-maintenance way to propagate super healthy spider plant babies.
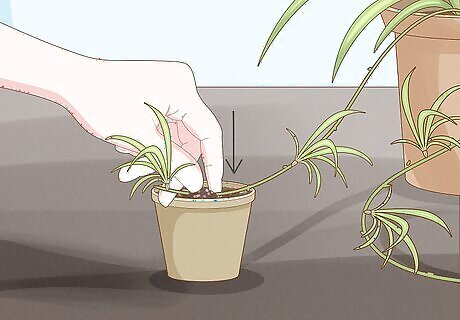
Plant the baby spider plant in the pot. Find a baby spider plant on one of the mother’s stems that has a knob-like protrusion growing out of its base. Then, gently pull the stem and baby plant over to the pot. Poke a shallow hole in the soil and place the baby spider plant inside. Make sure the plant is in an area that receives bright, indirect light. Only cover the baby plant’s base in the potting medium and make sure none of the leaves are covered. If the baby spider plant won’t stay put in the potting medium, hook a paperclip over the stem and stake it in the pot.
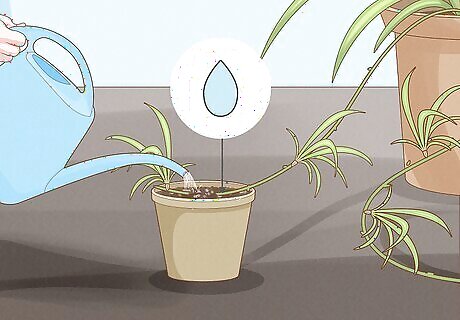
Water the baby plant and keep the growing medium moist. Wet the baby spider plant’s soil with distilled water. Every day, stick your finger in the soil to check if it feels damp. If it starts to feel dry, lightly water the soil. Your baby spider plant needs lots of moisture to grow its roots.
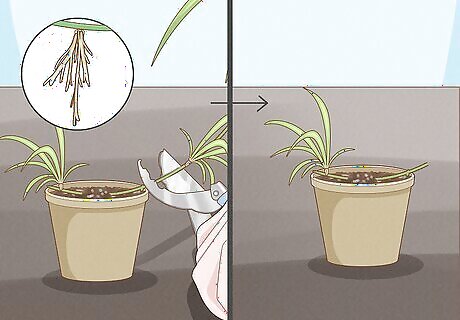
Cut the baby plant from the stem when its roots are established. Monitor your baby spider plant for bigger growth or new leaves, which are signs that its roots are growing and well-established in the soilless medium. This means the baby plant can survive on its own, so snip off the mother plant’s stem near the base of the plant. It typically takes about 1 month for the baby spider plant to establish its roots. Gently pull on the baby plant’s leaves to see if it’s established. If you feel resistance, it has put down strong roots.
Caring for Baby Spider Plants
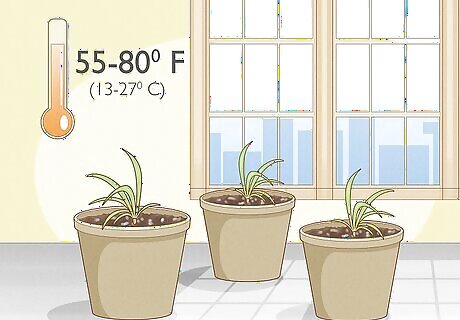
Place the baby spider plant in bright, indirect light. Baby spider plants and mature spider plants need lots of bright, indirect light to grow and thrive. Set your newly potted spider plant in a sunny window where it doesn’t receive harsh, direct light. Direct light can burn your baby spider plant’s leaves and disrupt its growth. Spider plants also prefer comfortable temperatures no lower than 55° F (13° C) and no higher than 80° F (27° C).
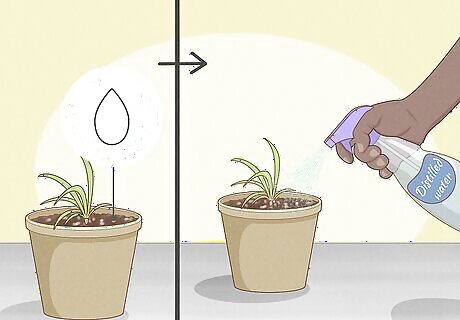
Water the plant with distilled water when the soil feels dry. When the baby spider plant’s roots are well established, they only need to be watered when the top 1 inch (2.5 cm) of soil feels dry. Just stick your finger into the soil every few days to see if it feels dry. Spider plants grow thick roots that allow them to store water. So, they’re hardy plants that can tolerate longer periods without water.
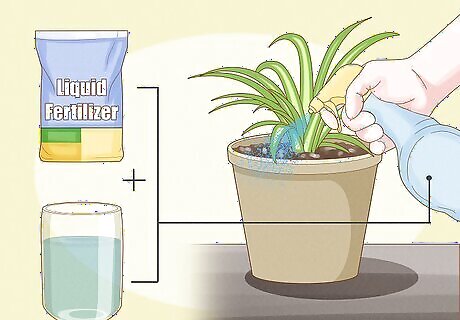
Fertilize your baby spider plant about every 3 to 4 months. To encourage your baby spider plant to grow bigger, stronger, and faster, feed it about 3 to 4 times per year. Simply dilute a balanced, liquid fertilizer to half strength and water your baby spider plants with it. If your spider plants’ leaves start to brown at the edges, cut back on the fertilizer. This is a sign they’re being over-fertilized.
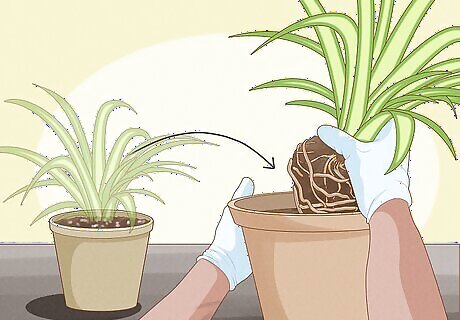
Repot your spider plant about once per year. Spider plants grow fairly quickly, so they typically need to be repotted every year. Simply choose a pot with drainage holes that’s about 1 to 2 inches (2.5-5 cm) bigger than the original pot. Then, fill it with well-draining soil and insert your spider plant. If you see roots growing out of the top or bottom of the pot, repot your spider plant sooner. This is a sign it’s getting rootbound and needs more space to thrive.


Comments
0 comment