
- To build the first bridge, unlock Nook's Cranny and the Museum. Speak to Tom Nook to get the Bridge Construction Kit.
- Craft the Kit at a crafting bench and place it across a river. It will take a day to complete.
- After the first bridge is built, speak to Tom Nook in Resident Services to browse the catalog for new bridges and inclines.
Building the First Bridge
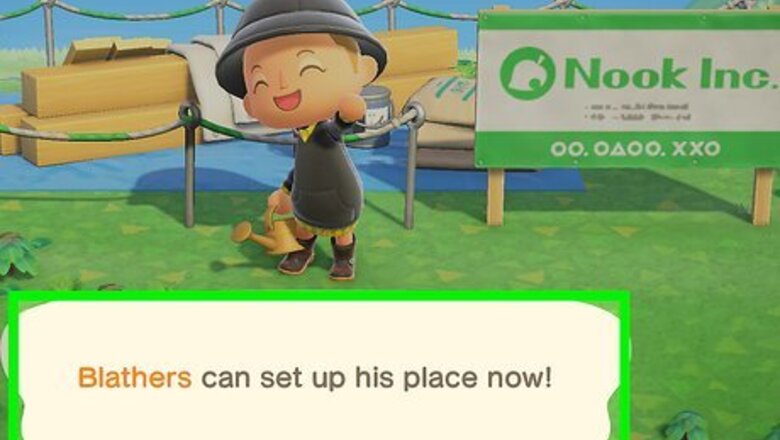
Meet the prerequisites. In order to build your first bridge, you must have unlocked both the Museum and Nook's Cranny. To unlock these buildings: Pay off the first 5,000 Nook Miles debt. Upgrade from a tent to a house. Place Blathers' tent: To get Blathers' tent, you must donate 5 unique bugs or fish to Tom Nook. Grab your net or fishing rod and start capturing creatures. When these milestones have been completed, return to Resident Services the following day. You'll now be able to supply Timmy with crafting materials to build Nook's Cranny. Gather and give the following: 30 softwood, 30 wood, 30 hardwood, 30 iron nuggets. Once the materials have been turned in, you'll be able to place down the Nook's Cranny plot marker. It will open the following day.
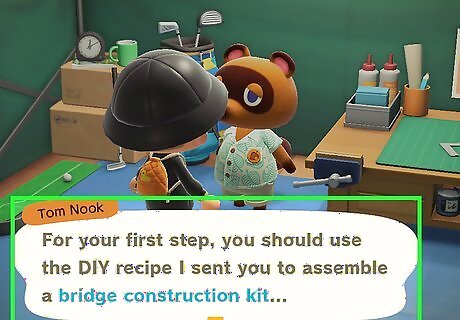
Obtain the Bridge Construction Kit. Once Nook's Cranny is built, Tom Nook will receive a phone call during his normal announcement; three villagers will be moving in soon. To prepare for their arrival, you'll need to build a bridge. Talk to Tom Nook at Resident Services to receive the Bridge Construction Kit.
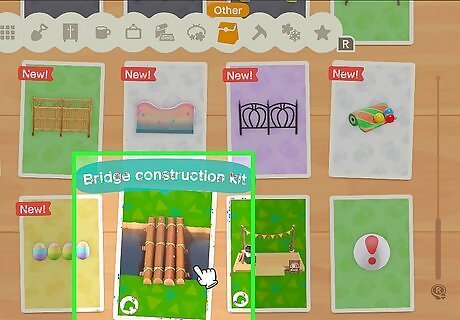
Craft the Bridge Construction Kit. You'll need to collect the following: 4 log stakes, 4 clay, and 4 stone to build the kit. Visit a workbench to begin crafting.
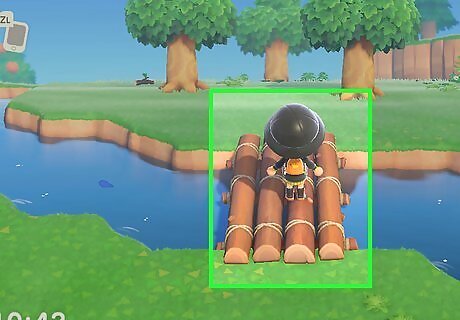
Place the Bridge Kit down. The bridge will need to be placed across a river, and it must be even on both sides of the bridge. When placed, you'll see construction markers.
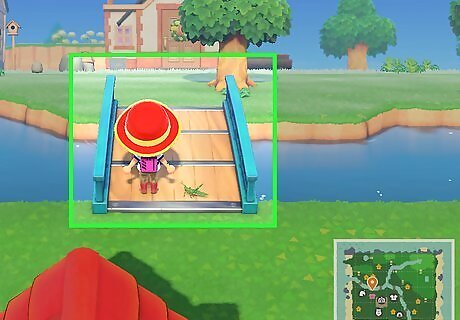
Wait one day. The bridge will be built the next day. If you're not time-traveling, you'll need to wait one real life day. When the bridge is built, you'll be able to use it.
Building Bridges
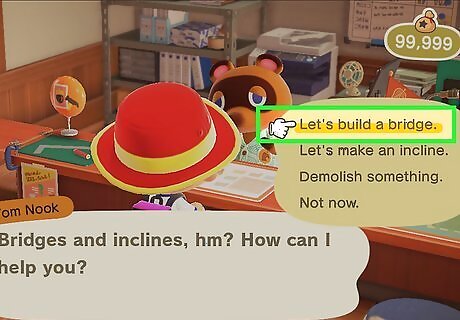
Speak to Tom Nook. You can find him in Resident Services. After the first bridge is built, you can now purchase more to build on your island. You can have up to 8 bridges at once (10 with the Pro Construction License). When talking to Tom Nook, select the following dialogue options: Select Let's talk infrastructure. Select About bridges/inclines. Select Let's build a bridge.

Select a bridge to build. You'll see a catalog of available bridges. The cost will vary depending on the look of the bridge. Once you select a bridge, Tom Nook will give you a bridge kit to place down. You can choose the following bridges: Log bridge: 98,000 Bells Suspension bridge: 129,800 Bells Stone bridge: 168,000 Bells Wooden bridge: 168,000 Bells Brick bridge: 198,000 Bells Iron bridge: 228,000 Bells Red zen bridge: 228,000 Bells Zen bridge: 228,000 Bells

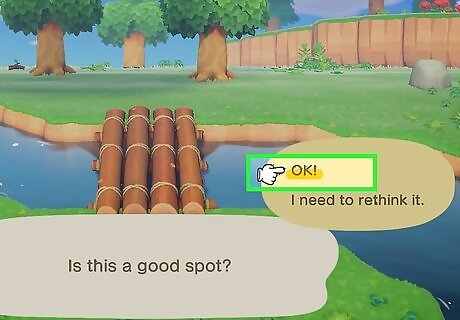
Place the bridge kit. Find a place on your island that would benefit from a bridge. You must stand on one side of a river to place the bridge kit. Keep in mind that the land must be even on either side. You can build your bridges vertical, horizontal, or diagonal. When you place the kit down, you'll see construction markers in the place of the bridge. Make sure to think hard about your placement. If you want to move the bridge after it's built, you'll need to destroy it for a fee of 10,000 Bells. Then, a new one must be built. You can select Let me imagine it to see how the bridge will look before placing it down officially.

Donate enough Bells. Depending on the bridge you picked, you must donate 98,000 to 228,000 Bells to construct it. Speak to Lloid to donate the needed Bells. Construction will begin when the quota is met. You can earn lots of Bells by selling creatures, fruit, turnips, and even DIY furniture.
Wait one day. Once the donation goal is met, construction will take a day to complete. Your new bridge will be built. You can speak to Tom Nook and select Let's hold a ceremony! to celebrate the new bridge.
Building Inclines

Speak to Tom Nook. You can find him in Resident Services. After the first bridge is built, you will be able to build inclines on your island. You can have up to 8 inclines at once (10 with the Pro Construction License). When talking to Tom Nook, select the following dialogue options: Select Let's talk infrastructure. Select About bridges/inclines. Select Let's build an incline.

Select an incline to build. You'll see a catalog of available inclines. The cost will vary depending on the look of the incline. Once you select an incline, Tom Nook will give you an incline kit to place down. You can choose the following inclines: Natural ramp: 98,000 Bells Blue-plank ramp: 128,000 Bells White-plank ramp: 128,000 Bells Log staircase: 168,000 Bells Stone staircase: 168,000 Bells Brick staircase:198,000 Bells Blue steel staircase: 228,000 Bells Red steel staircase: 228,000 Bells
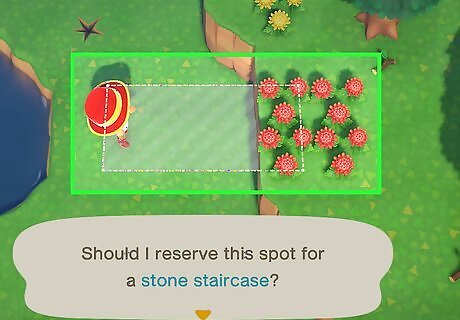
Place the incline kit. Find a place on your island that would benefit from an incline. You must stand at the base of a cliff to place the incline kit. Inclines can only be placed vertically and horizontally. When you place the kit down, you'll see construction markers in the place of the incline. Make sure to think hard about your placement. If you want to move the incline after it's built, you'll need to destroy it for a fee of 10,000 Bells. Then, a new one must be built. You can select Let me imagine it to see how the incline will look before placing it down officially. If you want to build a "built-in incline" and you have the Island Designer feature, you can dig a 3 by 2 hole into a cliff. Then, place the incline kit in the provided hole. The hole must have three cliff tiles on each side to be approved.
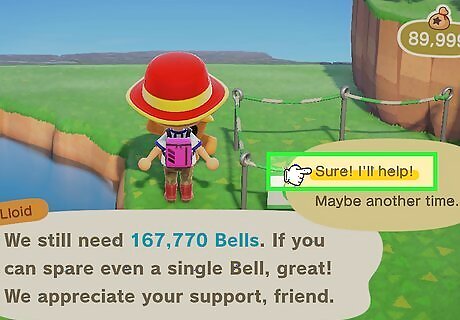
Donate enough Bells. Depending on the incline you picked, you must donate 98,000 to 228,000 Bells to construct it. Speak to Lloid to donate the needed Bells. Construction will begin when the quota is met.
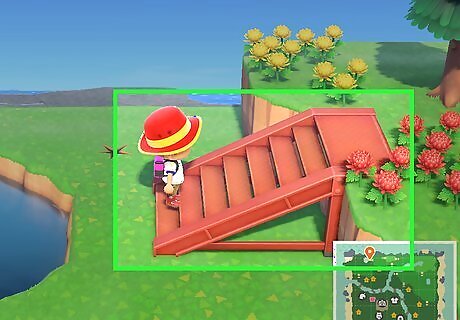
Wait one day. Once the donation goal is met, construction will take a day to complete. Your new incline will be built. You can speak to Tom Nook and select Let's hold a ceremony! to celebrate the new incline.


Comments
0 comment