

Create or open a Microsoft Word document.

You can open the document by double-clicking the file on your computer. Alternatively, open Word first, and then create a new document or choose an existing one to work on.
Go to the Design toolbar.
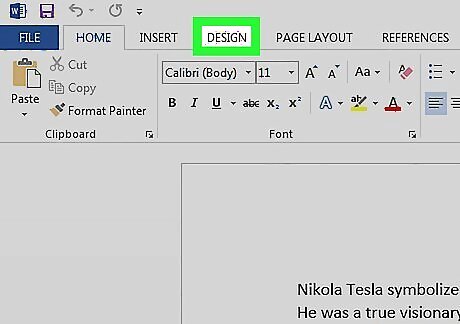
Click the Design tab at the top of the window. This opens your Design tools.
Open the Watermark tool.

Click Watermark on the toolbar. You'll see it in the "Page Background" area toolbar in the upper-right part of the window.
Customize the watermark.

Use the settings in the dialog box to design your watermark. You can choose one of the sample watermarks, such as Confidential, Do Not Copy, or Sample for a fast, easy watermarking option, or click Custom watermark... at the bottom of the menu to choose any of these custom options: Click Picture watermark to use an image. Select a photo and customize the size by selecting an option from the Scale menu. Leave "Washout" checked to make the image more transparent. Click Text watermark to add a text watermark to the background of your document. You can choose a preset word/phrase or type your own text. Click the Font: drop-down to choose a font face. Click the Size: drop-down to adjust the size of the font or allow Word to adjust the size automatically. Check the box next to "Semitransparent" for a more transparent text effect. Click on either Horizontal or Diagonal to set the orientation of the watermark.
Save your watermark.
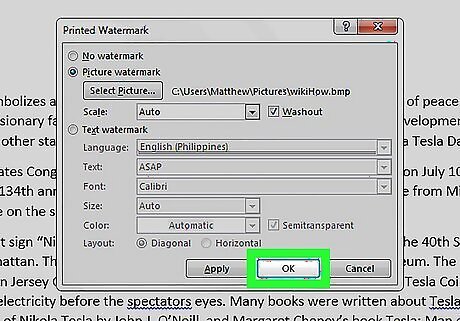
Click OK to apply the watermark to the document. The watermark now appears behind the text and images in your Word document.


Comments
0 comment