
- On Mac, go to "~/Library/Application Support/MobileSync/Backup/" in Finder. Copy and paste the backup folder to your external hard drive.
- On PC, go to "C:\Users\[username]\AppData\Roaming\Apple Computer\MobileSync\Backup" in File Explorer. Copy and paste the Backup folder to your external hard drive.
- You can permanently change the location of your backup to an external hard drive by creating a symlink in the Terminal on your Mac.
Using a Mac
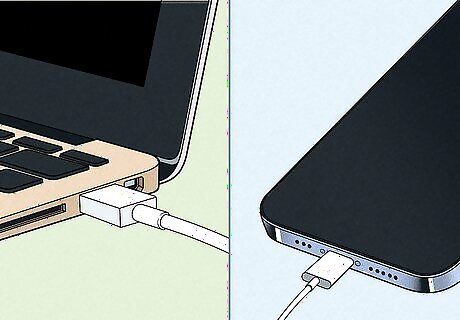
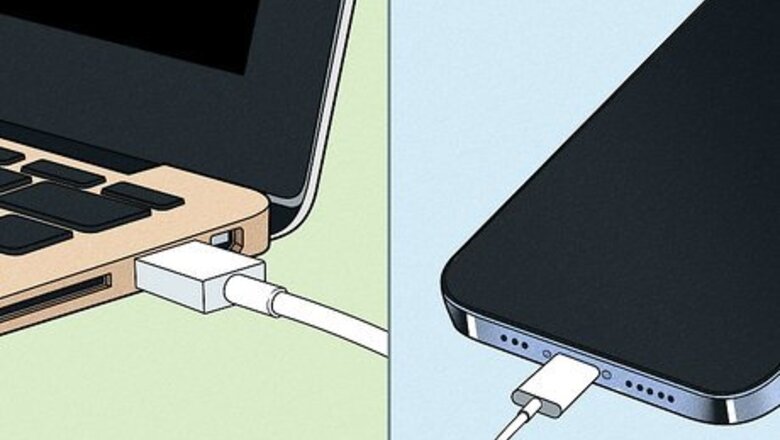
Connect your iPhone to your Mac. Use the lightning cable that came with your iPhone to connect it to a free USB port on your Mac.

Open the Finder Mac Finder. It's the icon that resembles a blue and white smiley face. It's in the Dock at the bottom of the screen.
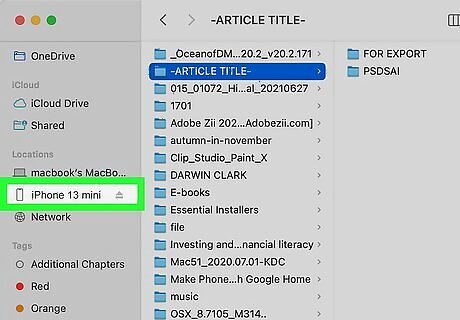
Click your iPhone. It's in the menu panel to the left of the Finder window.

Click Manage Backups. It's under the "Backups" header. This will display a list of all your backups. If you want to back up your iPhone right now, click the radio option next to "Back up all the data on your iPhone to your Mac" and click Back Up Now.

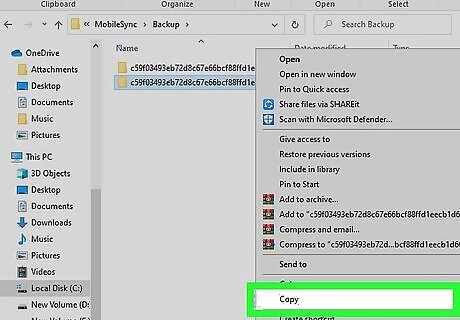
Hold Control and click your backup. This will display a context menu for the backup file you clicked.
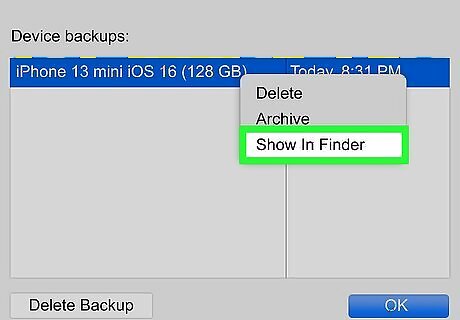
Click Show in Finder. This will open the Finder window at the location of your iPhone backup file.
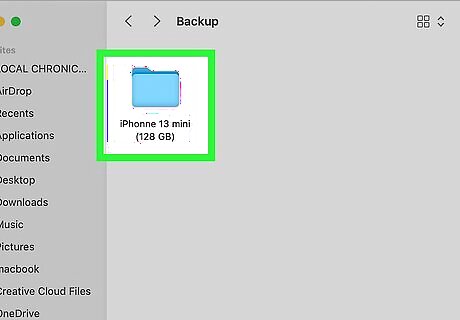
Click the Backup folder. If you aren't already in the Backup folder, click the backup folder to open it. Alternatively, you can navigate to your backup folder by going to "~/Library/Application Support/MobileSync/Backup/" in Finder.

Cut or copy your backup folder. To do so, right-click (or hold Control and click) the folder containing your backup. Click Copy to create a copy of your backup while leaving the original in its current location. Click Cut to remove the backup from your Mac and move it to your external hard drive. Alternatively, you can drag and drop the backup folder from your Mac to your external hard drive in Finder.
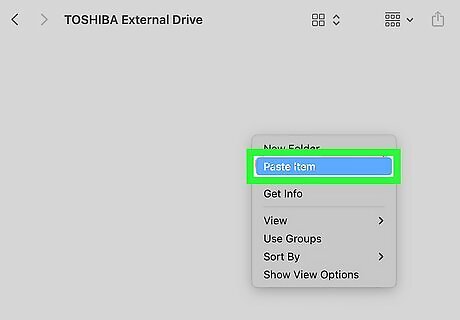
Paste your backup folder into your external hard drive. If you haven't already done so, use a USB cable to connect your external hard drive to your Mac. Open the external hard drive in Finder and go to the location you want to save your backup. Right-click (or Control-click), and click Paste. This will paste your backup to your external hard drive.
Using a Windows PC

Connect your iPhone to your PC. Use the lightning cable that came with your iPhone and connect it to a free USB port on your PC.

Press ⊞ Win+E to open File Explorer Windows File Explorer. File Explorer has an icon that resembles a folder with a blue clip. You can click File Explorer in the taskbar or the Windows Start menu. You can also press the Windows Key and E to open File Explorer. If you want to back up your iPhone now, you can using iTunes. Open iTunes, and click the icon that resembles an iPhone at the top. Click the radio option next to "This Computer" and click Back Up Now in the menu

Make sure you have hidden files showing. To access the backup folder for iTunes, you need to make sure you have hidden files and folders showing in File Explorer. Use the following steps to make sure hidden files and folders are showing: Click View at the top of File Explorer. Hover over Show (Windows 11 only). Click the checkbox next to "Hidden items" or click "Hidden items" in the pop-out menu.
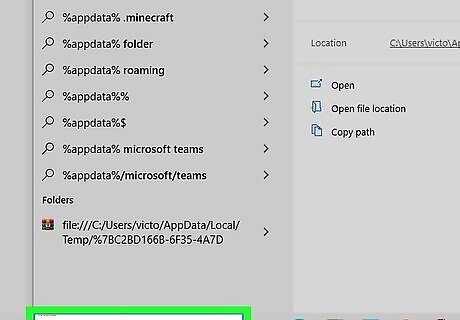
Click the search icon Mac Spotlight in the taskbar and type %appdata% or %userprofile%. The search icon resembles a magnifying glass or a search bar. It is next to the Windows Start menu in the taskbar at the bottom of the screen. If you downloaded iTunes from the web, type "%appdata%". If you downloaded iTunes from the Microsoft Store, type "%userprofile%." Click the AppData folder or the folder named after your username.

Open the Apple or Apple Computer folder. Depending on which iTunes version you downloaded, open the Apple or Apple Computer folder.
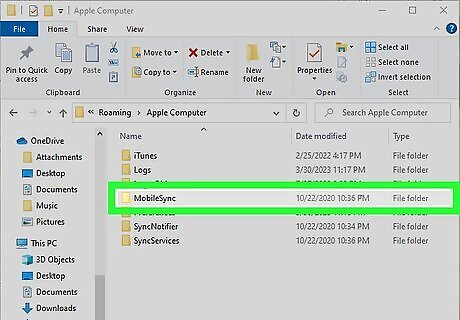
Open the MobileSync folder. Double-click the MobileSync folder to open it.

Open the Backup folder. This is the folder where all your iTunes backups are stored. If you downloaded iTunes from the web, the backup folder location is C:\Users\[username]\AppData\Roaming\Apple Computer\MobileSync\Backup. If you downloaded iTunes from the Microsoft Store, the backup folder location is C:\Users\[username]\Apple\MobileSync\Backup.
Cut or copy your backup folder. To do so, right-click the folder containing your backup. Click Copy to create a copy of your backup while leaving the original backup at its current location. Click Cut to remove your current backup from its current location and move it to the external hard drive. Alternatively, you can drag and drop the backup folder from your PC to your external hard drive in File Explorer.
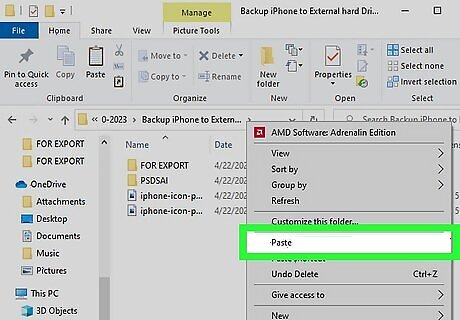
Paste your backup folder into your external hard drive. If you haven't already done so, go ahead and connect your external hard drive to your PC using a USB cable. Open the external hard drive in Finder and go to the location you want to save your backup. Right-click and click Paste. This will paste your backup to your external hard drive.
Permanently Changing your Backup Location on a Mac

Click the Apple icon Mac Apple. It's in the upper-left corner of the menu bar at the top. Click the icon that resembles the Apple logo to display the Apple menu.
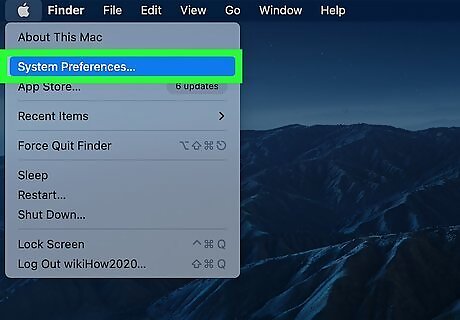
Click System Preferences or System Settings. It's near the top of the Apple menu. If you are using an older macOS version, click System Preferences. If you are using the latest version of macOS, click System Settings.

Click Security and Privacy or Privacy and Security. If you are using the latest version of macOS, click Privacy and Security in the menu bar to the left. If you are using an older macOS version, click the Security and Privacy option.
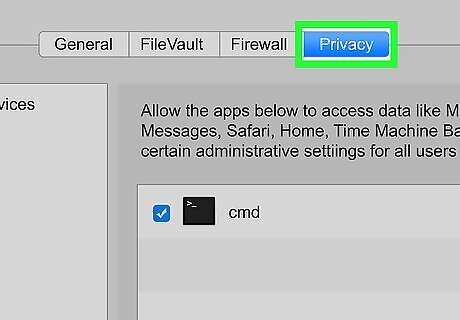
Click the Privacy tab. It's at the top of the Security and Privacy window.
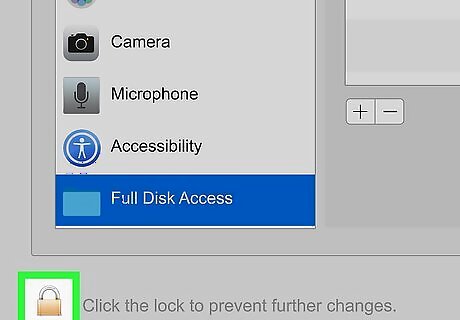
Click the Lock icon and enter your user password. Your user account needs administrative permission to change the Security and Privacy settings. Click the Lock icon in the lower-left corner and enter your user password.
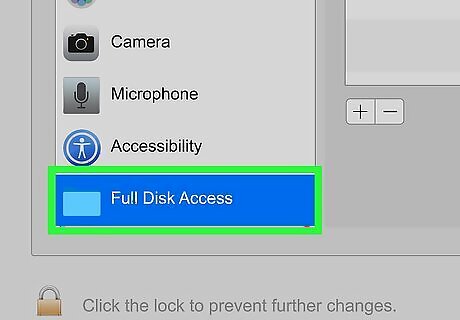
Click the Full Disk Access option. It's in the menu panel to the left.

Click the checkbox next to "Terminal." This grants the Terminal full disk access.

Open the Terminal Mac Terminal. To do so, click the magnifying glass icon in the upper-right corner. Type terminal in the search bar. Then click the Terminal icon, which resembles a black screen with a white cursor.
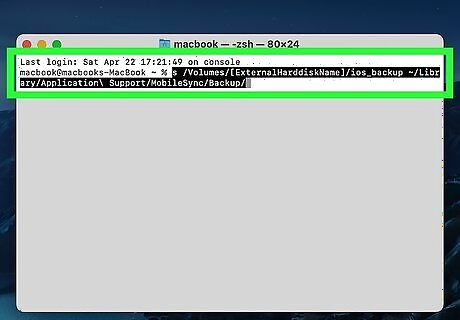
Enter the command to create a new symlink on your external hard drive. The command you need to enter to -s /Volumes/[ExternalHarddiskName]/ios_backup ~/Library/Application\ Support/MobileSync/Backup/. Replace "[externalHarddiskName]" with the actual name of your external hard disk. This creates a new symlink on your external hard drive. Whenever you back up your iPhone using your Mac, it will automatically be saved to your external hard drive instead of your Mac.
Permanently Changing your Backup Location on a PC
Connect your external hard drive to your computer. Use a USB cable to connect your external hard drive to a free USB port on your computer.
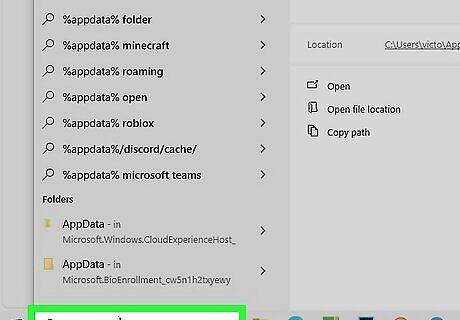
Type %appdata% or %userprofile% into the Search bar and press ↵ Enter. The search bar (or the magnifying glass icon) is in the taskbar at the bottom of the screen. If you downloaded iTunes from the web, type "%appdata%". If you downloaded iTunes from the Microsoft Store, type "%userprofile%." This opens your appdata or userprofile folder in Windows Explorer.
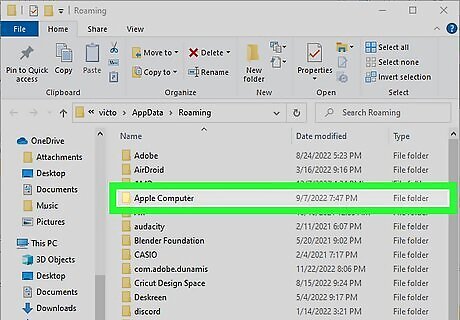
Open the Apple or Apple Computer folder. If you downloaded iTunes from Apple's website, it's called "Apple Computer." If you got it from the Microsoft Store, it's called "Apple."

Double-click the MobileSync folder to open it. You'll see a folder called "Backup" inside.
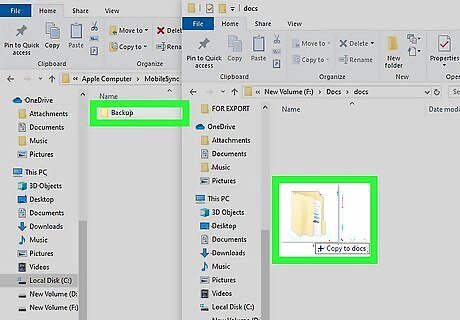
Move the "Backup" folder to your external hard drive. For example, if your external hard drive is D:\, you can click and drag the folder over to your D:\ drive in Windows Explorer.
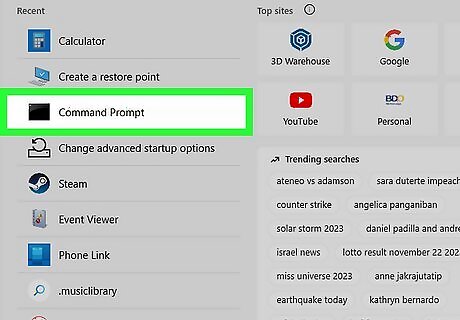
Open Command Prompt. To open the Command Prompt (CMD), press the Windows key, type cmd, and click Command Prompt in the search results.
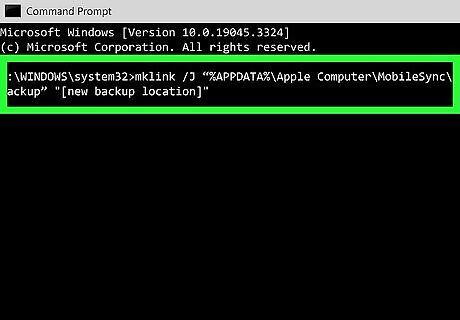
Type the command to create a symlink and press ↵ Enter. The command you need to enter differs depending on where you downloaded iTunes from. Once you create the symlink, your iPhone's default backup location will change permanently. If you downloaded iTunes from the web, type mklink /J “%APPDATA%\Apple Computer\MobileSync\Backup” "[new backup location]" and press Enter. For example, mklink /J “%APPDATA%\Apple Computer\MobileSync\Backup” "D:\backup" If you downloaded iTunes from the Microsoft Store, type mklink /J “%USERPROFILE%\Apple\MobileSync\Backup” "[new backup location]" and press Enter. For example, mklink /J “%USERPROFILE%\Apple\MobileSync\Backup” "D:\iPhoneBackup".
Connecting an External Hard Drive Directly to Your iPhone

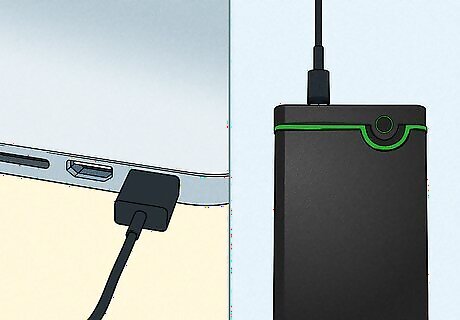
Purchase an adapter for your iPhone. To connect an external hard drive to your iPhone, you need to purchase a lightning-to-USB-C adapter or Apple's Lightning-to-USB-3 Camera adapter.

Connect the adapter to your iPhone. Connect the lightning cable attachment on your adapter to the charging port on your iPhone.
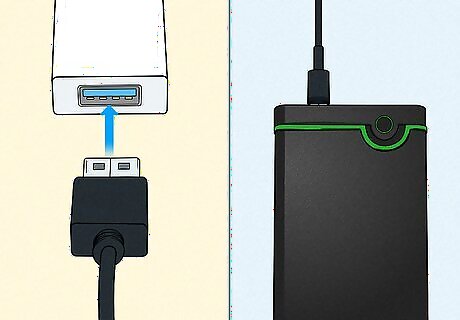
Connect the external hard drive to the adapter. Once the adapter is connected to your iPhone, connect the external hard drive to the USB port on your adapter.

Open Files iPhone Files App. It has an icon that resembles a blue folder. Tap the Files icon on your Home screen.

Select the files you want to back up. This can be photos, videos, or documents.
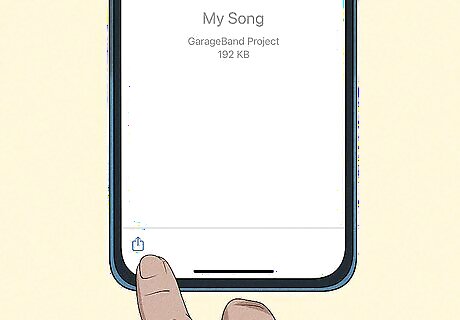
Tap the share icon iPhone Blue Share. It's in the upper-right corner.
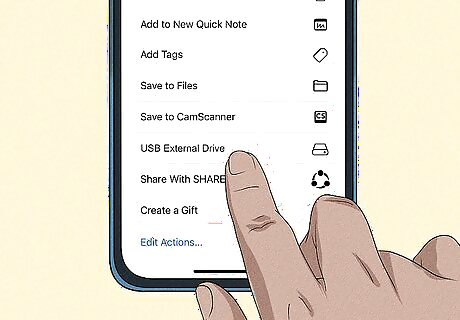
Tap your external hard drive. It should be listed below the thumbnail image of the photo, video, or document you selected.
Tap Save. This will save the files you selected to the external hard drive.


Comments
0 comment