views
Cold Bending Laminate
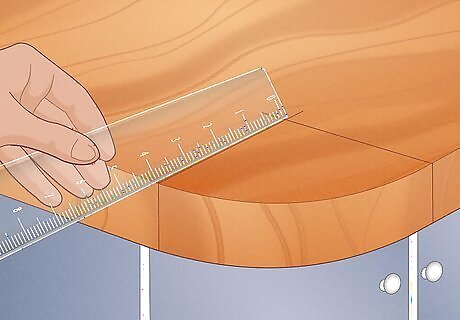
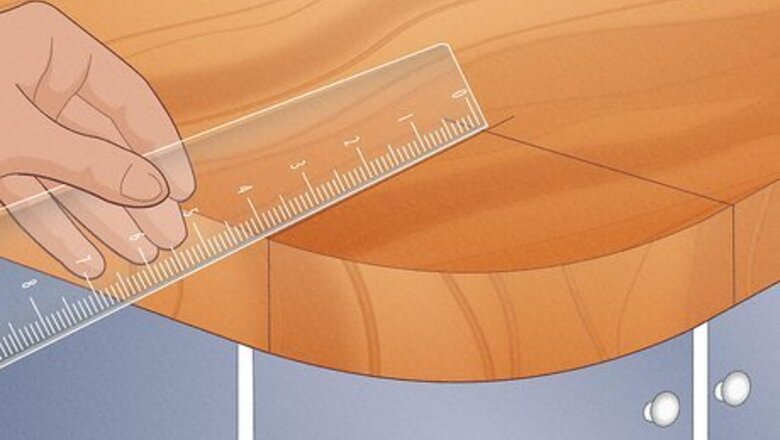
Measure the radius of the curve. For instances where the radius of the curve is three inches or greater, you can cautiously bend the laminate without heating it, so start by measuring the radius of the curve. You can measure this by locating the spot on each side of the counter’s rounded edge where the curve begins and drawing straight lines perpendicular to those edges to the point where they intersect. Then measure the length of that intersection back to the edge. You can think of the point of intersection as the point where you’d put the pin of a compass in order to trace the edge of the curve. The larger the radius of the curve, the gentler the bend. If the radius is three inches or more, then you can attempt to cold bend your laminate.
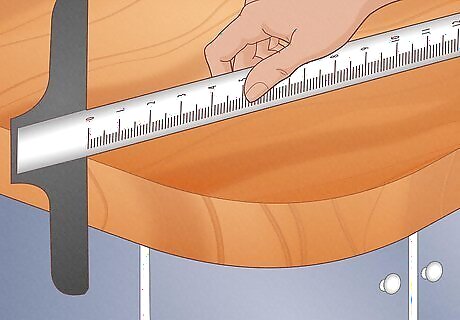
Make sure the edge is square. In order to stop any gaps, bubbles, or distorting of the laminate, you need to make sure that the vertical edge around which the laminate will bend is perfectly square with the top surface of the counter. Check this by ensuring that the horizontal surface edge and vertical edge come together perfectly with a T-square. If the edge is not perfectly square, then you can smooth down the vertical surface with a belt sander to finish preparing it for the laminate.
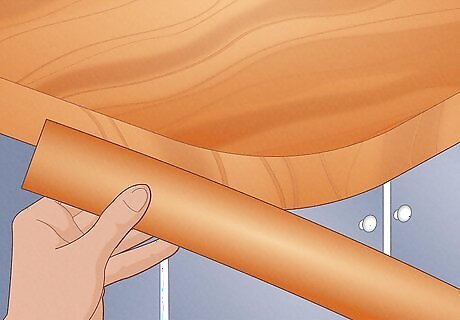
Use the correct size laminate strip. You want to use a strip of laminate that is roughly 1/2” wider than the width of the edge to which you’re attaching it. This is just in case the laminate shifts a tiny bit as you bend it into place. It’s easier to use a router to trim the excess after the piece is in place than it is to place it perfectly.
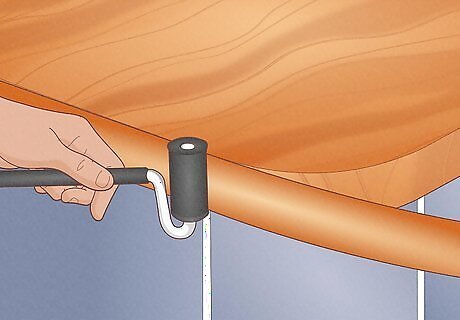
Begin attaching on one of the straight sides. After applying your laminate glue to the strip, do NOT attach the laminate by starting at the curve and folding the sides back. You want to start with the end of the strip on one of the straight sides of the edge before the curve. Use a J-roller to roll this section down tight before bending over the curve. A J-roller is a roller with a rubber head that allows you to roll any bubbles out of the laminate without damaging the surface. You should have one handy for all laminate projects.
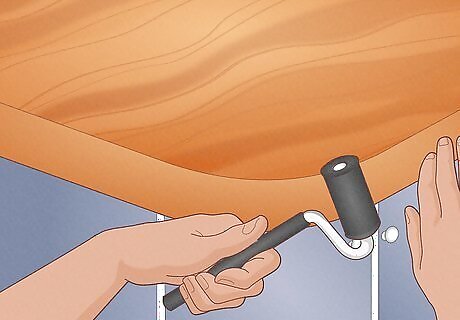
Bend the laminate slowly. Now that one end of the strip is firmly in place, begin slowly bending the rest of the strip around the curve. Keep your J-roller in your other hand, so you can firmly roll the strip as more and more of it comes in contact with the edge as you bend. Once the entire strip is in place, you want to continue making several more passes across the entire thing with your J-roller to ensure that you don’t have any bubbles or gaps.
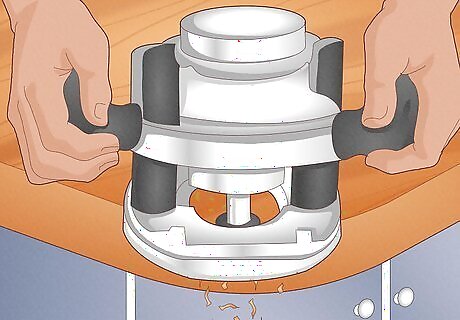
Trim the excess. Read the instructions for the specific laminate glue you used, so you know how long it needs to set. Once it’s dry, trim the excess portion of the strip off with a router.
Heat Bending Laminate
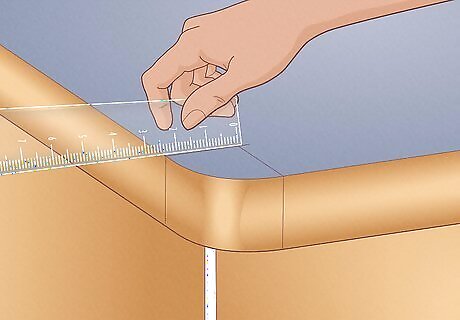
Measure the radius of the curve. Since heat bending laminate is a more difficult process, measure the curve of your counter using step one from the cold bending method. If the radius is three inches or greater, you may be able to bend your laminate without heating it.
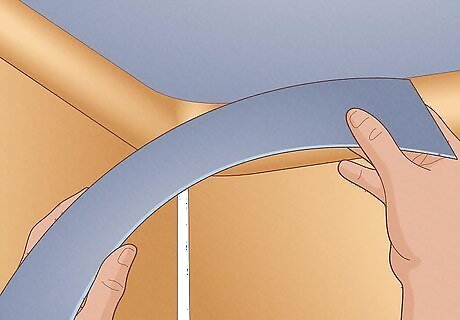
Purchase the correct grade laminate. For tighter radius curves, the first thing you want to do is ensure that you have the correct laminate for the job. Vertical grade laminate is thinner than standard grade laminate, making it easier to bend without cracking. You may also see thinner grade laminate advertised as post-forming grade, which is also suitable for tighter curves. Another option if you cannot find vertical grade laminate in the finish you need is to thin your standard grade laminate by hand. Using a belt sander, carefully sand down the application side of the laminate across the area of the strip that you need to bend so it becomes more pliable. Be extremely careful and sand the portion to be bent to a thickness of approximately 0.7mm
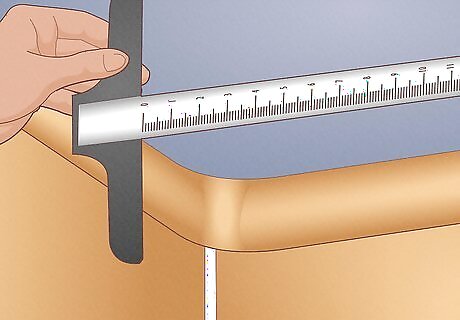
Make sure the edge is square. Use a T-square to ensure the the vertical surface on top of which you will apply the laminate is perfectly square with the flat horizontal surface. Use a belt sander to even out any imperfections on the vertical sides.
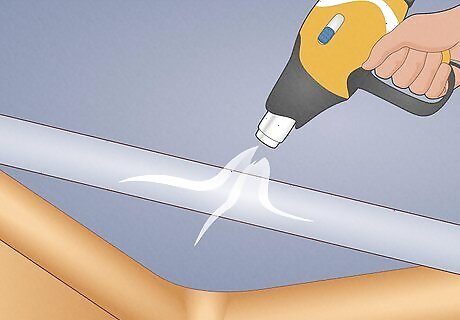
Heat the laminate with a heat gun. The exact temperature to which you must heat your laminate depends on the manufacturer and grade; however, the forming temperature will be approximately 170 °C (338 °F). Heat only the section you need to bend and keep the heat gun moving over that section without focusing on one spot too long. A temperature gun is recommended to verify your heated temperature. In excess of 170 °C (338 °F), your laminate can begin to warp or bubble and your application J-roller can begin to melt.
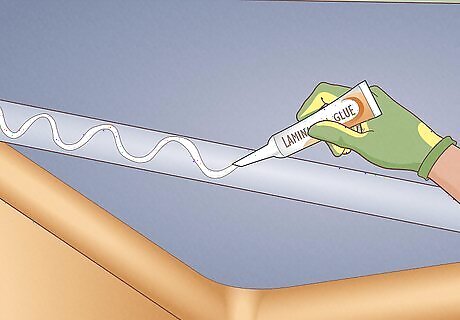
Apply laminate glue. Wearing heat resistant gloves, quickly apply glue to the application side of the laminate and line it up against the counter.
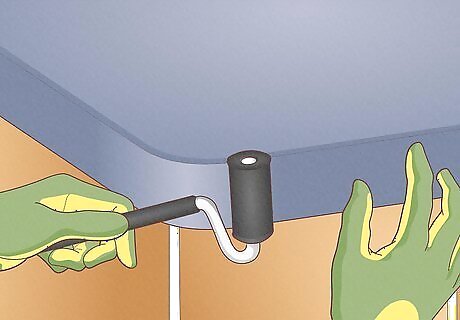
Attach the laminate carefully. As with the cold bending method, you want to leave an extra 1/2” to the width of the laminate to trim later. Beginning with one end, attach the laminate firmly to the edge of the counter, and use your J-roller to flatten and tighten it down. Still wearing heat resistant gloves, bend the heated and pliable section of the laminate over the curve slowly, using your J-roller to keep pressure against the strip. Roll the entire strip until it is tightly in place on the counter edge. Depending on the manufacturer and grade of laminate used, this method can yield curved bends around a radius as small as 5/8” or 9/16”
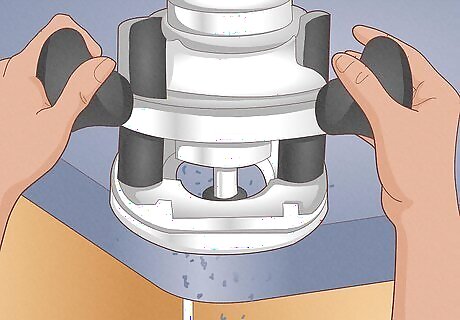
Trim the excess. You should give the laminate a full day to set before trimming the excess width with a router.


Comments
0 comment